
nnInteractive plugin for Napari
Verified details
These details have been verified by PyPIProject links
GitHub Statistics
Maintainers


Project description

nnInteractive: Redefining 3D Promptable Segmentation
This repository contains the napari plugin for nnInteractive. Check out the python backend and MITK integration for more.
What is nnInteractive?
Isensee, F.*, Rokuss, M.*, Krämer, L.*, Dinkelacker, S., Ravindran, A., Stritzke, F., Hamm, B., Wald, T., Langenberg, M., Ulrich, C., Deissler, J., Floca, R., & Maier-Hein, K. (2025). nnInteractive: Redefining 3D Promptable Segmentation. https://arxiv.org/abs/2503.08373
*: equal contribution
Link:

Abstract:
Accurate and efficient 3D segmentation is essential for both clinical and research applications. While foundation models like SAM have revolutionized interactive segmentation, their 2D design and domain shift limitations make them ill-suited for 3D medical images. Current adaptations address some of these challenges but remain limited, either lacking volumetric awareness, offering restricted interactivity, or supporting only a small set of structures and modalities. Usability also remains a challenge, as current tools are rarely integrated into established imaging platforms and often rely on cumbersome web-based interfaces with restricted functionality. We introduce nnInteractive, the first comprehensive 3D interactive open-set segmentation method. It supports diverse prompts—including points, scribbles, boxes, and a novel lasso prompt—while leveraging intuitive 2D interactions to generate full 3D segmentations. Trained on 120+ diverse volumetric 3D datasets (CT, MRI, PET, 3D Microscopy, etc.), nnInteractive sets a new state-of-the-art in accuracy, adaptability, and usability. Crucially, it is the first method integrated into widely used image viewers (e.g., Napari, MITK), ensuring broad accessibility for real-world clinical and research applications. Extensive benchmarking demonstrates that nnInteractive far surpasses existing methods, setting a new standard for AI-driven interactive 3D segmentation.
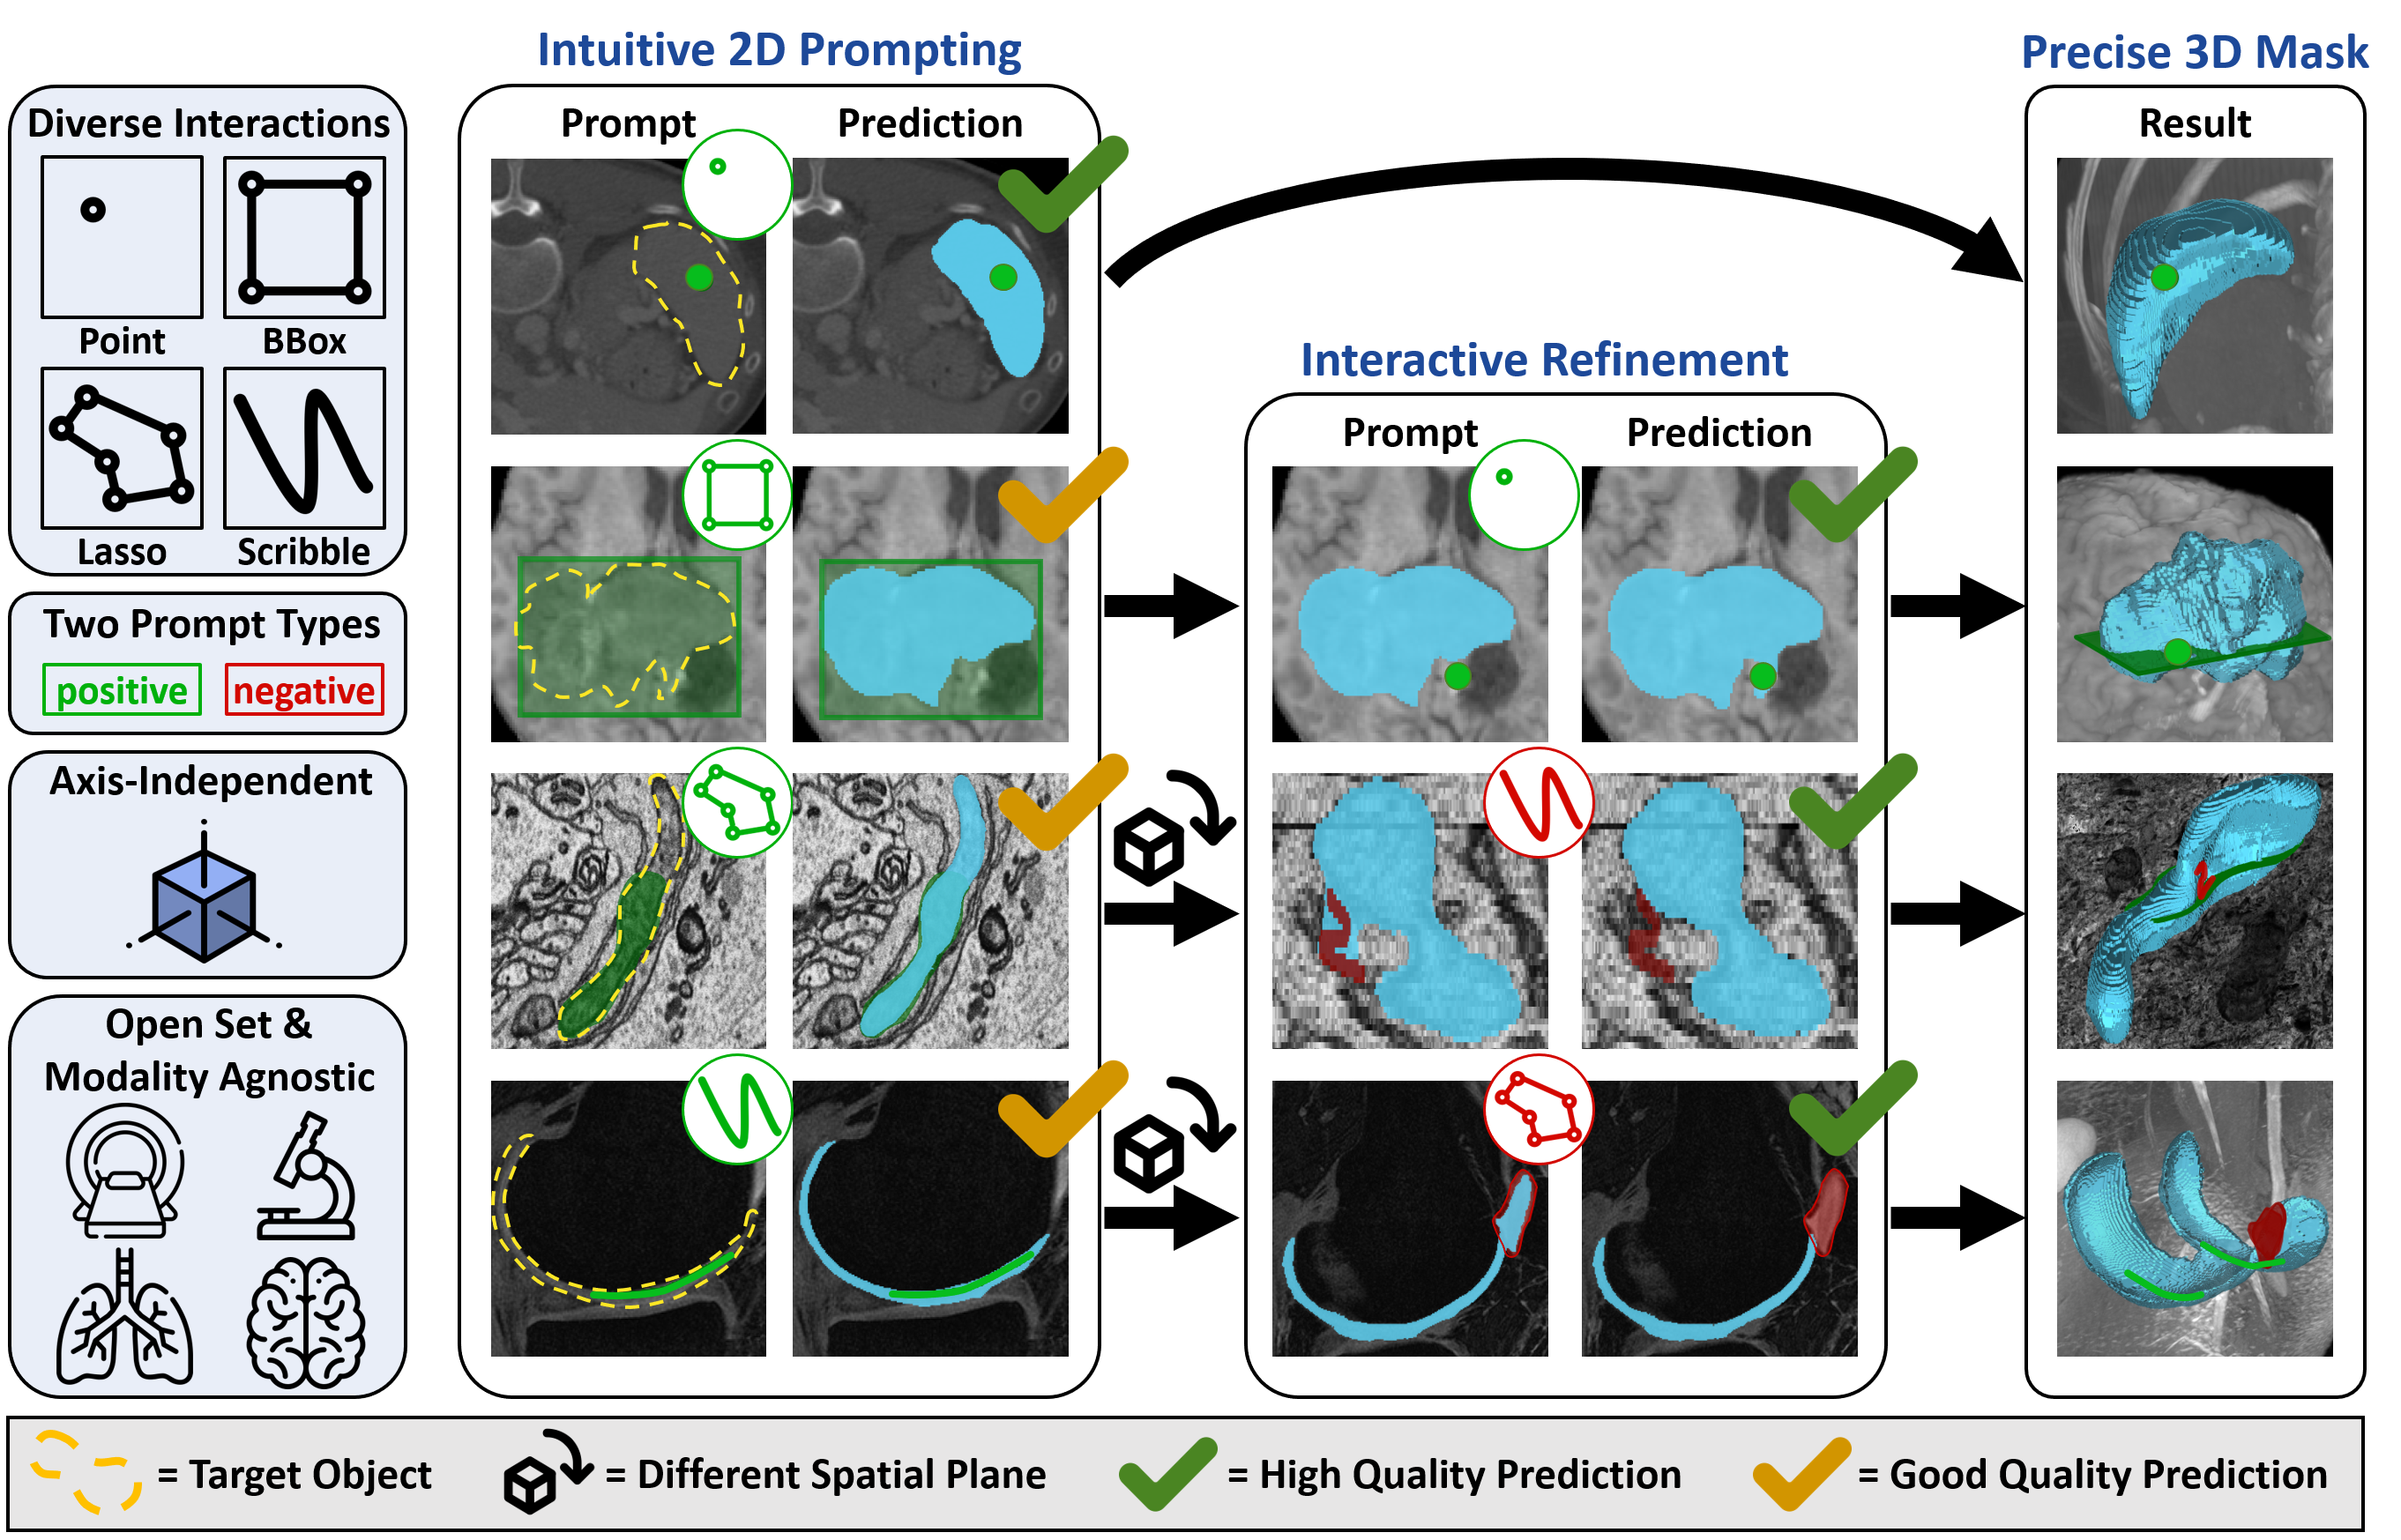
Demo Videos
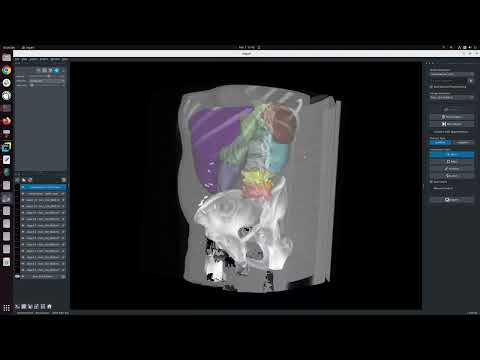
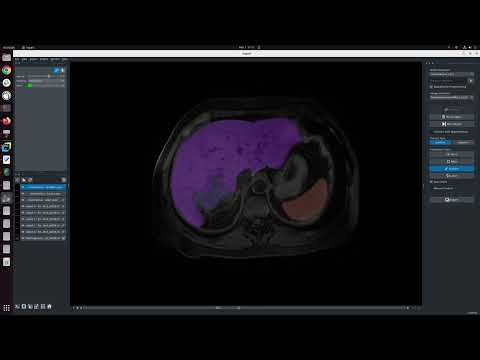
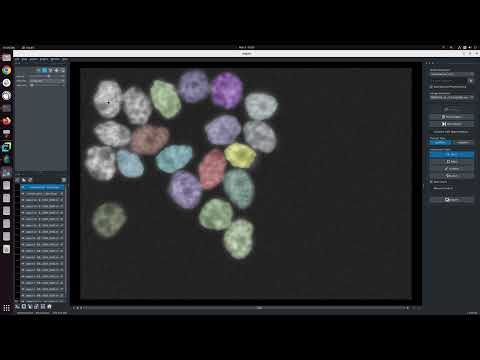
Installation
napari-nninteractive installs as a lightweight, torch-free remote client by default — it can drive a remote nninteractive-server straight away, on any machine. Local (in-process) inference is an opt-in extra ([local]) that adds the full nnInteractive backend (PyTorch + nnU-Net) and needs an Nvidia GPU.
| Mode | Install | PyTorch? | Hardware |
|---|---|---|---|
| Remote client (default) | pip install napari-nninteractive |
No (lightweight, torch-free) | anything — laptop, Mac, no GPU |
| Local inference | pip install "napari-nninteractive[local]" (+ PyTorch) |
Yes (large download) | Linux/Windows + Nvidia GPU — 10 GB VRAM recommended, <6 GB works for small objects |
[!TIP] On a Mac, or without a capable Nvidia GPU? The default install is already exactly what you want — stop after Step 2. nnInteractive relies heavily on 3D convolutions, which are prohibitively slow on Apple Silicon (MPS) and CPU hardware, so running the model on a remote GPU and driving it from napari is the recommended, and often only practical, way to use it on these machines. See Remote inference (server / client) for how to set up and connect to the server.
Step 1 — Create a virtual environment
nnInteractive supports Python 3.10+ and works with Conda, pip, or any other virtual environment. Here's an example using Conda:
conda create -n nnInteractive python=3.12
conda activate nnInteractive
Install napari if you don't already have it:
pip install napari[all]
Step 2 — Install the plugin (remote client, torch-free)
pip install napari-nninteractive
This is the entire install if you only drive a remote nninteractive-server: no PyTorch, no GPU required. The plugin starts in Remote mode — see Remote inference (server / client) to connect.
Step 3 — (Optional) Enable local inference
Only needed if this machine runs the model itself. Requires a Linux or Windows computer with an Nvidia GPU.
1. Install the correct PyTorch for your system. Go to the PyTorch homepage and pick the right configuration. PyTorch must be installed via pip nowadays, which is fine inside a conda environment. For Ubuntu with an Nvidia GPU, pick 'stable', 'Linux', 'Pip', 'Python', CUDA version does not matter (ensure your driver is up to date!). Then execute the command that is displayed, for example:
pip3 install torch torchvision --index-url https://download.pytorch.org/whl/cu126
2. Add the [local] extra (pulls the full nnInteractive backend + nnU-Net):
pip install "napari-nninteractive[local]"
Quote the brackets so your shell does not treat them as a glob (required in zsh / macOS). Model weights are downloaded automatically on first use; this can take a couple of minutes depending on your connection.
You can do this at any time: if you started with the default client-only install and the Local switch in the plugin is greyed out, just run the command above (after installing PyTorch) and restart napari to unlock local inference.
Install from source (optional)
git clone https://github.com/MIC-DKFZ/napari-nninteractive
cd napari-nninteractive
pip install -e .                 # remote client (torch-free) — the default
pip install -e ".[local]"        # local inference — also install PyTorch first (see Step 3)
Getting Started
Use one of these three options to start napari and activate the plugin. Afterward, Drag and drop your images into napari.
*Note if getting asked which plugin to use for opening .nii.gz files use napari-nifti.
a) Start napari, then Plugins -> nnInteractive.
napari
b) Run this to start napari with the plugin already started.
napari -w napari-nninteractive
c) Run this to start napari with the plugin and open an image directly
napari demo_data/liver_145_0000.nii.gz -w napari-nninteractive
How to use
Note: To open Nifti (.nii.gz, .nii) files we recommend to select napari-nifti.
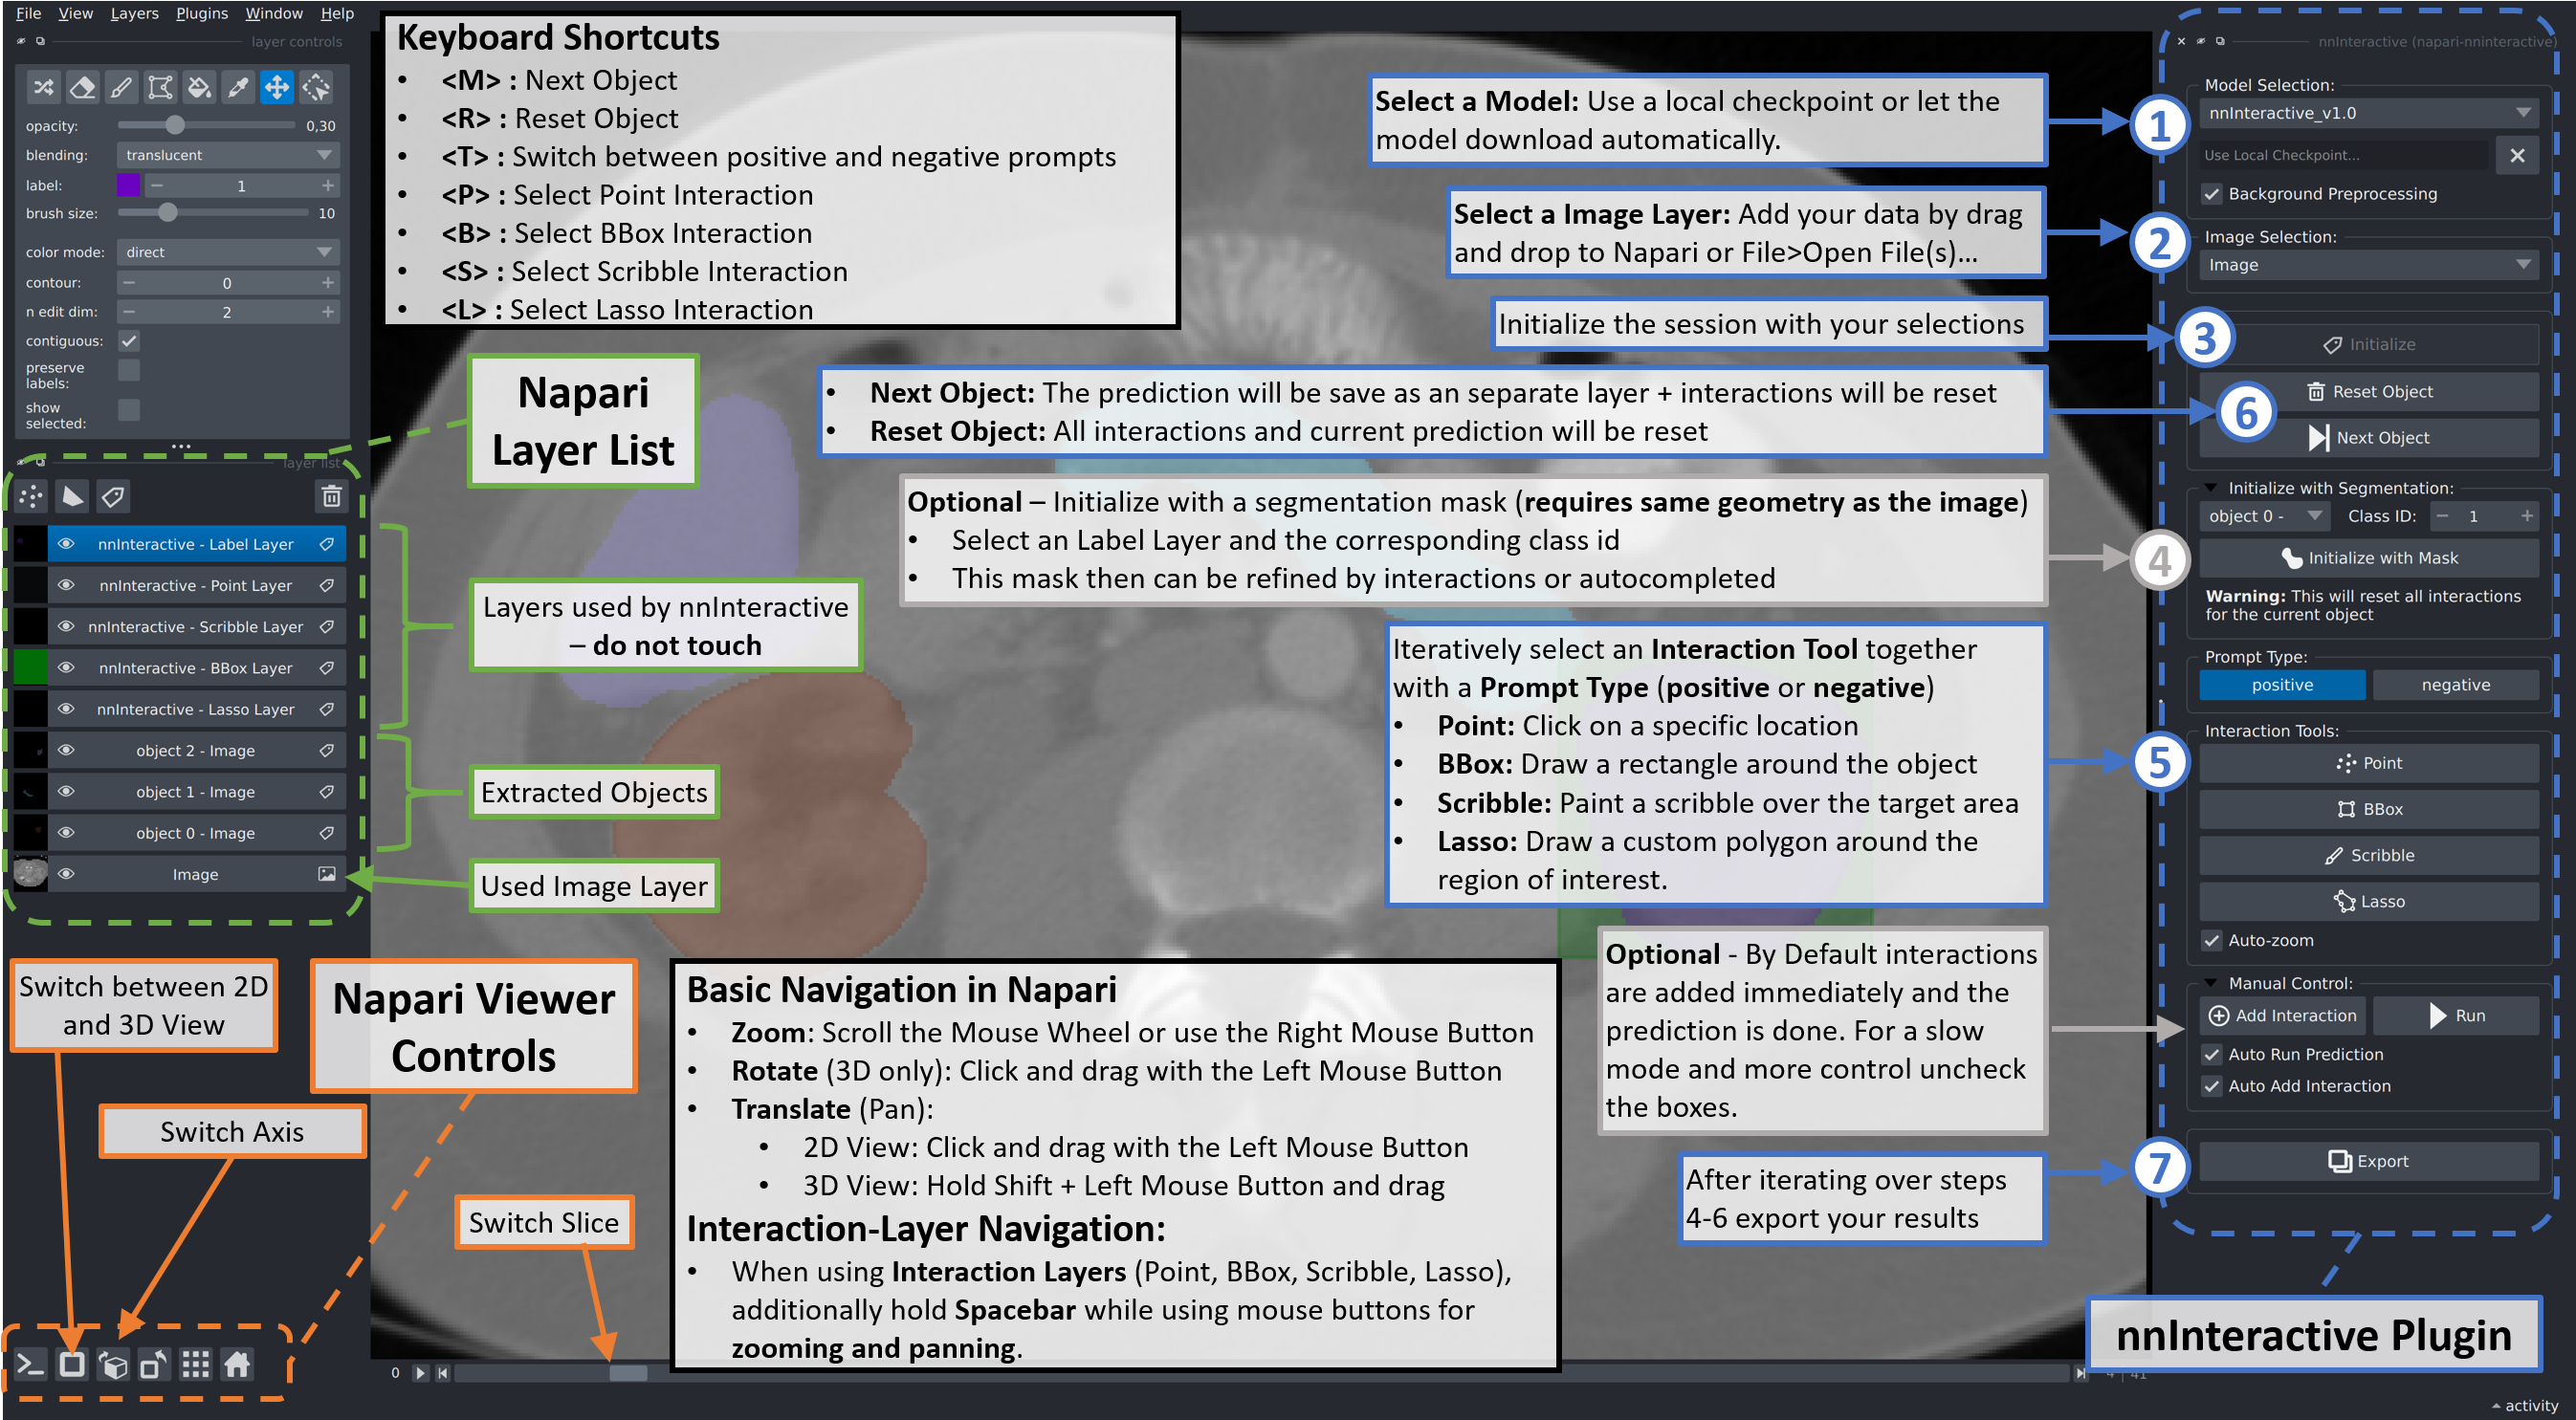
Remote inference (server / client)
This is the recommended way to run nnInteractive on a Mac or any machine without a capable Nvidia GPU. nnInteractive depends heavily on 3D convolutions, which are prohibitively slow on Apple Silicon (MPS) and CPU — in practice, remote inference is the only usable option on those systems.
You run the model on a remote machine and drive it from napari over the network. One server hosts the model and serves multiple napari clients; each client gets its own independent session (image, prompts, segmentation), while the model weights are loaded once and shared. The napari client has no GPU requirements, so it runs fine on a laptop or Mac.
On the GPU machine — start the server
nninteractive-server \
    --model-dir /path/to/checkpoint_folder \
    --fold 0 \
    --host 0.0.0.0 --port 1527 \
    --max-sessions 4 \
    --api-key "$(openssl rand -hex 32)"
Share the printed API key with your users via whatever channel you use for shared credentials. For a single-user setup over SSH (no API key, no exposed port), see the SSH-tunnel section in the full docs linked below.
In napari — connect to the server
- Start napari with the plugin (
napari -w napari-nninteractive). - In the plugin panel, flip the Local | Remote switch to Remote.
- Enter the Server URL (e.g.
http://gpu-box.lab:1527) and the API key. - Click Connect. On success the status line shows
connected (...). - Use Initialize and the rest of the workflow exactly as in local mode — point, bbox, scribble, and lasso prompts all behave the same; only the prediction runs on the remote GPU.
The model checkpoint is fixed by the server at startup, so the local checkpoint selector is hidden in Remote mode.
[!NOTE] The default install is the torch-free client, so unless you added the
[local]extra the plugin starts directly in Remote mode and the Local switch is greyed out. Hover the switch (or read the one-line notice printed on start-up) for the reason and the exact command. To unlock local inference, install PyTorch and the extra (pip install "napari-nninteractive[local]"; see Step 3 of Installation above), then restart napari.
…or run the server in Docker
If you'd rather not install the backend on the GPU box, the server is also published as a Docker image with the model baked in (a GPU host with the NVIDIA Container Toolkit is required):
docker run --gpus all -p 1527:1527 \
    -e NN_INTERACTIVE_API_KEY="$(openssl rand -hex 32)" \
    ghcr.io/mic-dkfz/nninteractive-server:latest
A lite tag is also available if you'd rather mount your own checkpoint folder at /model (or
fetch a model by id at startup). See the backend
DOCKER.md
for both flavours and all configuration options.
Things to be aware of
- Lost connection or idle timeout. Server-side sessions are reaped after 10 minutes of inactivity (configurable on the server), and a server that goes away (restart, crash, network drop) ends the session too. When this happens the plugin resets the Connect button and asks you to reconnect. Your current segmentation is preserved on the client: after you reconnect and click Initialize again, the image is re-uploaded and the segmentation is restored so you can keep refining where you left off. Only the in-progress prompt markers (the individual points/boxes/scribbles) need to be redone.
- Server full. If all session slots are taken, Connect reports
server is full, try again later. Retry shortly. - Concurrent users. Multiple researchers can use the same server independently. Predictions are serialized on the GPU, so heavy concurrent use makes individual predictions wait briefly — scale out by running one server per GPU.
- Corporate proxies. If your client machine sets
HTTP_PROXY/HTTPS_PROXY, add the server host toNO_PROXY, otherwise requests get intercepted and Connect will report an HTML/proxy error.
For full details — all server flags, authentication, TLS / reverse-proxy setup, SSH tunnels, troubleshooting — see SERVER_CLIENT.md in the nnInteractive backend repo.
Citation
When using nnInteractive, please cite the following paper:
Isensee, F.*, Rokuss, M.*, Krämer, L.*, Dinkelacker, S., Ravindran, A., Stritzke, F., Hamm, B., Wald, T., Langenberg, M., Ulrich, C., Deissler, J., Floca, R., & Maier-Hein, K. (2025). nnInteractive: Redefining 3D Promptable Segmentation. https://arxiv.org/abs/2503.08373
*: equal contribution
Link:
License
Note that while this repository is available under Apache-2.0 license (see LICENSE), the model checkpoint is Creative Commons Attribution Non Commercial Share Alike 4.0!
Acknowledgments


This repository is developed and maintained by the Applied Computer Vision Lab (ACVL) of Helmholtz Imaging and the Division of Medical Image Computing at DKFZ.
This napari plugin was generated with copier using the napari-plugin-template.
Project details
Verified details
These details have been verified by PyPIProject links
GitHub Statistics
Maintainers
Release history Release notifications | RSS feed


Download files
Download the file for your platform. If you're not sure which to choose, learn more about installing packages.
Source Distribution
Built Distribution
Filter files by name, interpreter, ABI, and platform.
If you're not sure about the file name format, learn more about wheel file names.
Copy a direct link to the current filters
File details
Details for the file napari_nninteractive-2.5.0.tar.gz.
File metadata
- Download URL: napari_nninteractive-2.5.0.tar.gz
- Upload date:
- Size: 62.0 kB
- Tags: Source
- Uploaded using Trusted Publishing? Yes
- Uploaded via: twine/6.1.0 CPython/3.13.12
File hashes
| Algorithm | Hash digest | |
|---|---|---|
| SHA256 |
ccaacfed6cbc9cf9ffa225bf2f0f0e2090bde22c54985a7cfc2d67a5f733da80
|
|
| MD5 |
3282459cad64d62d180c7a4de4cfd4d1
|
|
| BLAKE2b-256 |
4e833279c590936b6bbd24ec8096dffc61d3ad07fed9510d4a1e325ceddf0f8b
|
Provenance
The following attestation bundles were made for napari_nninteractive-2.5.0.tar.gz:
Publisher:
publish.yml on MIC-DKFZ/napari-nninteractive
-
Statement:
-
Statement type:
https://in-toto.io/Statement/v1 -
Predicate type:
https://docs.pypi.org/attestations/publish/v1 -
Subject name:
napari_nninteractive-2.5.0.tar.gz -
Subject digest:
ccaacfed6cbc9cf9ffa225bf2f0f0e2090bde22c54985a7cfc2d67a5f733da80 - Sigstore transparency entry: 2046997485
- Sigstore integration time:
-
Permalink:
MIC-DKFZ/napari-nninteractive@0ef00d6787a99353a18380aa26aaba1fe79bc93b -
Branch / Tag:
refs/tags/v2.5.0 - Owner: https://github.com/MIC-DKFZ
-
Access:
public
-
Token Issuer:
https://token.actions.githubusercontent.com -
Runner Environment:
github-hosted -
Publication workflow:
publish.yml@0ef00d6787a99353a18380aa26aaba1fe79bc93b -
Trigger Event:
push
-
Statement type:
File details
Details for the file napari_nninteractive-2.5.0-py3-none-any.whl.
File metadata
- Download URL: napari_nninteractive-2.5.0-py3-none-any.whl
- Upload date:
- Size: 64.0 kB
- Tags: Python 3
- Uploaded using Trusted Publishing? Yes
- Uploaded via: twine/6.1.0 CPython/3.13.12
File hashes
| Algorithm | Hash digest | |
|---|---|---|
| SHA256 |
3c2be0d10d31e1ca83d2657a4f13fc0d6ce8ab8944106aae141f8b9673018015
|
|
| MD5 |
30cdef000e0d7c02727f14a4f8fb55db
|
|
| BLAKE2b-256 |
71f862f2d293b2c07b8b7746936368c87c3ed9b5b3755e5f0f8a767711b50b20
|
Provenance
The following attestation bundles were made for napari_nninteractive-2.5.0-py3-none-any.whl:
Publisher:
publish.yml on MIC-DKFZ/napari-nninteractive
-
Statement:
-
Statement type:
https://in-toto.io/Statement/v1 -
Predicate type:
https://docs.pypi.org/attestations/publish/v1 -
Subject name:
napari_nninteractive-2.5.0-py3-none-any.whl -
Subject digest:
3c2be0d10d31e1ca83d2657a4f13fc0d6ce8ab8944106aae141f8b9673018015 - Sigstore transparency entry: 2046997587
- Sigstore integration time:
-
Permalink:
MIC-DKFZ/napari-nninteractive@0ef00d6787a99353a18380aa26aaba1fe79bc93b -
Branch / Tag:
refs/tags/v2.5.0 - Owner: https://github.com/MIC-DKFZ
-
Access:
public
-
Token Issuer:
https://token.actions.githubusercontent.com -
Runner Environment:
github-hosted -
Publication workflow:
publish.yml@0ef00d6787a99353a18380aa26aaba1fe79bc93b -
Trigger Event:
push
-
Statement type:






