Draw consistently with various backends

Project description
Pero
The main motivation behind the pero library is to provide unified API for multiple drawing backends like PyQt5, PyQt6, PySide2, PySide6, wxPython, PyCairo, PyMuPDF, Py5, Pythonista (and possibly more), which is easy to understand and use. Beside the common drawing capabilities, numerous pre-build glyphs are available, as well as an easy-to-use path, matrix transformations etc. Depending on available backend libraries, drawings can be viewed directly or exported into various image formats.
Ever since I discovered the wonderful d3js JavaScript library, I wanted to have the same amazing concept of dynamic properties within Python drawings. In fact, this has been the trigger to start working on the pero library. Finally, it is now available.
Please see the examples folder or in-code documentation of classes and functions to learn more about the pero library capabilities.
Consider also checking a small derived library providing some basic plotting functionalities, like profiles, bars, pie charts and Venn diagrams, called perrot.
import pero

img = pero.Image(width=200, height=200)

img.line_cap = pero.ROUND
img.line_join = pero.ROUND

# fill
img.fill("w")

# body
img.line_width = 2
img.line_color = pero.colors.Orange.darker(.1)
img.fill_color = pero.colors.Orange
img.draw_circle(100, 100, 75)

# shadow
img.line_color = None
img.fill_color = pero.colors.White.darker(.1)
img.draw_ellipse(100, 185, 70, 10)

# eyes
img.fill_color = pero.colors.Black
img.draw_circle(70, 85, 15)
img.draw_circle(130, 85, 15)

# eyebrows
img.line_color = pero.colors.Black
img.fill_color = None
img.line_width = 3
img.draw_arc(70, 85, 23, pero.rads(-100), pero.rads(-20))
img.draw_arc(130, 85, 23, pero.rads(200), pero.rads(280))

# mouth
img.line_width = 5
img.draw_arc(100, 100, 50, pero.rads(40), pero.rads(80))

# highlight
img.line_color = pero.colors.Orange.lighter(.3)
img.draw_arc(100, 100, 68, pero.rads(220), pero.rads(260))

# hat
path = pero.Path(pero.WINDING)
path.ellipse(100, 27, 40, 10)
path.ellipse(100, 17, 30, 10)
path.rect(85, 17, 30, 10)

mat = pero.Matrix().rotate(pero.rads(20), 100, 100)
path.transform(mat)

img.line_color = None
img.fill_color = pero.colors.Black
img.draw_path(path)

# show image
img.show()

Requirements
Supported Backends
Installation
The pero library is fully implemented in Python. No additional compiler is necessary. After downloading the source code just run the following command from the pero folder:
$ python setup.py install
or simply use pip
$ pip install pero
Disclaimer
This program is distributed in the hope that it will be useful, but WITHOUT ANY WARRANTY; without even the implied warranty of MERCHANTABILITY or FITNESS FOR A PARTICULAR PURPOSE.
Please note that the pero library is still in an alpha state. Any changes in its API may occur.
Usage
Using default backend
If you just want to draw an image using whatever the default backend is (for requested format), or show the image directly (requires PyQt5, PyQt6, PySide2, PySide6, wxPython or Pythonista iOS App), just create an image and use it as any other pero canvas:
import pero

# init size
width = 200
height = 200

# init image
img = pero.Image(width=width, height=height)

# draw graphics
img.line_color = "b"
img.fill_color = "w"
img.fill()
img.draw_circle(100, 100, 75)

# save to file
img.export('image.png')

# show in viewer
img.show()
Using PyQt5, PyQt6, PySide2 or PySide6
Inside a QWidget you can create a QPainter and encapsulate it into the pero canvas:
import pero
from PyQt5.QtGui import QPainter

# init size
width = 200
height = 200

# init painter
qp = QPainter()
qp.begin(self)
qp.setRenderHint(QPainter.RenderHint.Antialiasing)

# init canvas
canvas = pero.qt.QtCanvas(qp, width=width, height=height)

# draw graphics
canvas.line_color = "b"
canvas.fill_color = "w"
canvas.fill()
canvas.draw_circle(100, 100, 75)

# end drawing
qp.end()
Using wxPython
Inside a wxApp you can use just about any wxDC you want and encapsulate it into the pero canvas:
import pero
import wx

# init size
width = 200
height = 200

# create DC
bitmap = wx.Bitmap(width, height)
dc = wx.MemoryDC()
dc.SelectObject(bitmap)

# use GCDC
if 'wxMac' not in wx.PlatformInfo:
    dc = wx.GCDC(dc)

# init canvas
canvas = pero.wx.WXCanvas(dc, width=width, height=height)

# draw graphics
canvas.line_color = "b"
canvas.fill_color = "w"
canvas.fill()
canvas.draw_circle(100, 100, 75)
Using PyCairo
Depending on the final image format, choose appropriate cairo surface, get the drawing context and encapsulate it into the pero canvas:
import pero
import cairo

# init size
width = 200
height = 200

# create cairo drawing context
surface = cairo.PSSurface('image.eps', width, height)
dc = cairo.Context(surface)

# init canvas
canvas = pero.cairo.CairoCanvas(dc, width=width, height=height)

# draw graphics
canvas.line_color = "b"
canvas.fill_color = "w"
canvas.fill()
canvas.draw_circle(100, 100, 75)

# save to file
dc.show_page()
Using PyMuPDF
Create a document, add new page and encapsulate it into the pero canvas:
import pero
import fitz

# init size
width = 200
height = 200

# init document
doc = fitz.open()
page = doc.newPage(width=width, height=height)

# init canvas
canvas = pero.mupdf.MuPDFCanvas(page)

# draw graphics
canvas.line_color = "b"
canvas.fill_color = "w"
canvas.fill()
canvas.draw_circle(100, 100, 75)

# save to file
doc.save('image.pdf')
doc.close()
Using Py5
Create a Py5Graphics and encapsulate it into the pero canvas:
import py5
import pero
from pero.backends.py5 import Py5Canvas


def setup():

    # init py5 graphics
    py5.size(200, 200)
    pg = py5.create_graphics(200, 200)

    # init canvas
    canvas = Py5Canvas(pg)

    # draw graphics
    with pg.begin_draw():
        canvas.line_color = "b"
        canvas.fill_color = "w"
        canvas.fill()
        canvas.draw_circle(100, 100, 75)

    # finalize image
    py5.image(pg, 0, 0)

# show sketch
py5.run_sketch()
Using SVG
The pero library implements its own way to draw and save SVG files. Just create a pero canvas:
import pero

# init size
width = 200
height = 200

# init canvas
canvas = pero.svg.SVGCanvas(width=width, height=height)

# draw graphics
canvas.line_color = "b"
canvas.fill_color = "w"
canvas.fill()
canvas.draw_circle(100, 100, 75)

# save to file
with open('test.svg', 'w', encoding='utf-8') as f:
    f.write(canvas.get_xml())
Using Pythonista
Initialize a new ui.ImageContext and create a pero canvas:
import pero
import ui

# init size
width = 200
height = 200

# open context
with ui.ImageContext(width, height) as ctx:

    # init canvas
    canvas = pero.pythonista.UICanvas(width=width, height=height)

    # draw graphics
    canvas.line_color = "b"
    canvas.fill_color = "w"
    canvas.fill()
    canvas.draw_circle(100, 100, 75)

    # show image
    img = ctx.get_image()
    img.show()
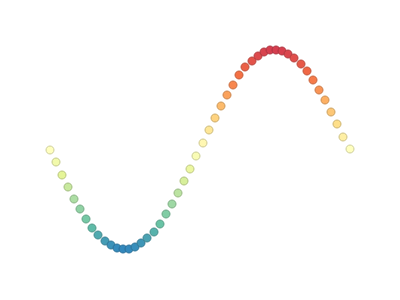
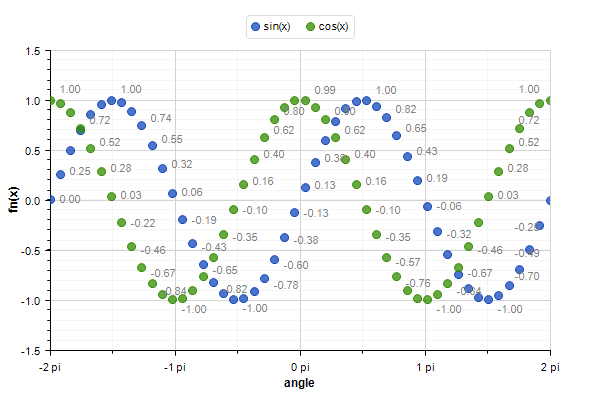
Using glyphs and dynamic properties
Similar to d3js JavaScript library, most of the properties of pre-build pero.Glyphs objects can be specified as a function, to which given data source is automatically provided. Together with pero.scales (and maybe the pero.Axis) this can be used to make simple plots easily.
import pero
import numpy

# init size
width = 400
height = 300
padding = 50

# init data
x_data = numpy.linspace(-numpy.pi, numpy.pi, 50)
y_data = numpy.sin(x_data)

# init scales
x_scale = pero.LinScale(
    in_range = (min(x_data), max(x_data)),
    out_range = (padding, width-padding))

y_scale = pero.LinScale(
    in_range = (-1, 1),
    out_range = (height-padding, padding))

color_scale = pero.GradientScale(
    in_range = (-1, 1),
    out_range = pero.colors.Spectral)

# init marker
marker = pero.Circle(
    size = 8,
    x = lambda d: x_scale.scale(d[0]),
    y = lambda d: y_scale.scale(d[1]),
    line_color = lambda d: color_scale.scale(d[1]).darker(.2),
    fill_color = lambda d: color_scale.scale(d[1]))

# init image
image = pero.Image(width=width, height=height)

# fill
image.fill("w")

# draw points
for point in zip(x_data, y_data):
    marker.draw(image, point)

# show image
image.show()
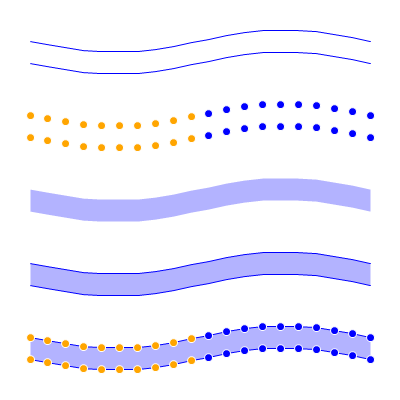
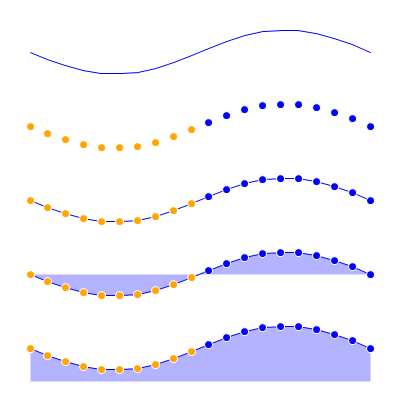
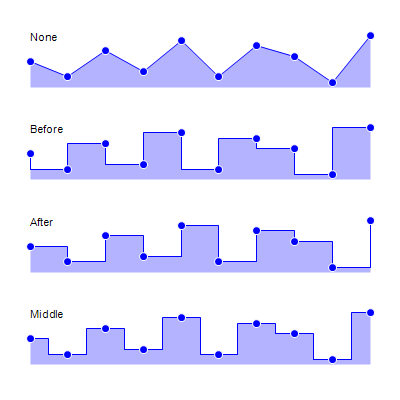
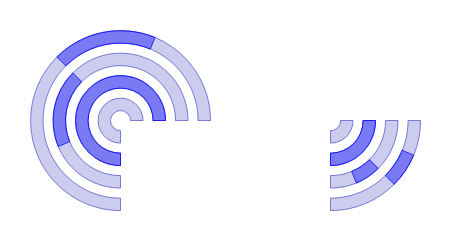
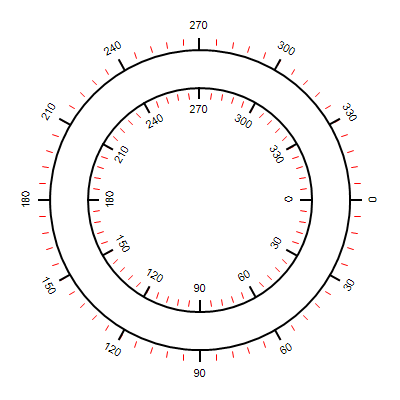
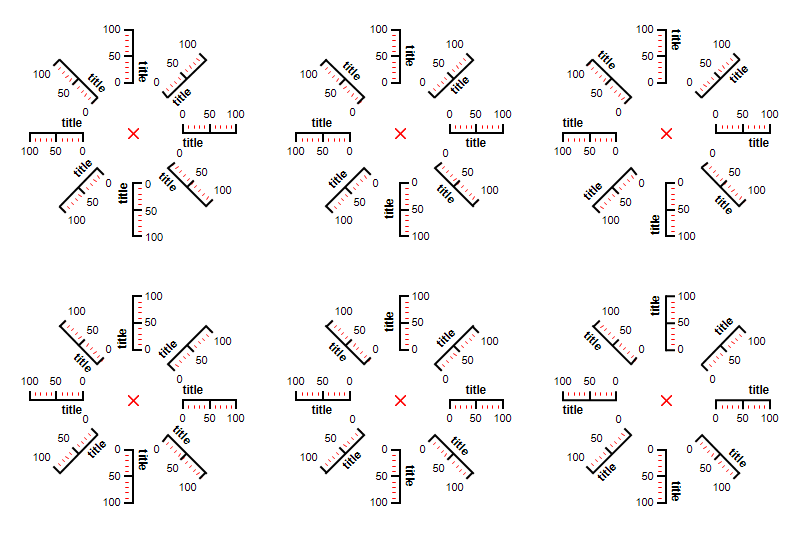
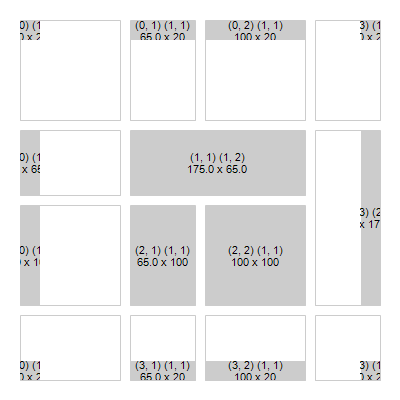
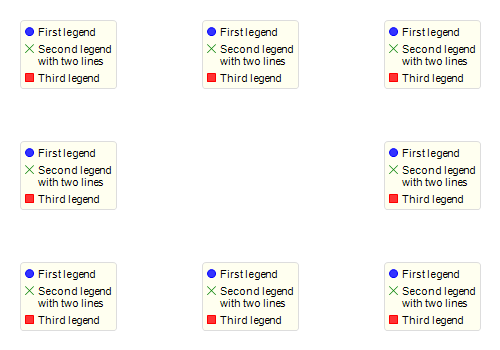
Examples
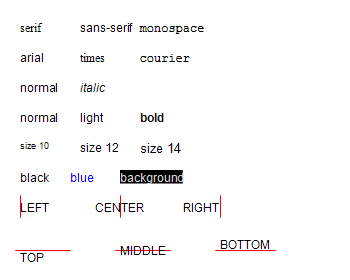
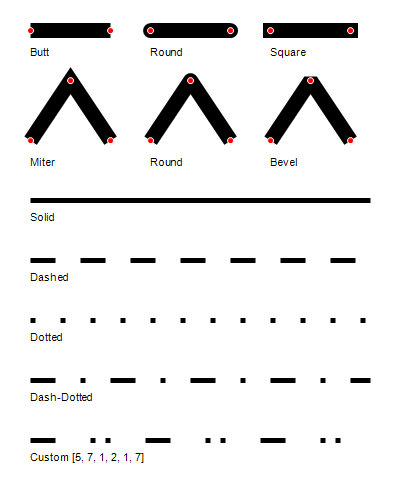
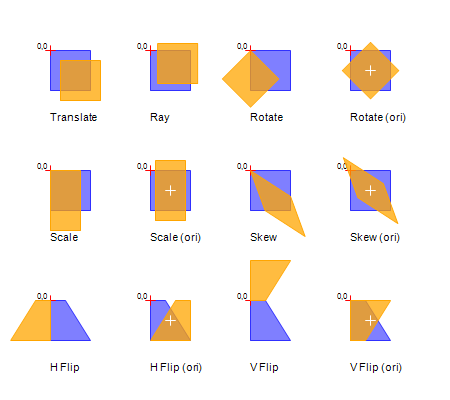
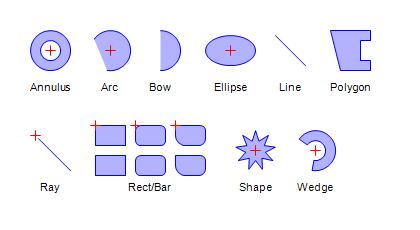
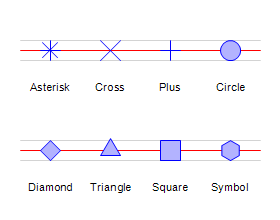
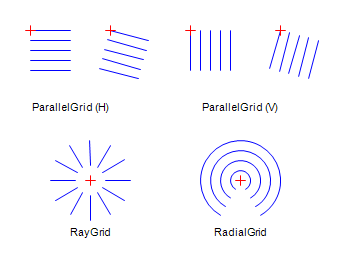
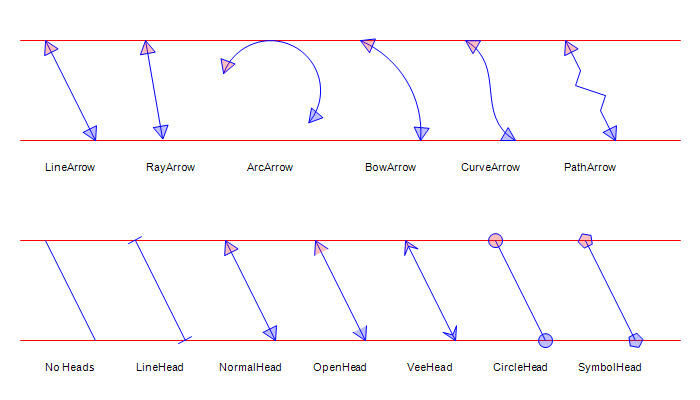
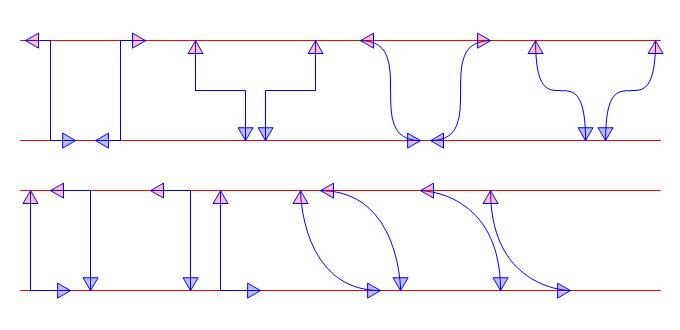
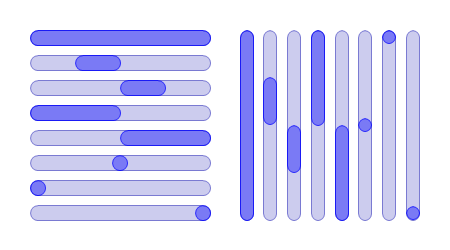
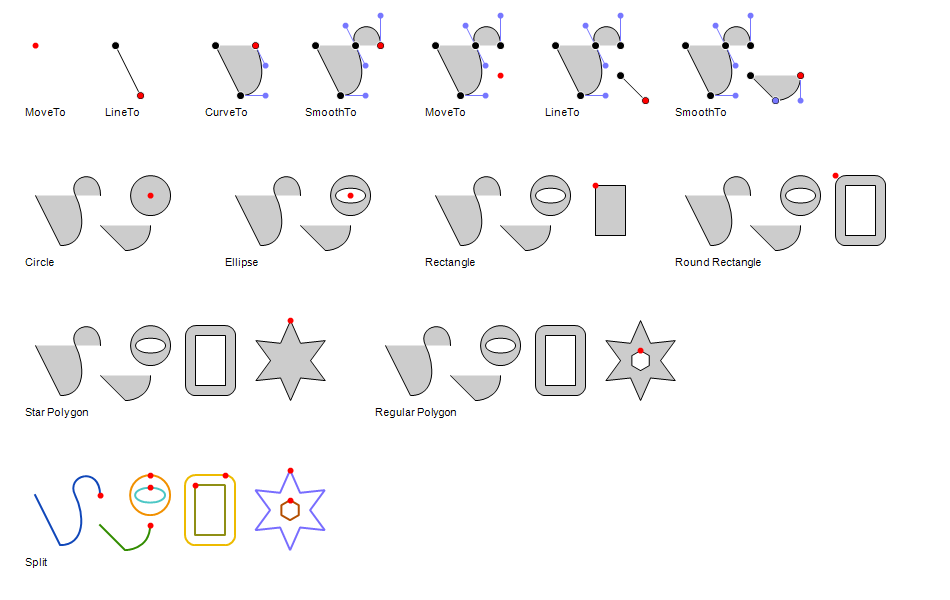
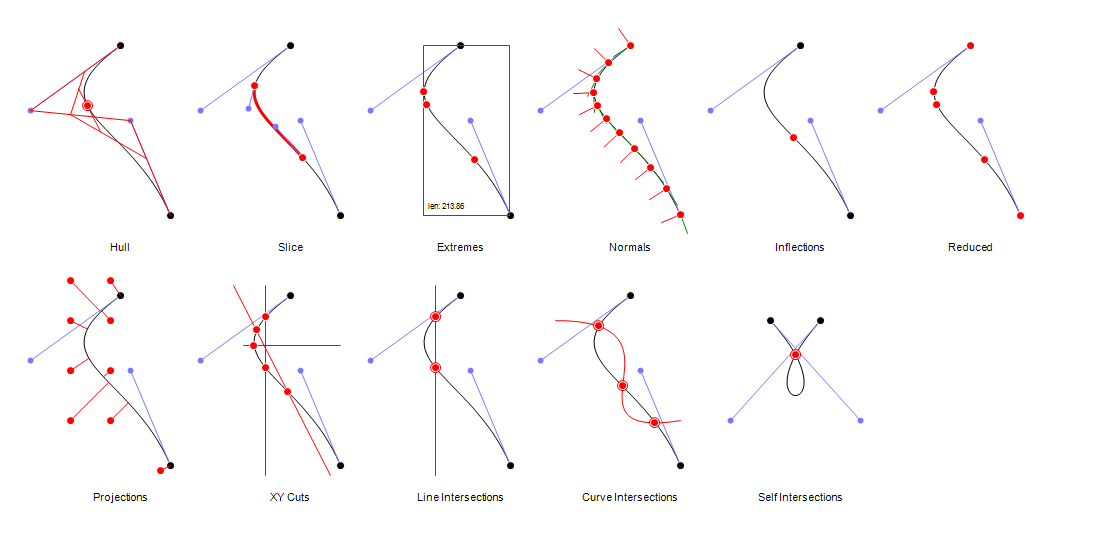
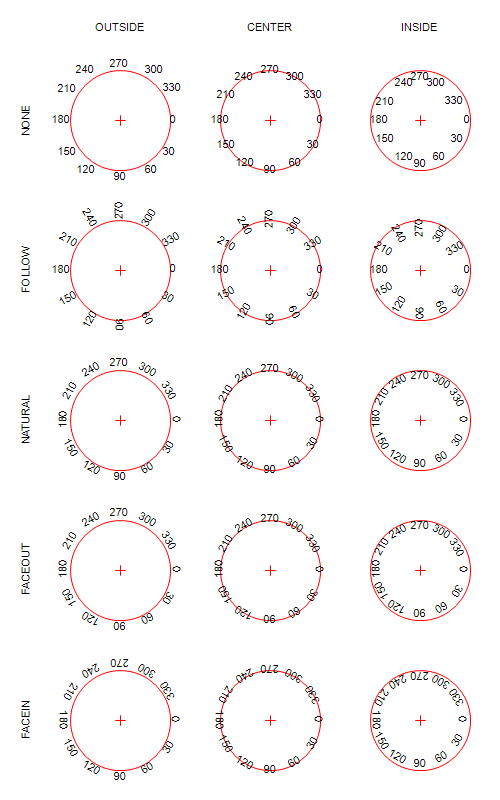
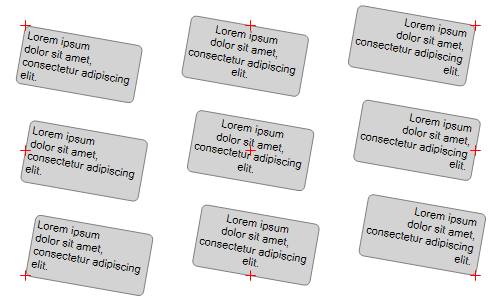
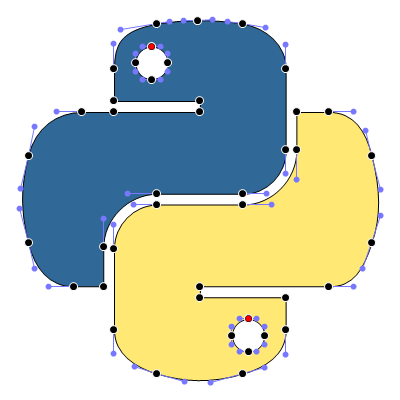
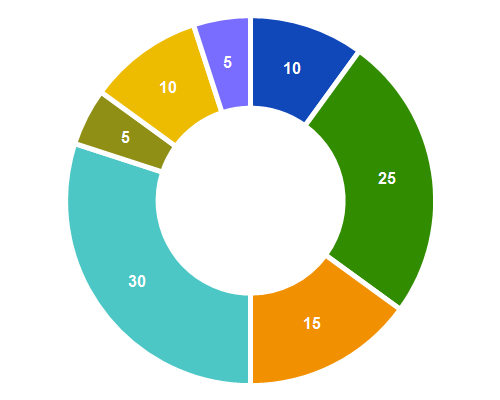
In the examples folder you will find sample codes to generate and understand all the following images. Check the image name and find corresponding python draw file.
Release history Release notifications | RSS feed


Download files
Download the file for your platform. If you're not sure which to choose, learn more about installing packages.
Source Distribution
Built Distribution
Filter files by name, interpreter, ABI, and platform.
If you're not sure about the file name format, learn more about wheel file names.
Copy a direct link to the current filters
File details
Details for the file pero-0.29.0.tar.gz.
File metadata
- Download URL: pero-0.29.0.tar.gz
- Upload date:
- Size: 192.2 kB
- Tags: Source
- Uploaded using Trusted Publishing? No
- Uploaded via: twine/6.2.0 CPython/3.11.13
File hashes
| Algorithm | Hash digest | |
|---|---|---|
| SHA256 |
b383d438a5ca94ca16e20d3c28b48c0e466bc56d3e55dfda6ad81a84d658f6ae
|
|
| MD5 |
7ea77fddbf465e4706bf9525cbb3e4b3
|
|
| BLAKE2b-256 |
891d966e975ad7f9e5cb8172078fdd814eaa749eb2262d2b5eef3f124f41a48a
|
File details
Details for the file pero-0.29.0-py3-none-any.whl.
File metadata
- Download URL: pero-0.29.0-py3-none-any.whl
- Upload date:
- Size: 267.8 kB
- Tags: Python 3
- Uploaded using Trusted Publishing? No
- Uploaded via: twine/6.2.0 CPython/3.11.13
File hashes
| Algorithm | Hash digest | |
|---|---|---|
| SHA256 |
56d5763ea1f3c27e5238810dfa7469b537b6e1008e0b24b70c450ed3f52bdefc
|
|
| MD5 |
6bf3f59abbb0d54cee8ea957a86e159c
|
|
| BLAKE2b-256 |
0638115fb1407f58b5945836f7c0e8a3973adf6b2e9d73ea58fa9bbec908b419
|


