
Converts pixel-art-style images such as those from generative models or low-quality sprite web uploads to true resolution usable assets.
Verified details
These details have been verified by PyPIProject links
GitHub Statistics
Maintainers

Project description
Proper Pixel Art
Summary
Converts noisy, high resolution pixel-art style images produced by generative models or sourced from low-quality web uploads to clean, true-resolution pixel-art assets.
Challenges
Generative pixel-art style images are noisy and high resolution, often with a non-uniform grid and random artifacts. Standard downsampling techniques do not work. The current approach is to either use naive downscaling techniques or manually re-create the asset pixel by pixel.
This tool addressed both of these issues by automating the process of recovering true-resolution pixel-art assets.
Hugging Face Spaces
Try the tool on Hugging Face Spaces.
Installation
Install From PyPI
pip install proper-pixel-art  # CLI and Python API
pip install "proper-pixel-art[web]"  #  Include the local web UI
Or with uv:
uv add proper-pixel-art  # CLI and Python API
uv add proper-pixel-art --extra web  # Include the local web UI
Install from source
git clone git@github.com:KennethJAllen/proper-pixel-art.git
cd proper-pixel-art
uv sync --extra web
Usage
First, obtain a source pixel-art-style image (e.g. a pixel-art-style image from a generative model such as OpenAI's gpt-image-2 or a web upload of pixel-art).
The examples below assume you installed via
pip installoruv add(commands are on yourPATH). If you installed from source withuv sync, prefix each command withuv run(e.g.uv run ppa ...).
Web Interface
Opens a browser interface where you can upload an image and adjust settings interactively.
ppa-web
# Opens http://127.0.0.1:7860
CLI
ppa <input_path> -o <output_path> -c <num_colors> -s <result_scale> [-t]
Options
| Option | Description |
|---|---|
| INPUT (positional) | Source file in pixel-art-style |
-o, --output <path> |
Output directory or file path for result. (default: '.') |
-c, --colors <int> |
Number of colors for output (1-256). Use 0 to skip quantization and preserve all colors. May need to try a few different values. (default 0) |
-s, --scale-result <int> |
Width/height of each "pixel" in the output. 1 = no scaling. (default: 1) |
-t, --transparent <bool> |
Output with transparent background. (default: off) |
-u, --initial-upscale <int> |
Initial image upscale factor. Increasing this may help detect pixel edges. (default 2) |
-w, --pixel-width <int> |
Width of the pixels in the input image. Use 0 to determine it automatically. (default: 0) |
Example
ppa assets/blob/blob.png -c 16 -s 25
Note: num_colors is the parameter most likely to need tuning. Try values like 8, 16, 32, or 64 if the result doesn't look right, or use 0 to skip quantization.
Use Without Cloning
UV offers options for users who want to run the tool without cloning
Web Interface (without cloning)
uvx --from "proper-pixel-art[web]" ppa-web
CLI (without cloning)
uvx --from "proper-pixel-art" ppa <input_path>
Python API
For Python developers who want to integrate this tool into their own code.
from PIL import Image
from proper_pixel_art import pixelate

image = Image.open('path/to/input.png')
result = pixelate(image, num_colors=16)
result.save('path/to/output.png')
Parameters
-
image:PIL.Image.Image- A PIL image to pixelate.
-
num_colors:int- The number of colors in result (1-256). Use 0 to skip quantization and preserve all colors.
- May need to try a few values if the colors don't look right.
- 8, 16, 32, or 64 typically works for quantized output.
-
initial_upscale_factor:int- Upscale initial image. This may help detect lines.
-
scale_result:int- Upscale result after algorithm is complete. 1 = no scaling.
-
transparent_background:bool- If True, flood fills each corner of the result with transparent alpha.
-
intermediate_dir:Path | None- Directory to save images visualizing intermediate steps of algorithm. Useful for development.
-
pixel_width:int- Width of the pixels in the input image. Use 0 to determine it automatically. It may be helpful to increase this parameter if not enough pixel edges are being detected.
-
config:PixelateConfig | None- A bundle of every tunable parameter, including the deeper mesh-detection (Canny, Hough, line clustering) and color (alpha/transparency thresholds, quantization method, color binning) settings that are not exposed as direct arguments. Load one from a YAML file with
PixelateConfig.from_yaml(path). Any explicit argument above overrides the matching value inconfig.
- A bundle of every tunable parameter, including the deeper mesh-detection (Canny, Hough, line clustering) and color (alpha/transparency thresholds, quantization method, color binning) settings that are not exposed as direct arguments. Load one from a YAML file with
Returns
A PIL image with true pixel resolution and quantized colors.
Configuration file
All tunable parameters can be collected in a YAML file so you can fine-tune the algorithm without changing code. See config.example.yaml for the full list of keys with their defaults. Any key you omit falls back to the default, so partial files are fine.
from PIL import Image
from proper_pixel_art import pixelate
from proper_pixel_art.config import PixelateConfig

config = PixelateConfig.from_yaml('config.yaml')
result = pixelate(Image.open('input.png'), config=config)
From the CLI, pass --config. Flags given explicitly override values from the file:
ppa input.png --config config.yaml      # use the file
ppa input.png --config config.yaml -c 8 # but override num_colors to 8
Examples
The algorithm is robust. It performs well for images that are already approximately aligned to a grid.
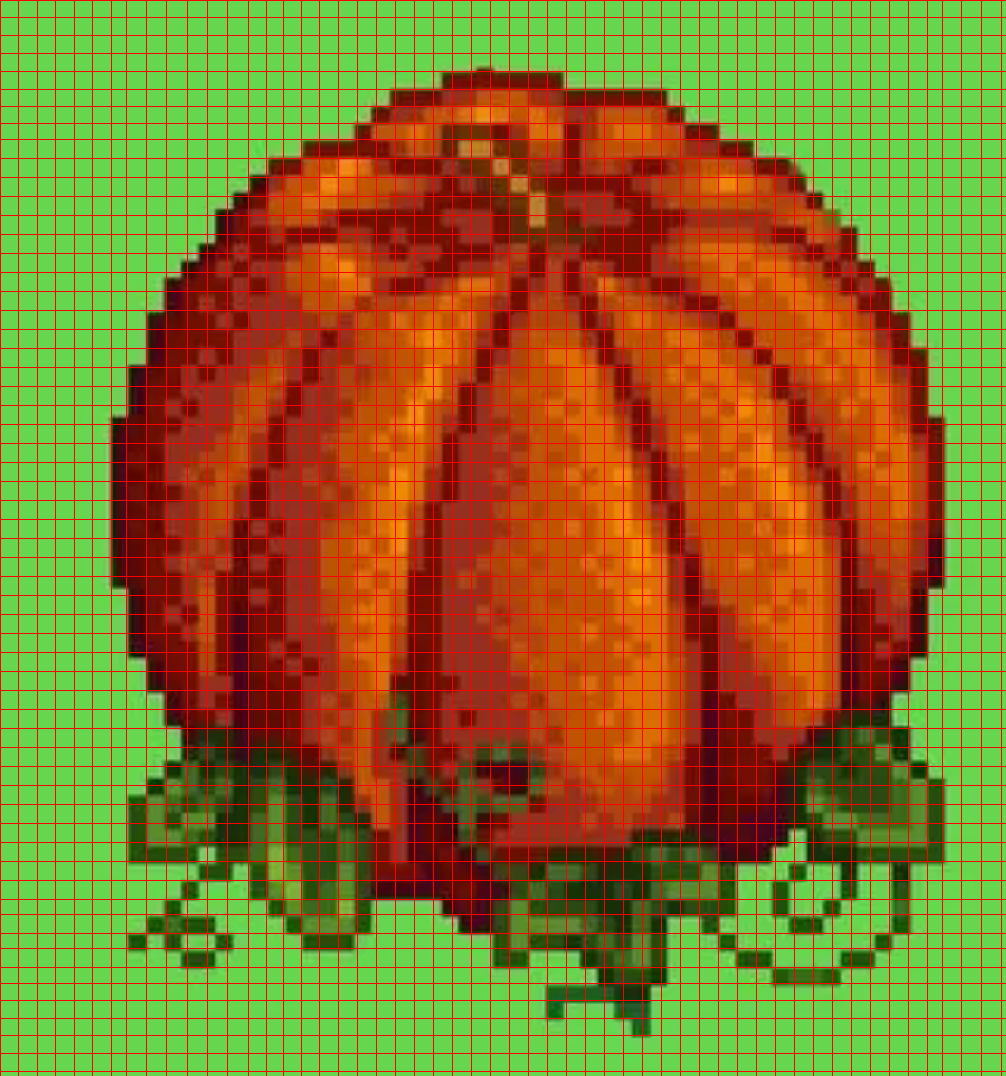
Here are a few examples. A mesh is computed, where each cell corresponds to one pixel.
Bat
- Generated by GPT-4o.
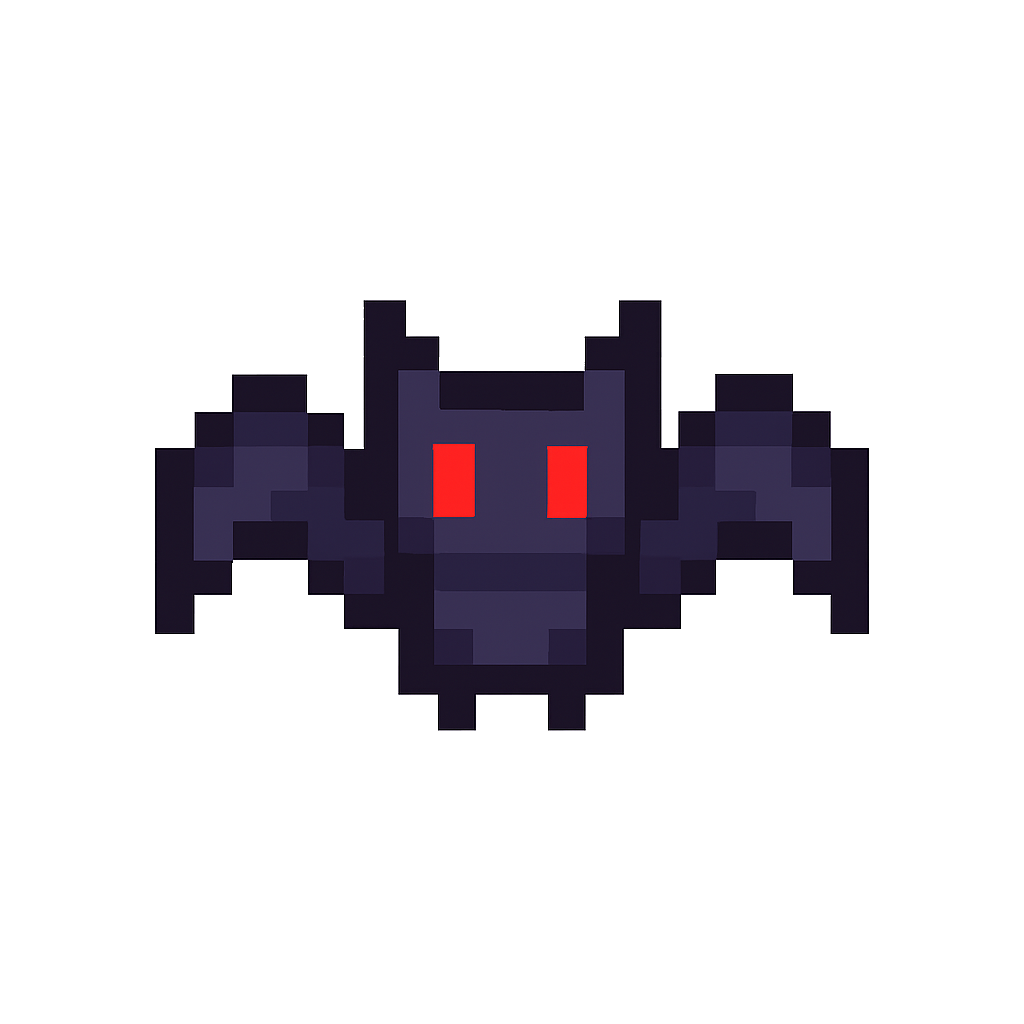
Noisy, High Resolution |
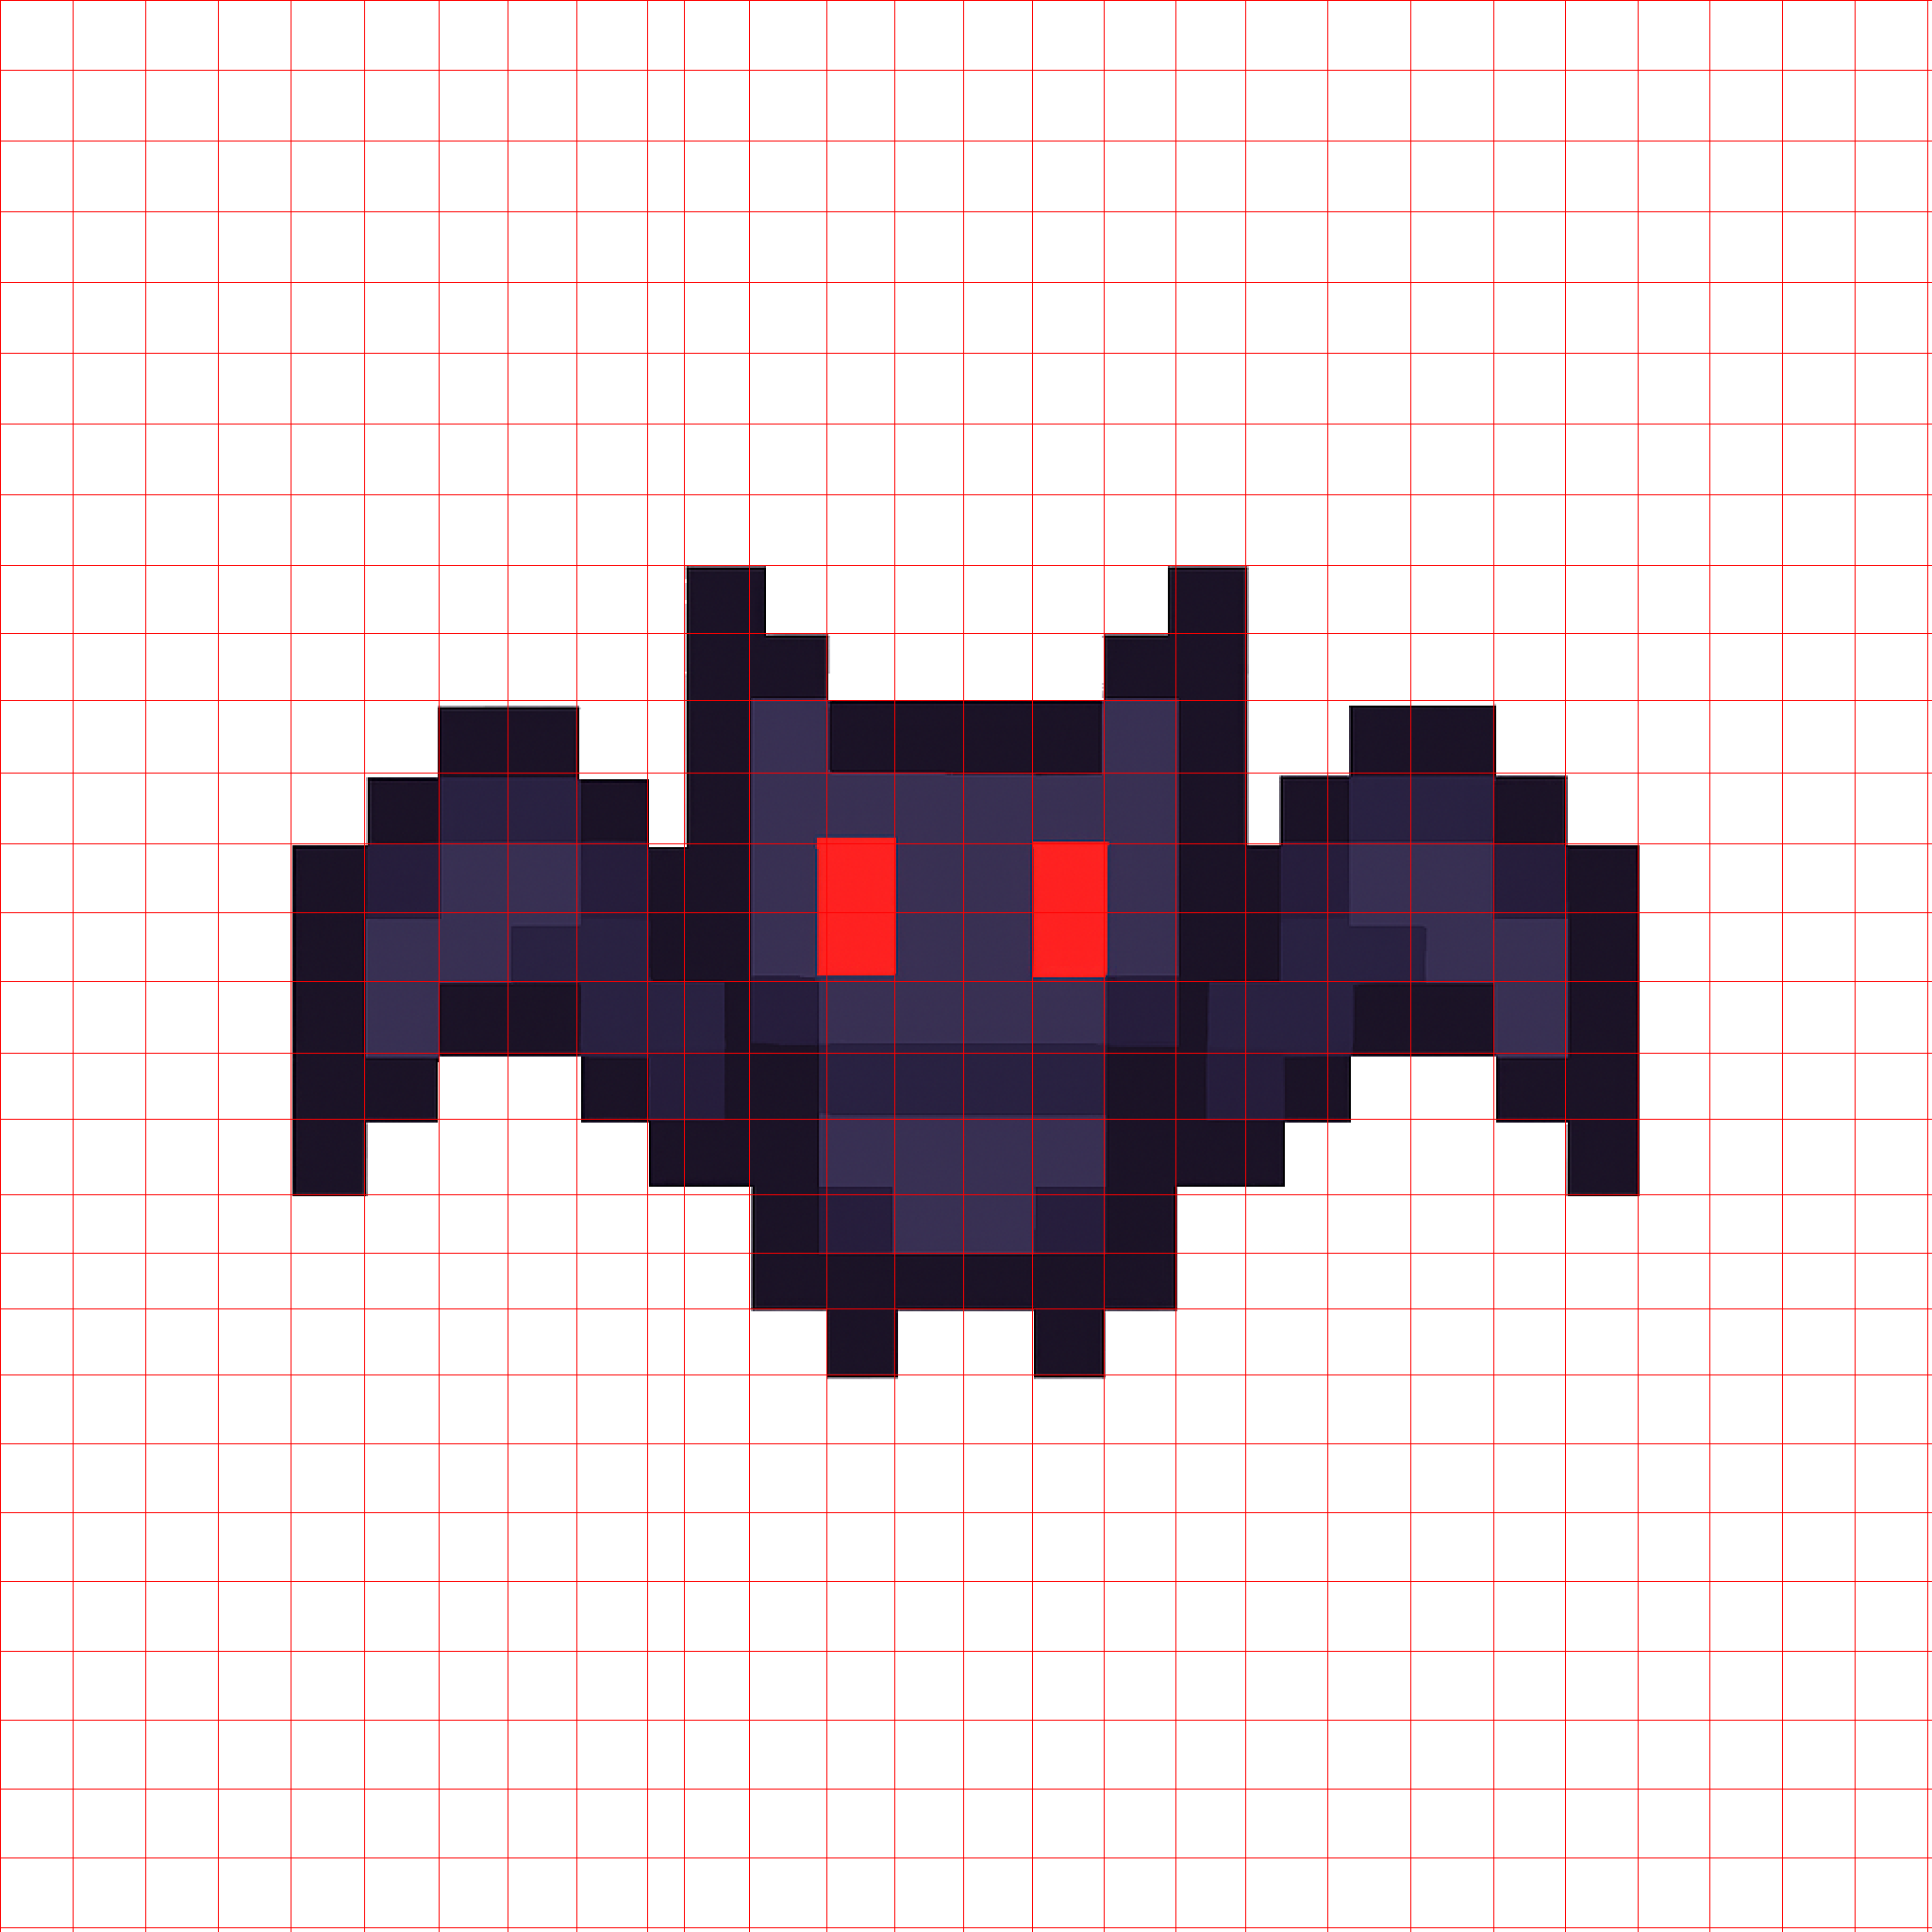
Mesh |
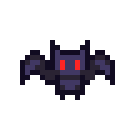
True Pixel Resolution |
Ash
- Screenshot from Google images of Pokemon asset.
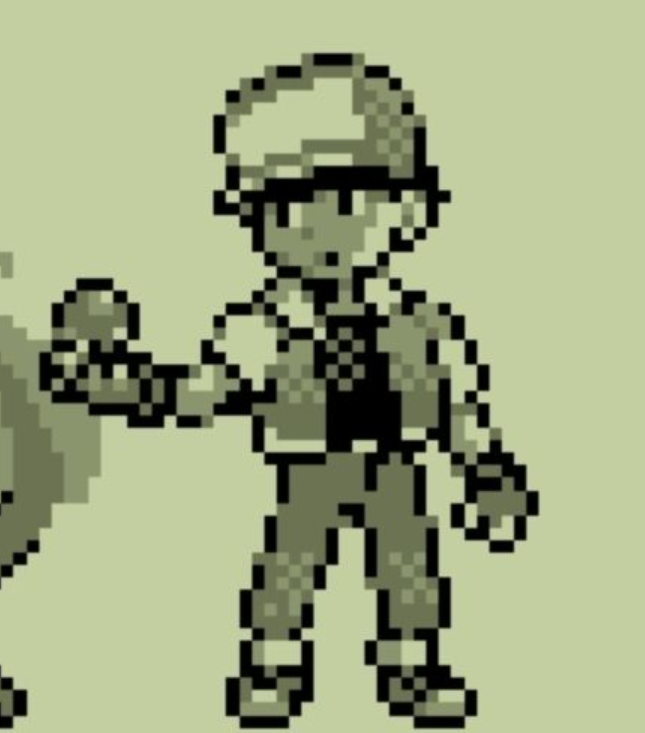
Noisy, High Resolution |
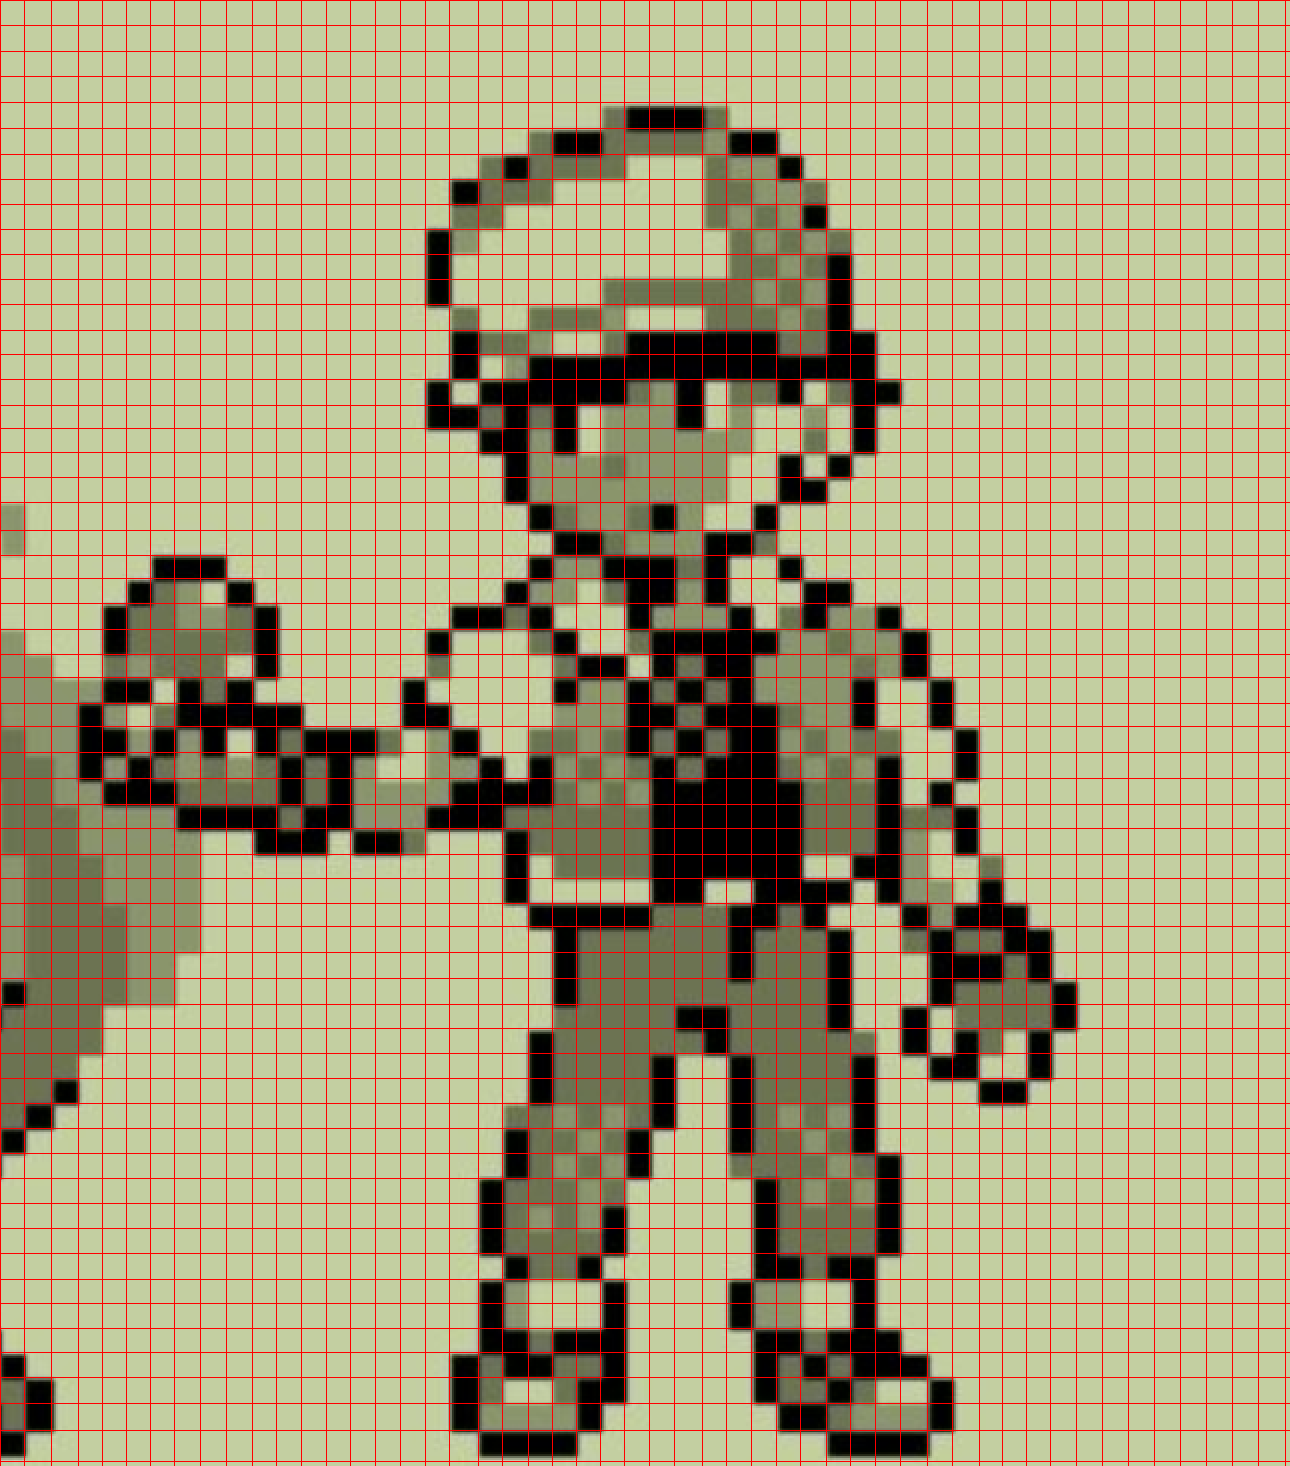
Mesh |
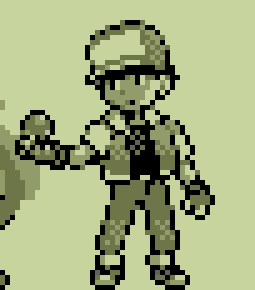
True Pixel Resolution |
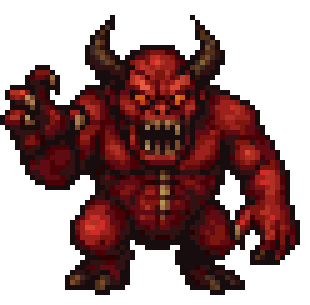
Demon
- Original image generated by GPT-4o.
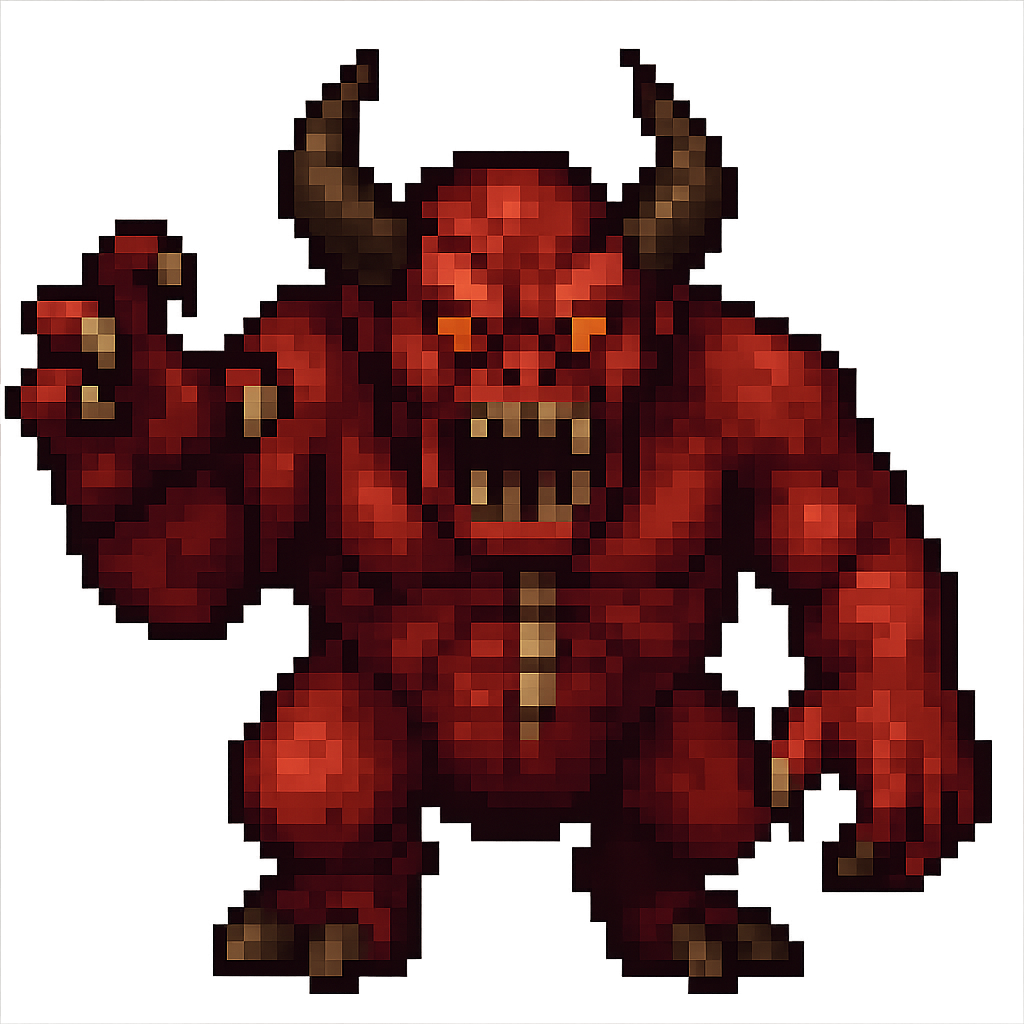
Noisy, High Resolution |
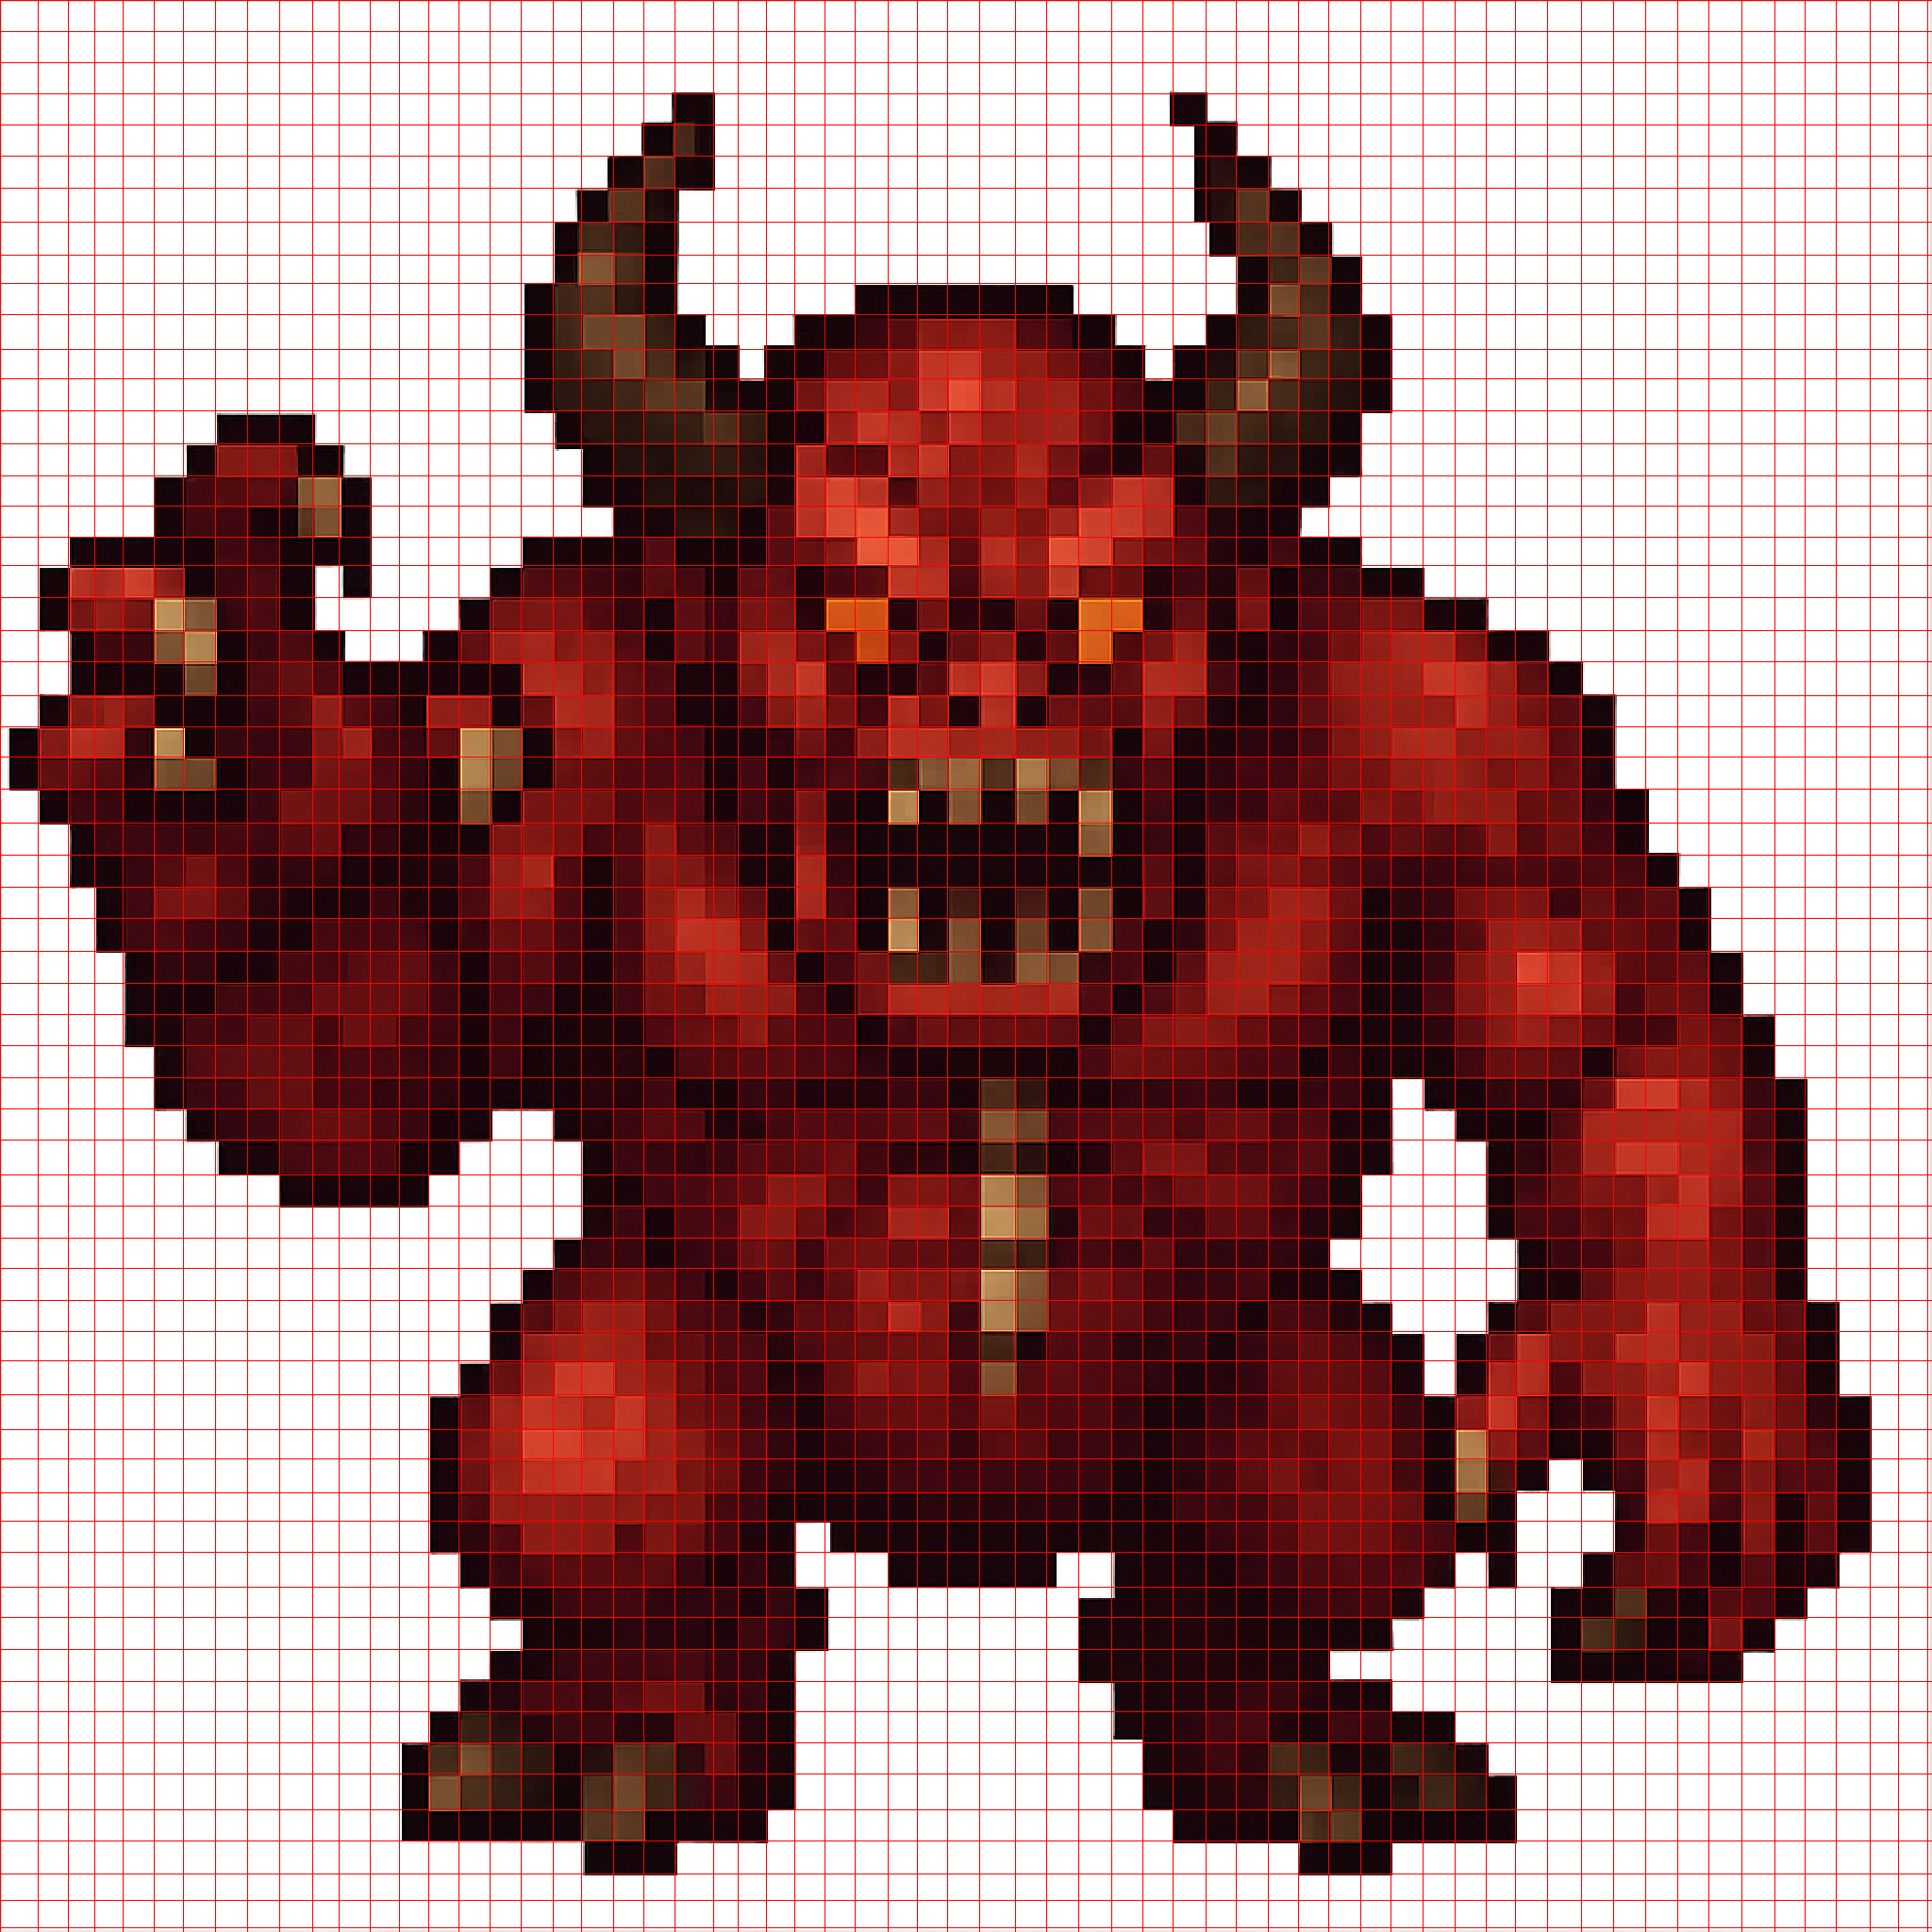
Mesh |
True Pixel Resolution |
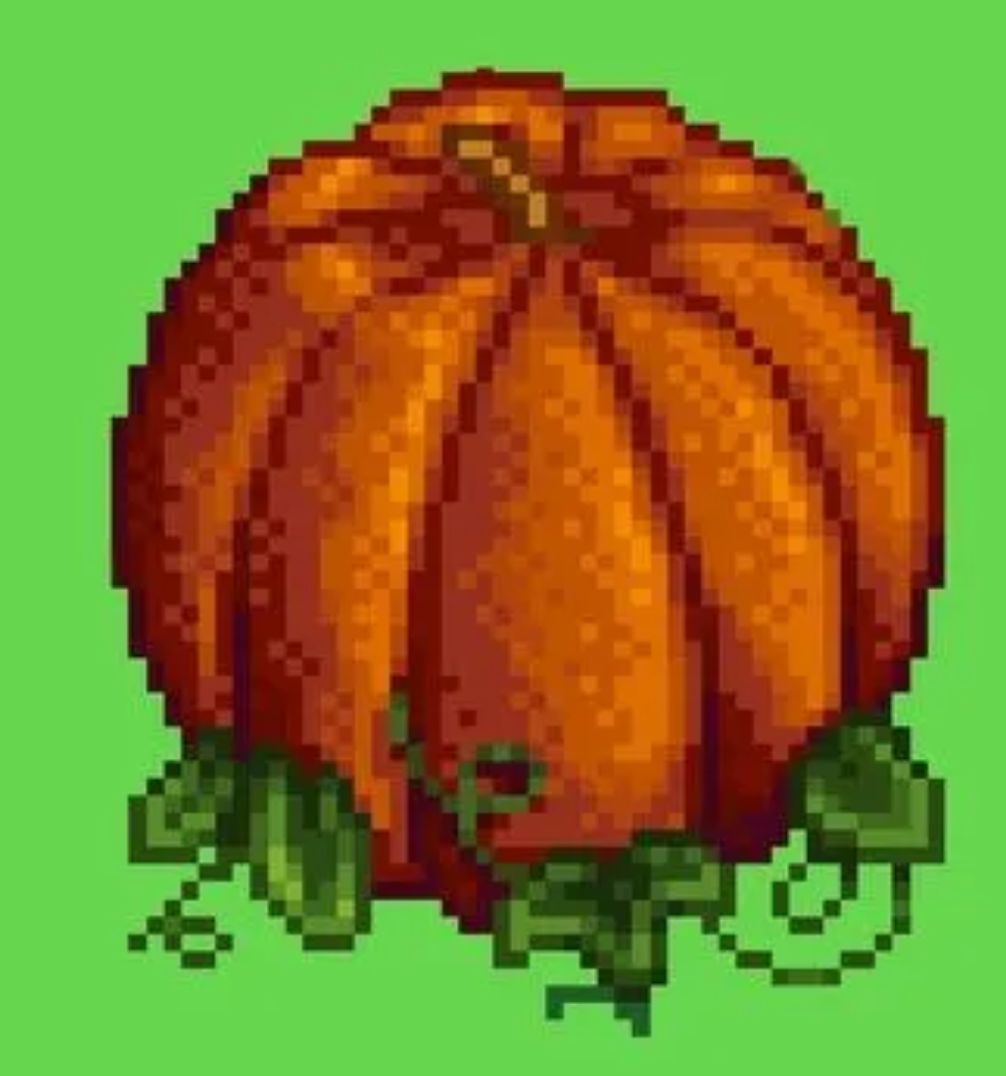
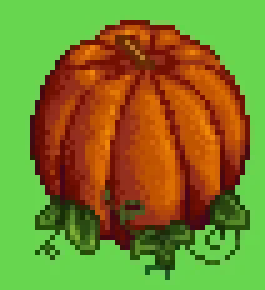
Pumpkin
- Screenshot from Google Images of Stardew Valley asset. This is an adversarial example as the source image is both low quality and the object is round.
Noisy, High Resolution |
Mesh |
True Pixel Resolution |
Real Images To Pixel Art
-
This tool can also be used to convert real images to pixel art by first requesting a pixelated version of the original image from GPT-4o, then using the tool to get the true pixel-resolution image.
-
Consider this image of a mountain
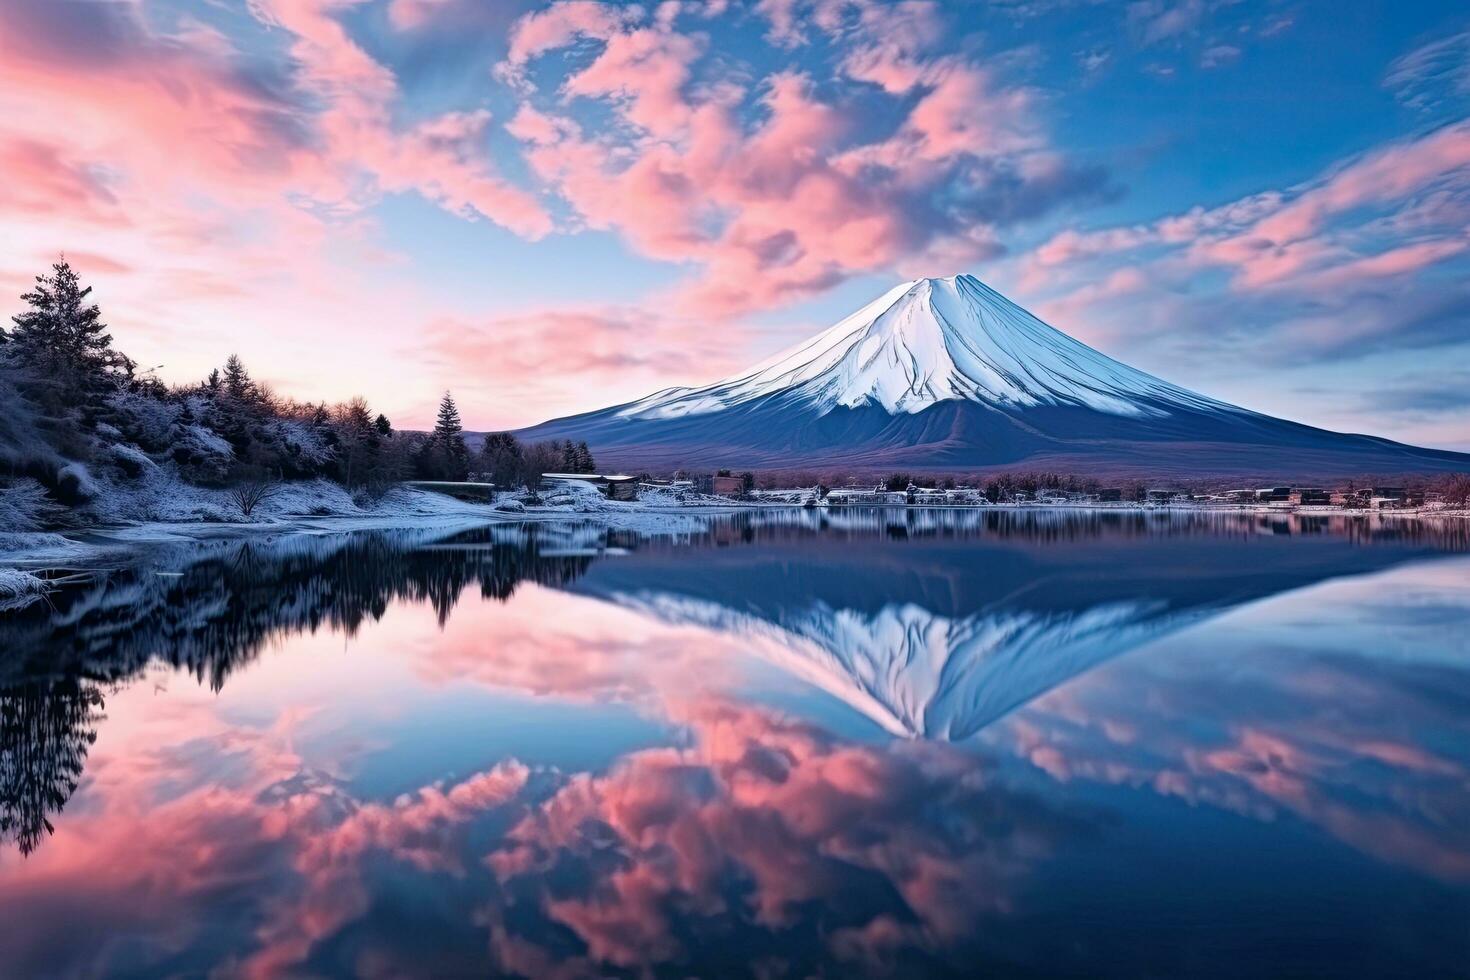
- Here are the results of first requesting a pixelated version of the mountain, then using the tool to get a true resolution pixel art version.
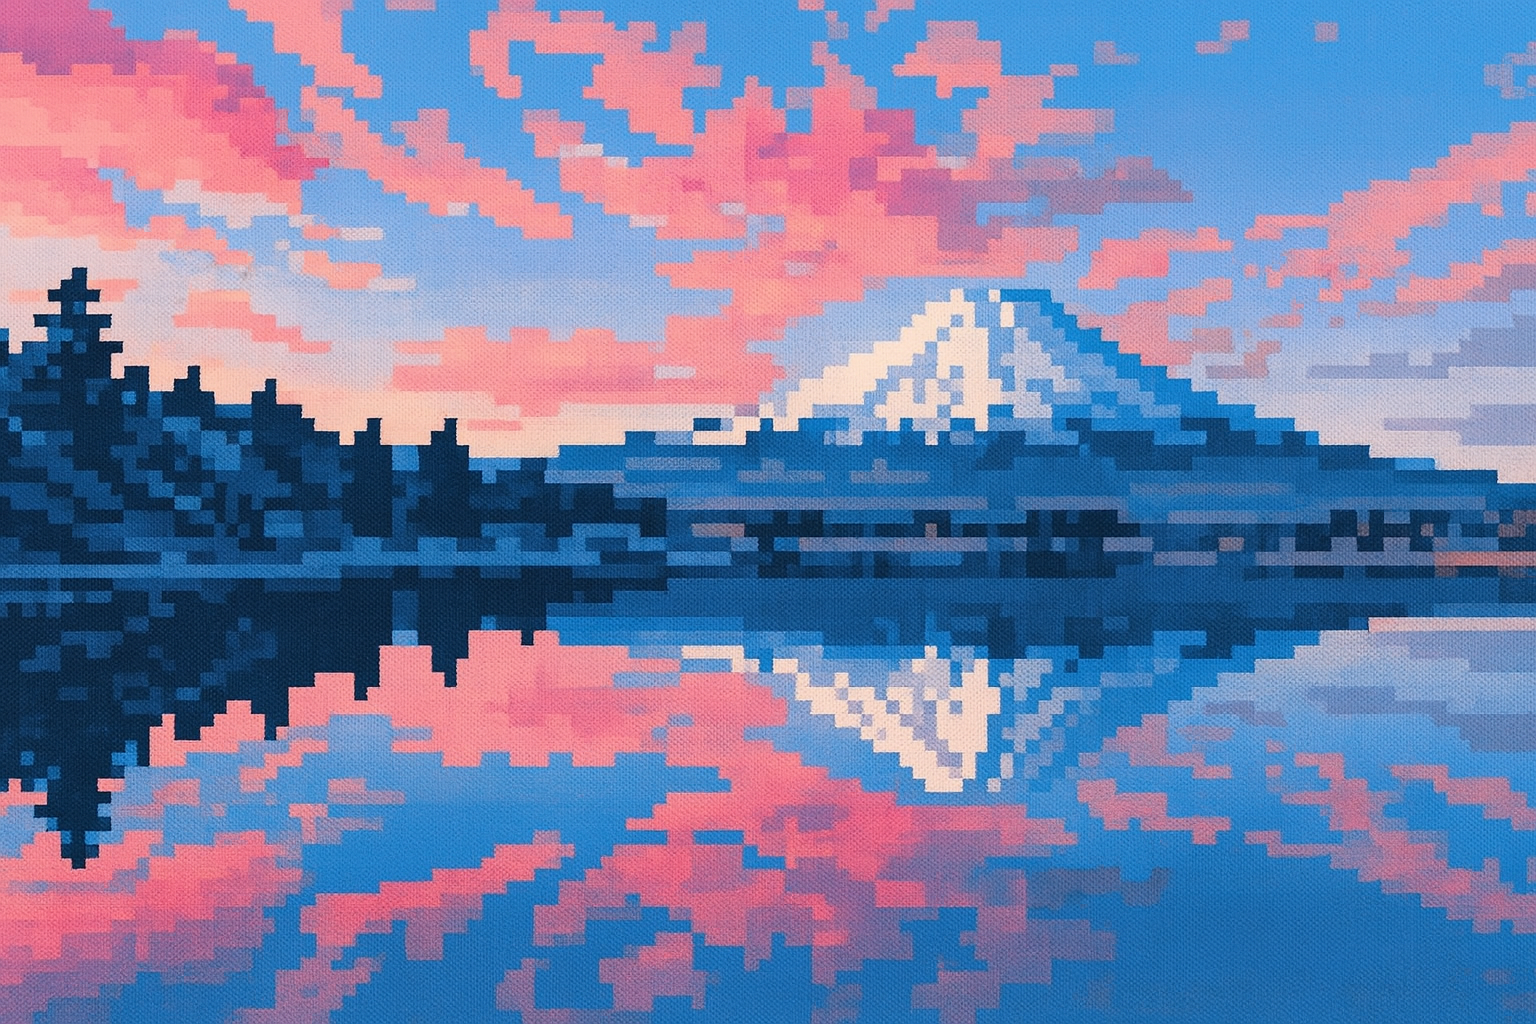
Noisy, High Resolution |
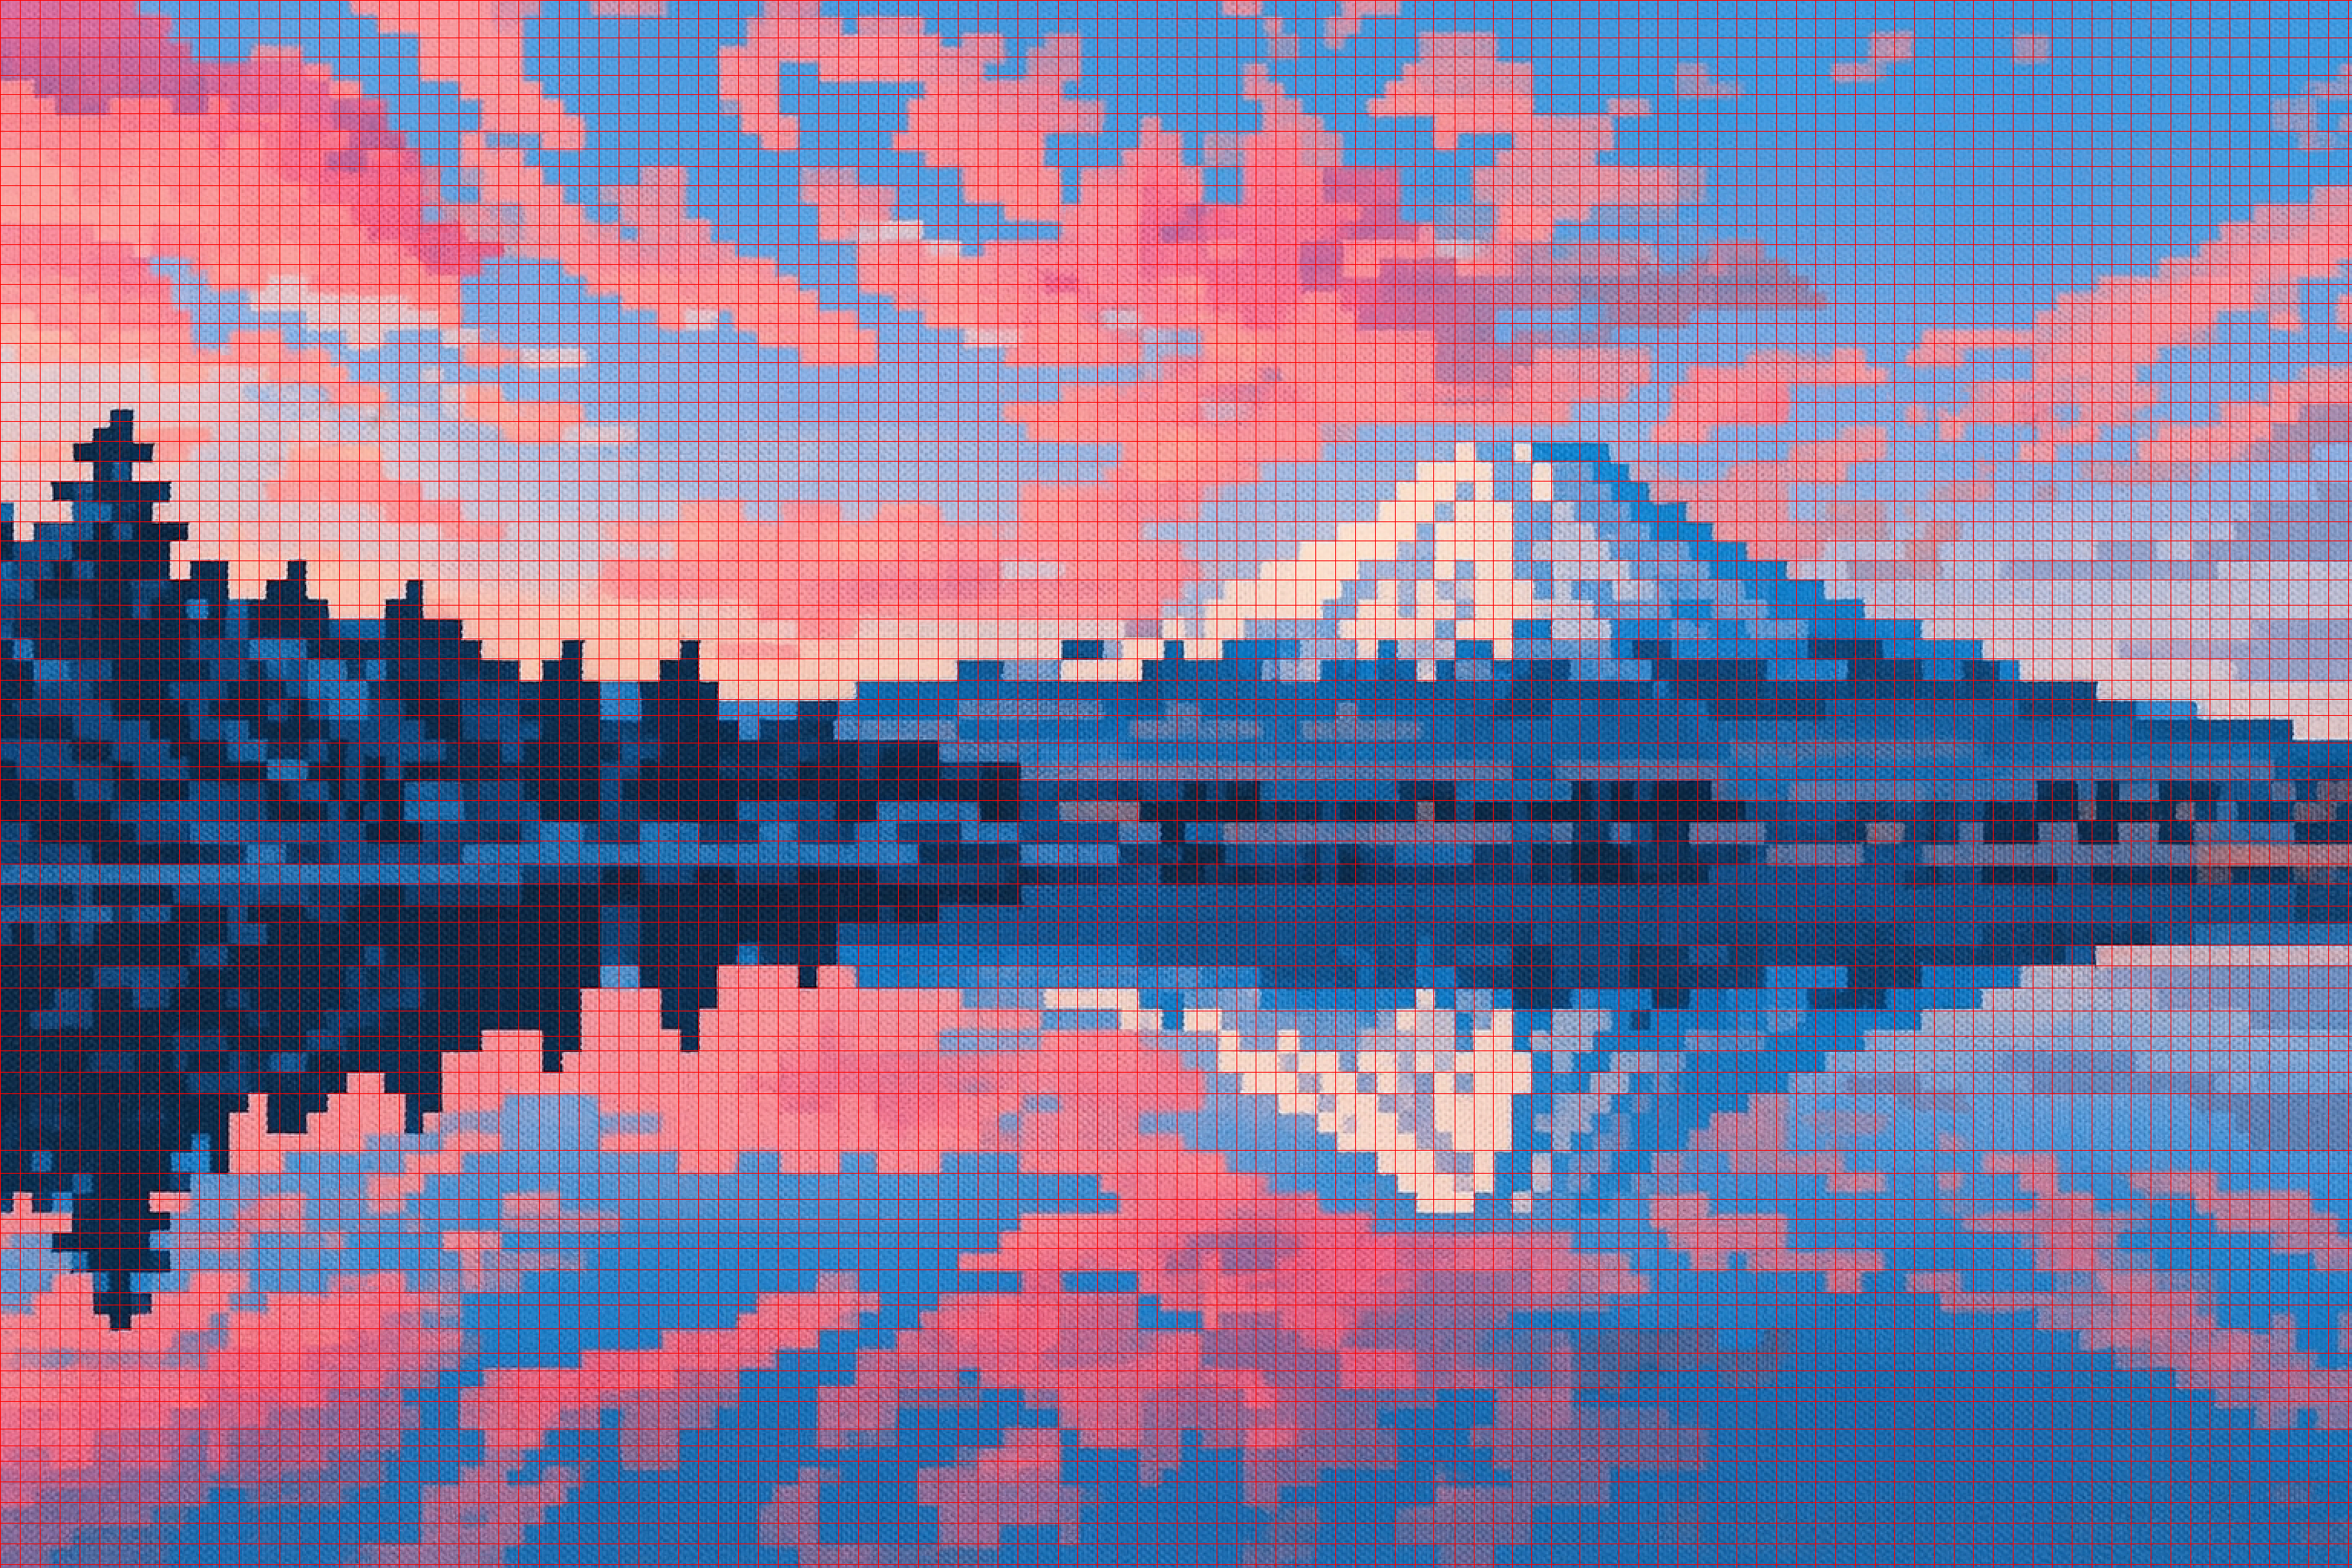
Mesh |
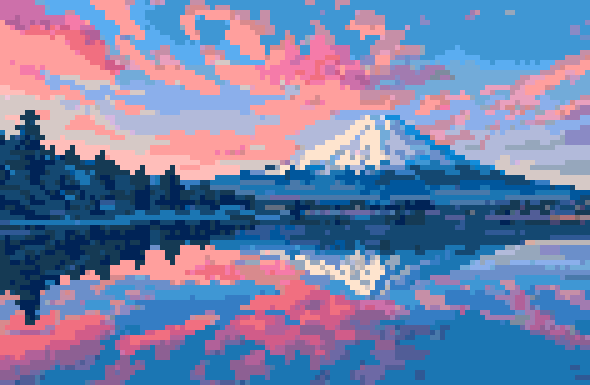
True Pixel Resolution |
Algorithm
- The main algorithm solves these challenges. Here is a high level overview. We will apply it step by step on this example image of blob pixel art that was generated from GPT-4o.
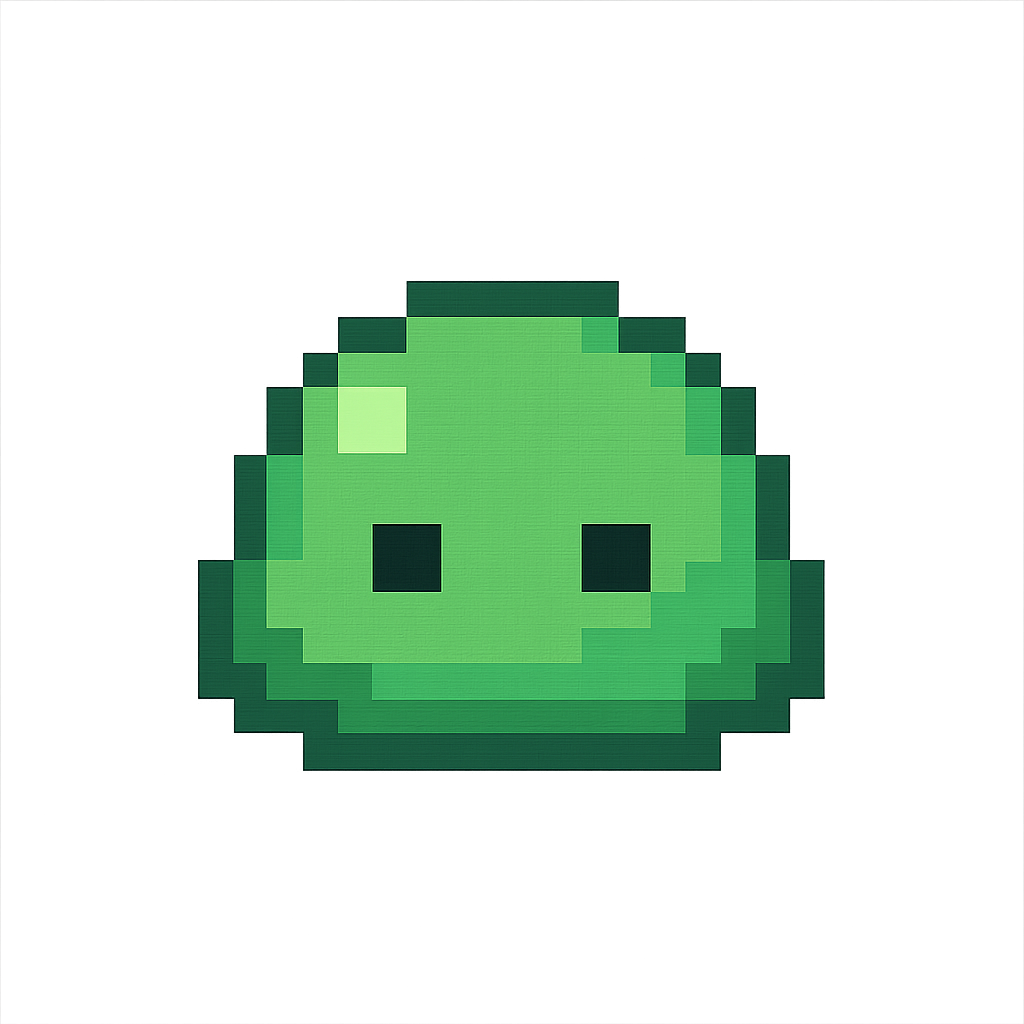
- Note that this image is high resolution and noisy.
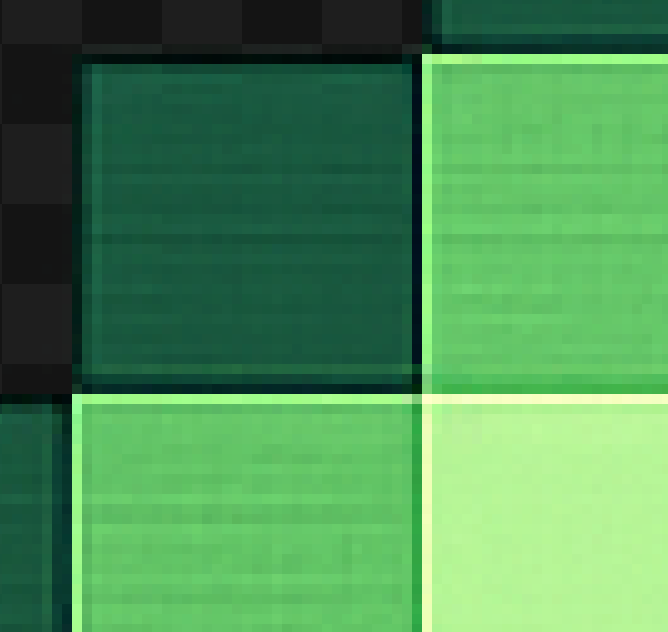
-
Trim the edges of the image and zero out pixels with more than 50% alpha.
- This is to work around some issues with models such as GPT-4o not giving a perfectly transparent background.
-
Upscale by a factor of 2 using nearest neighbor.
- This can help identify the correct pixel mesh.
-
Find edges of the pixel art using Canny edge detection.
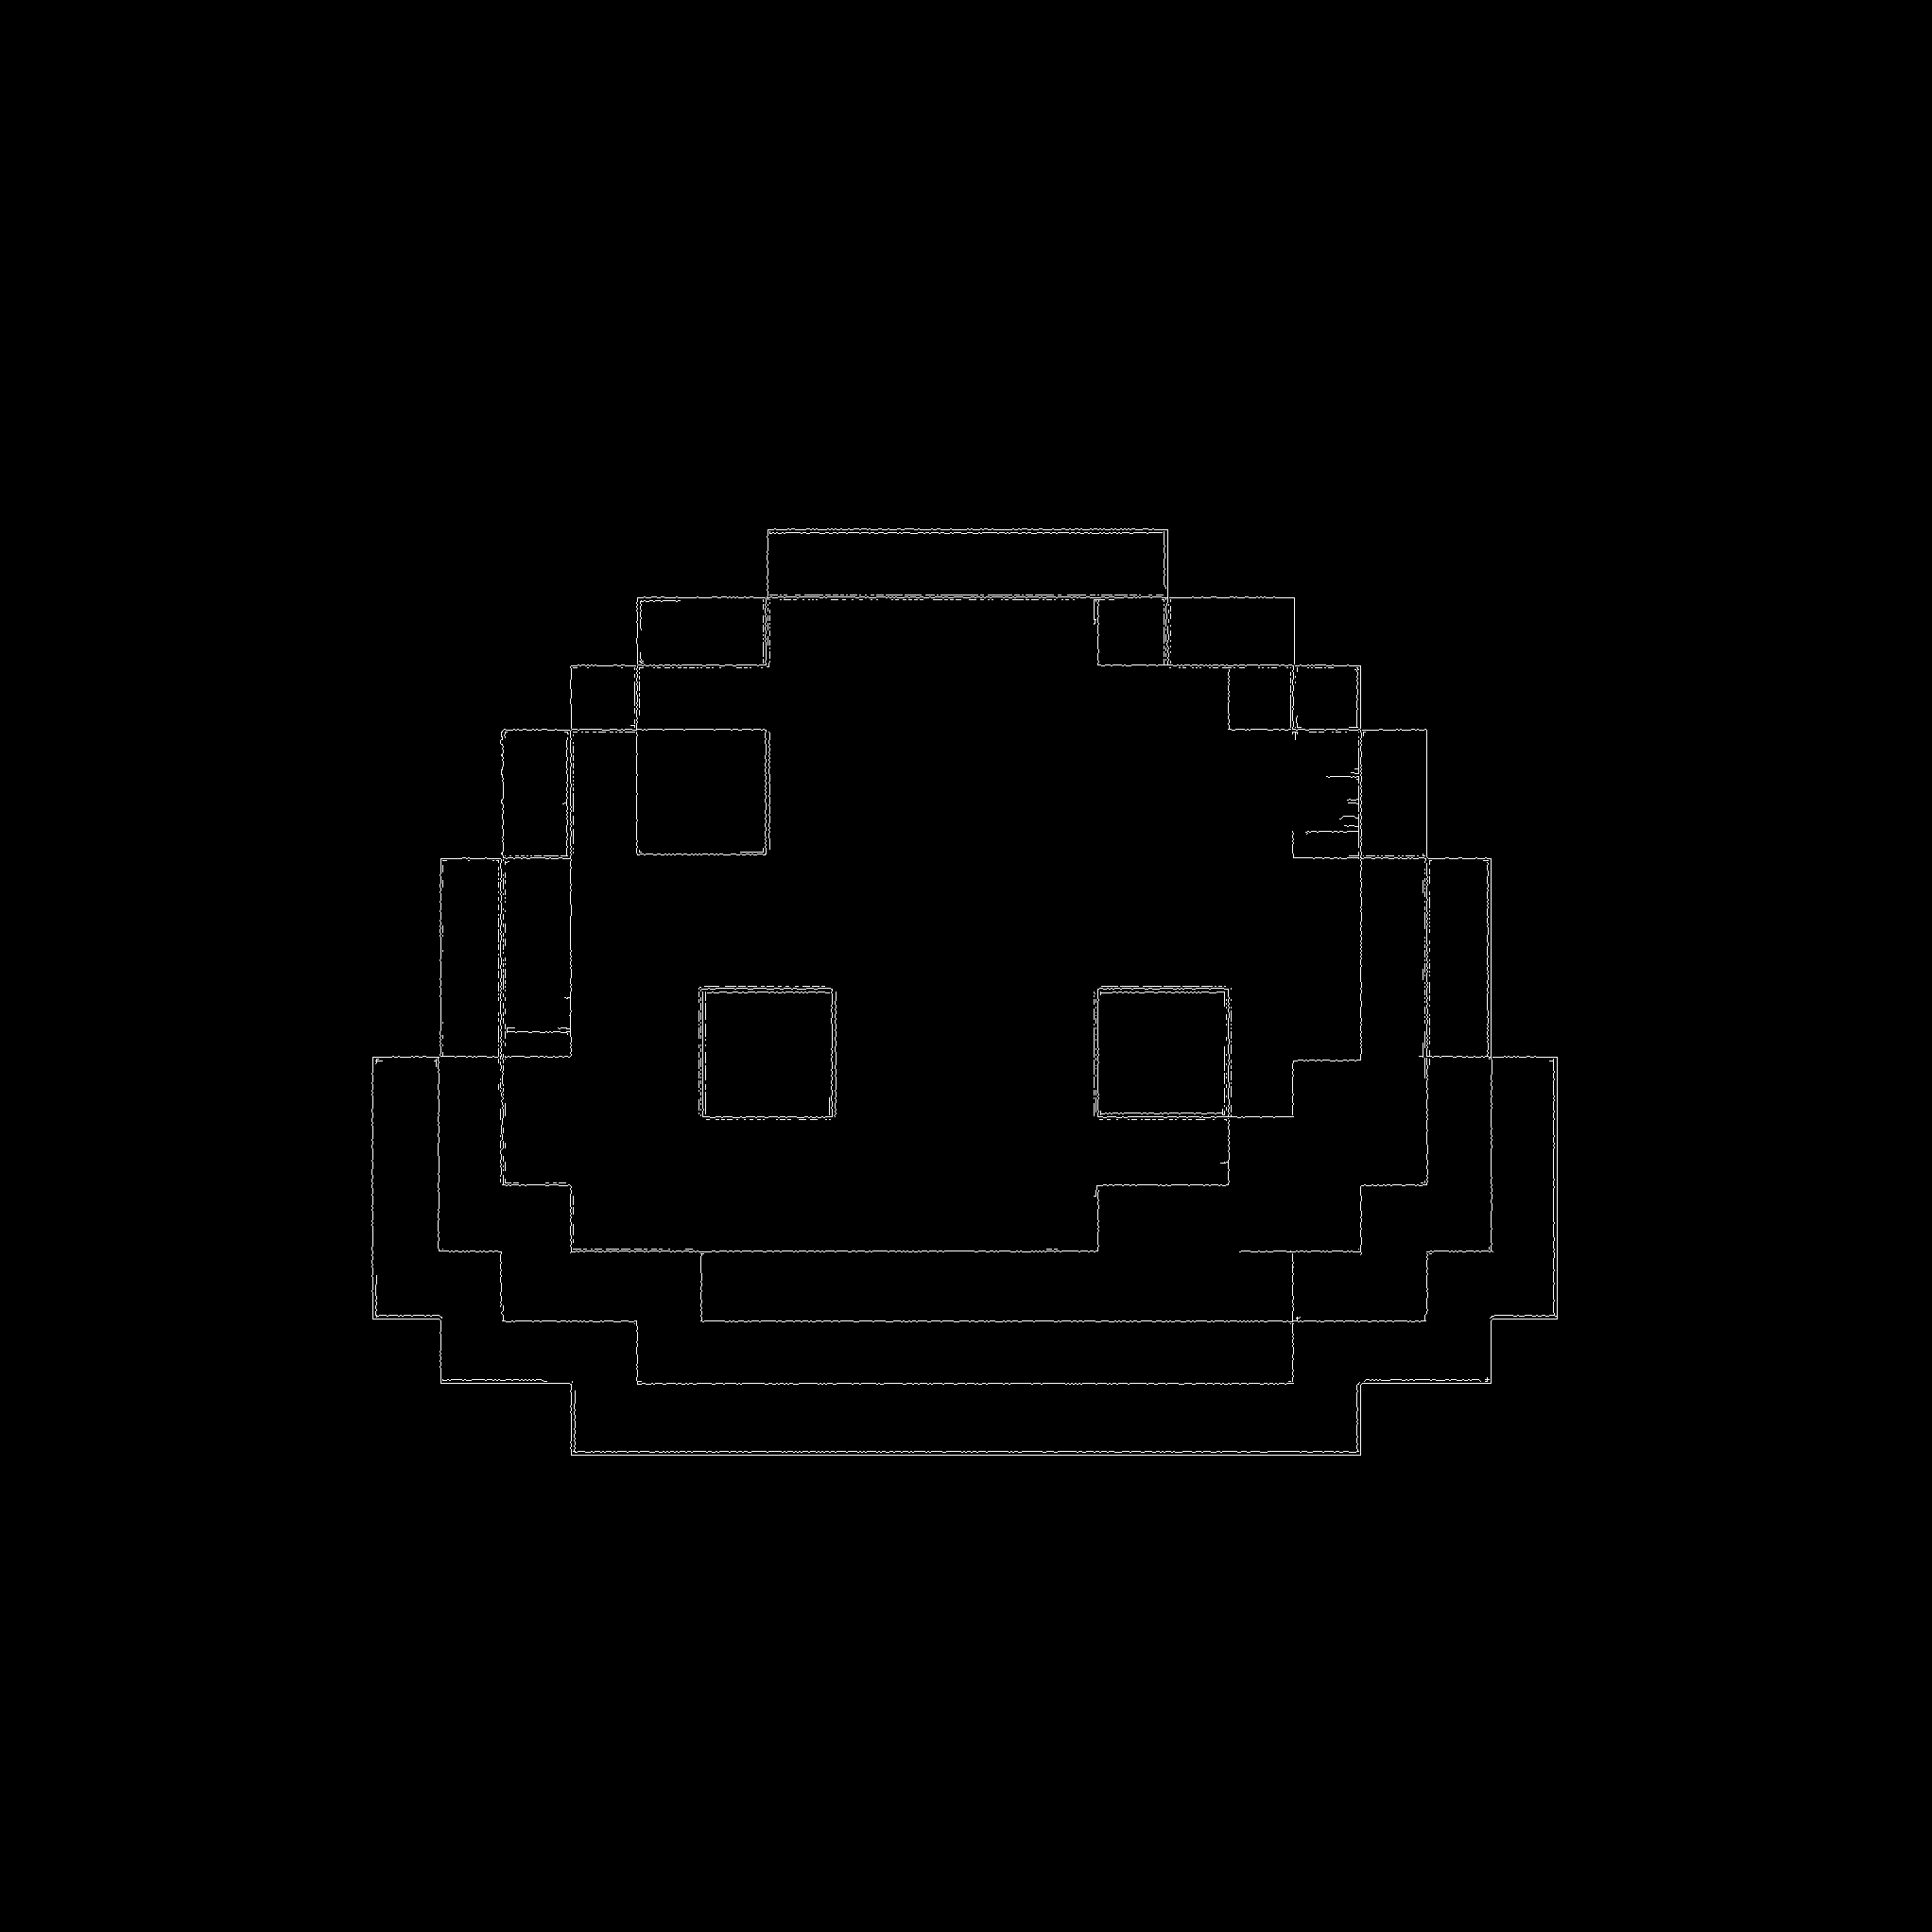
- Close small gaps in edges with a morphological closing.
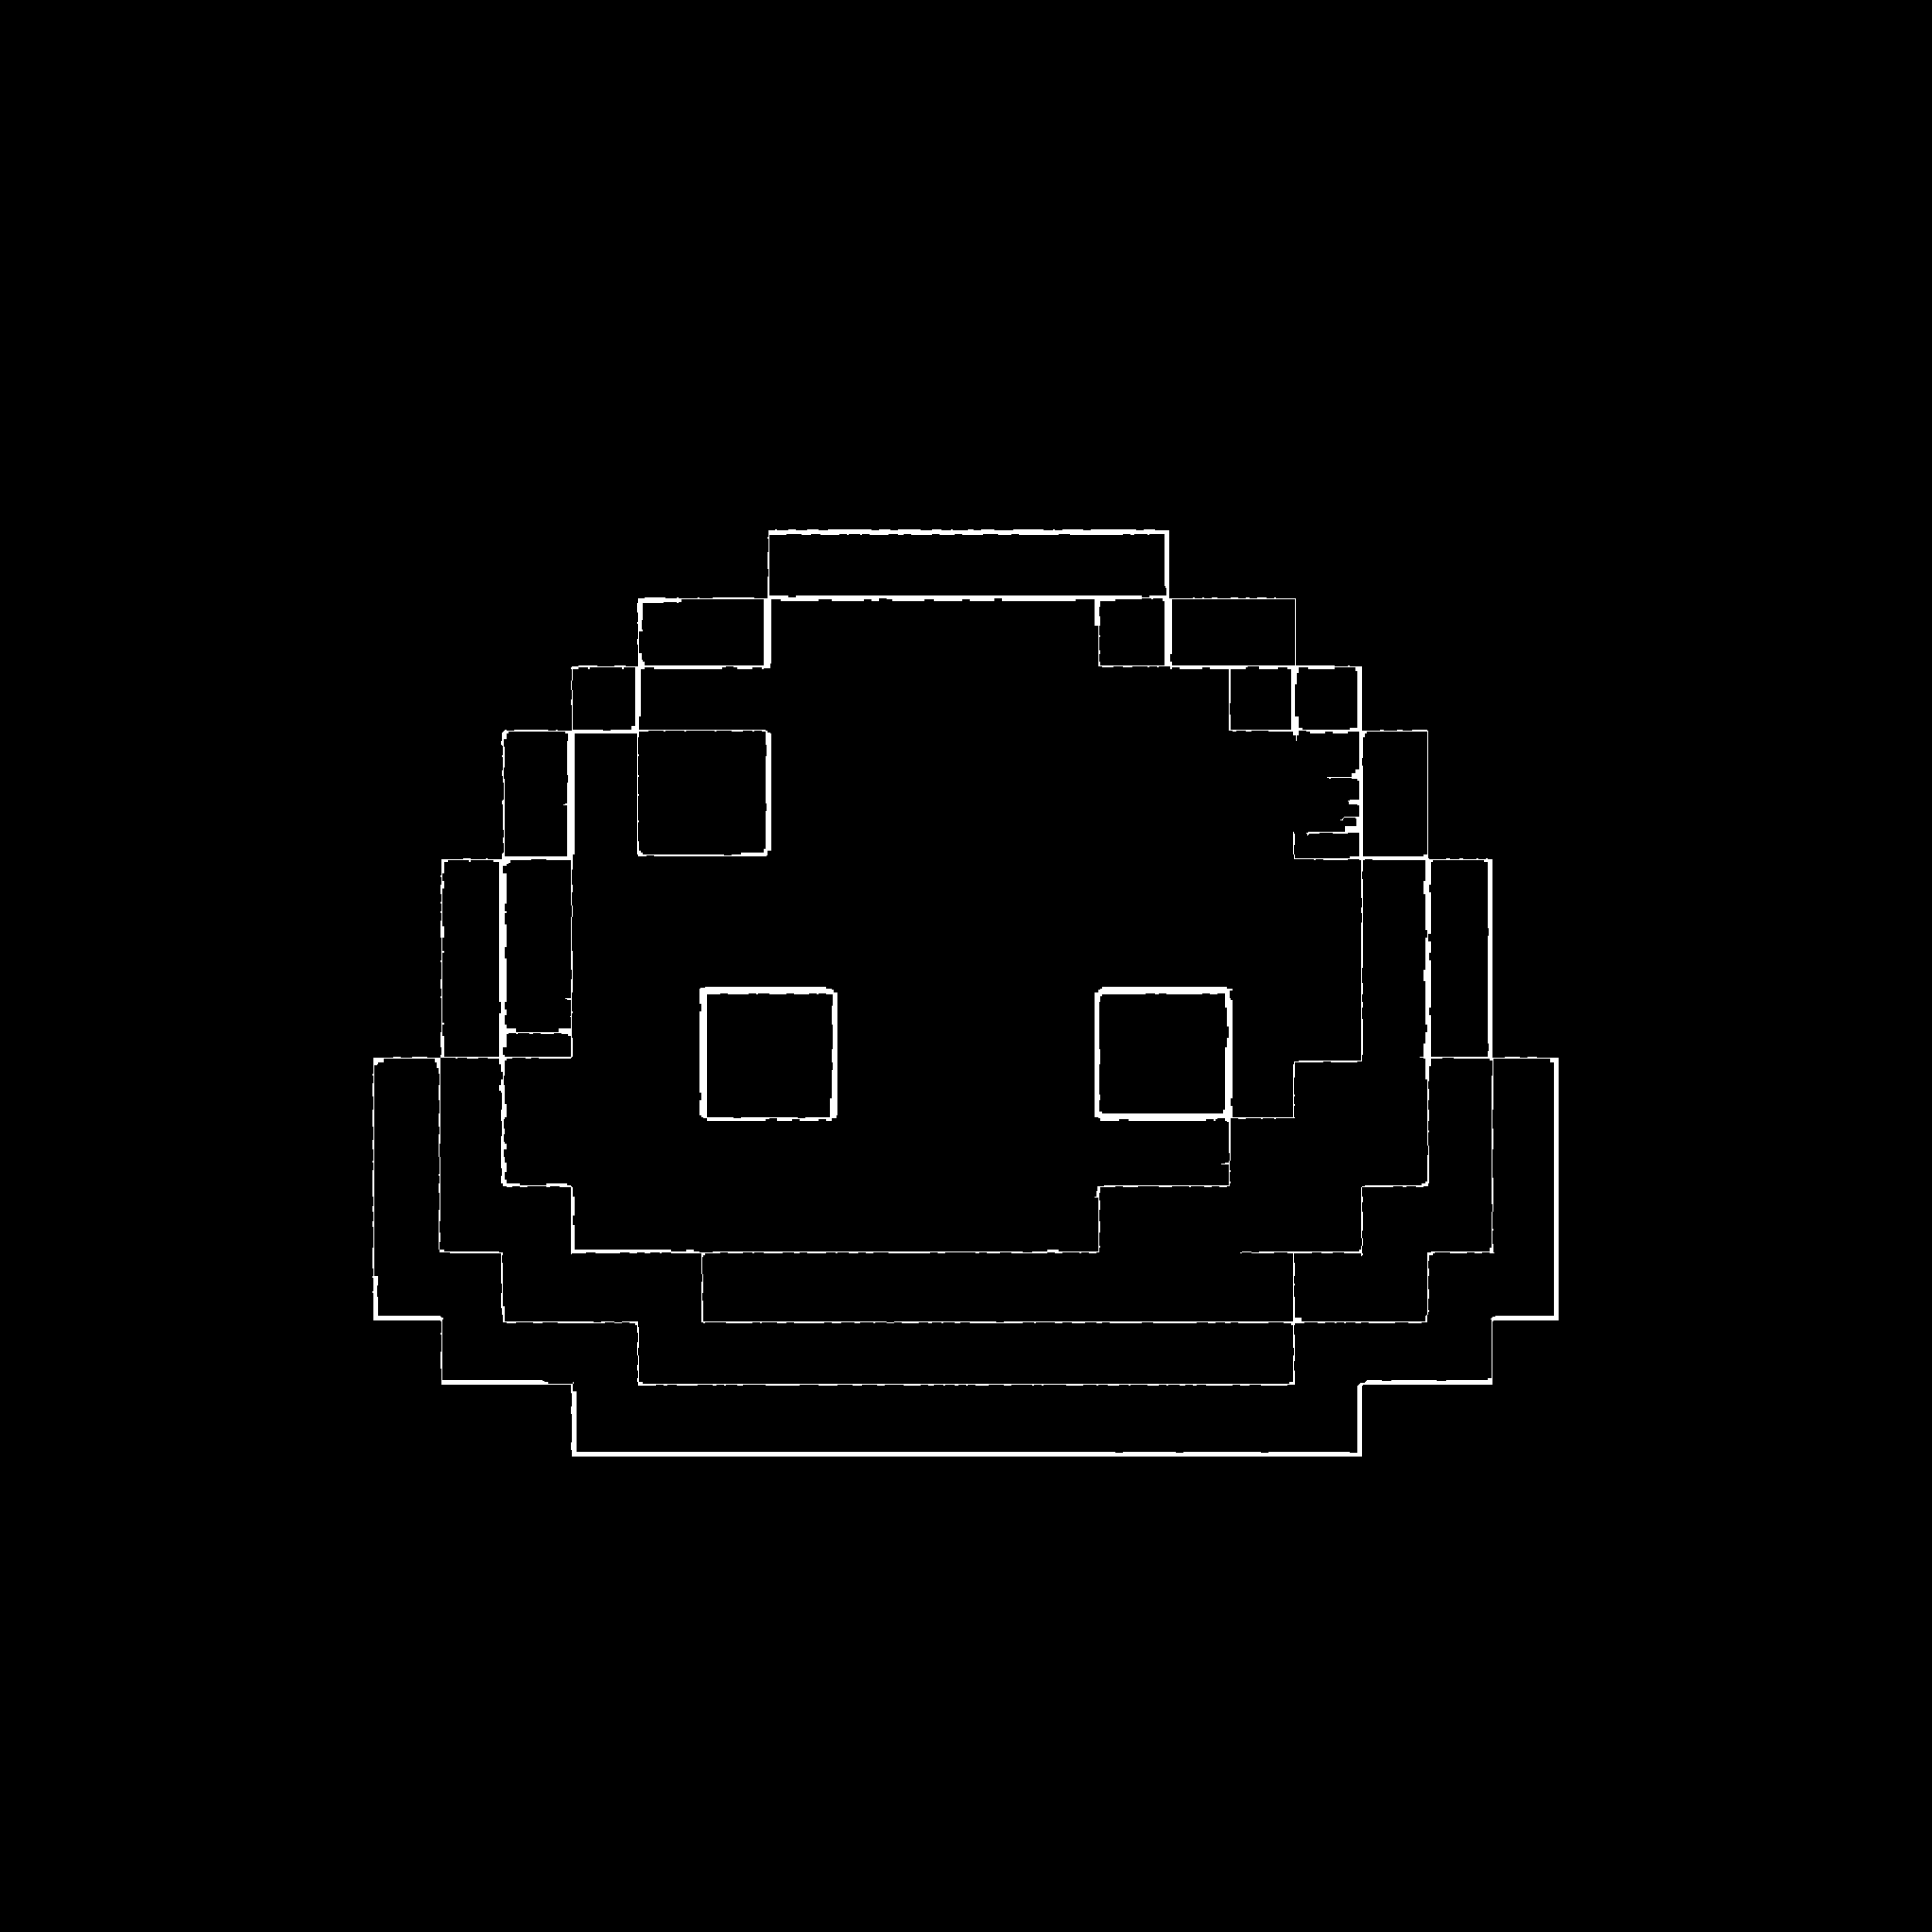
- Take the probabilistic Hough transform to get the coordinates of lines in the detected edges. Only keep lines that are close to vertical or horizontal giving some grid coordinates. Cluster lines that are closeby together.
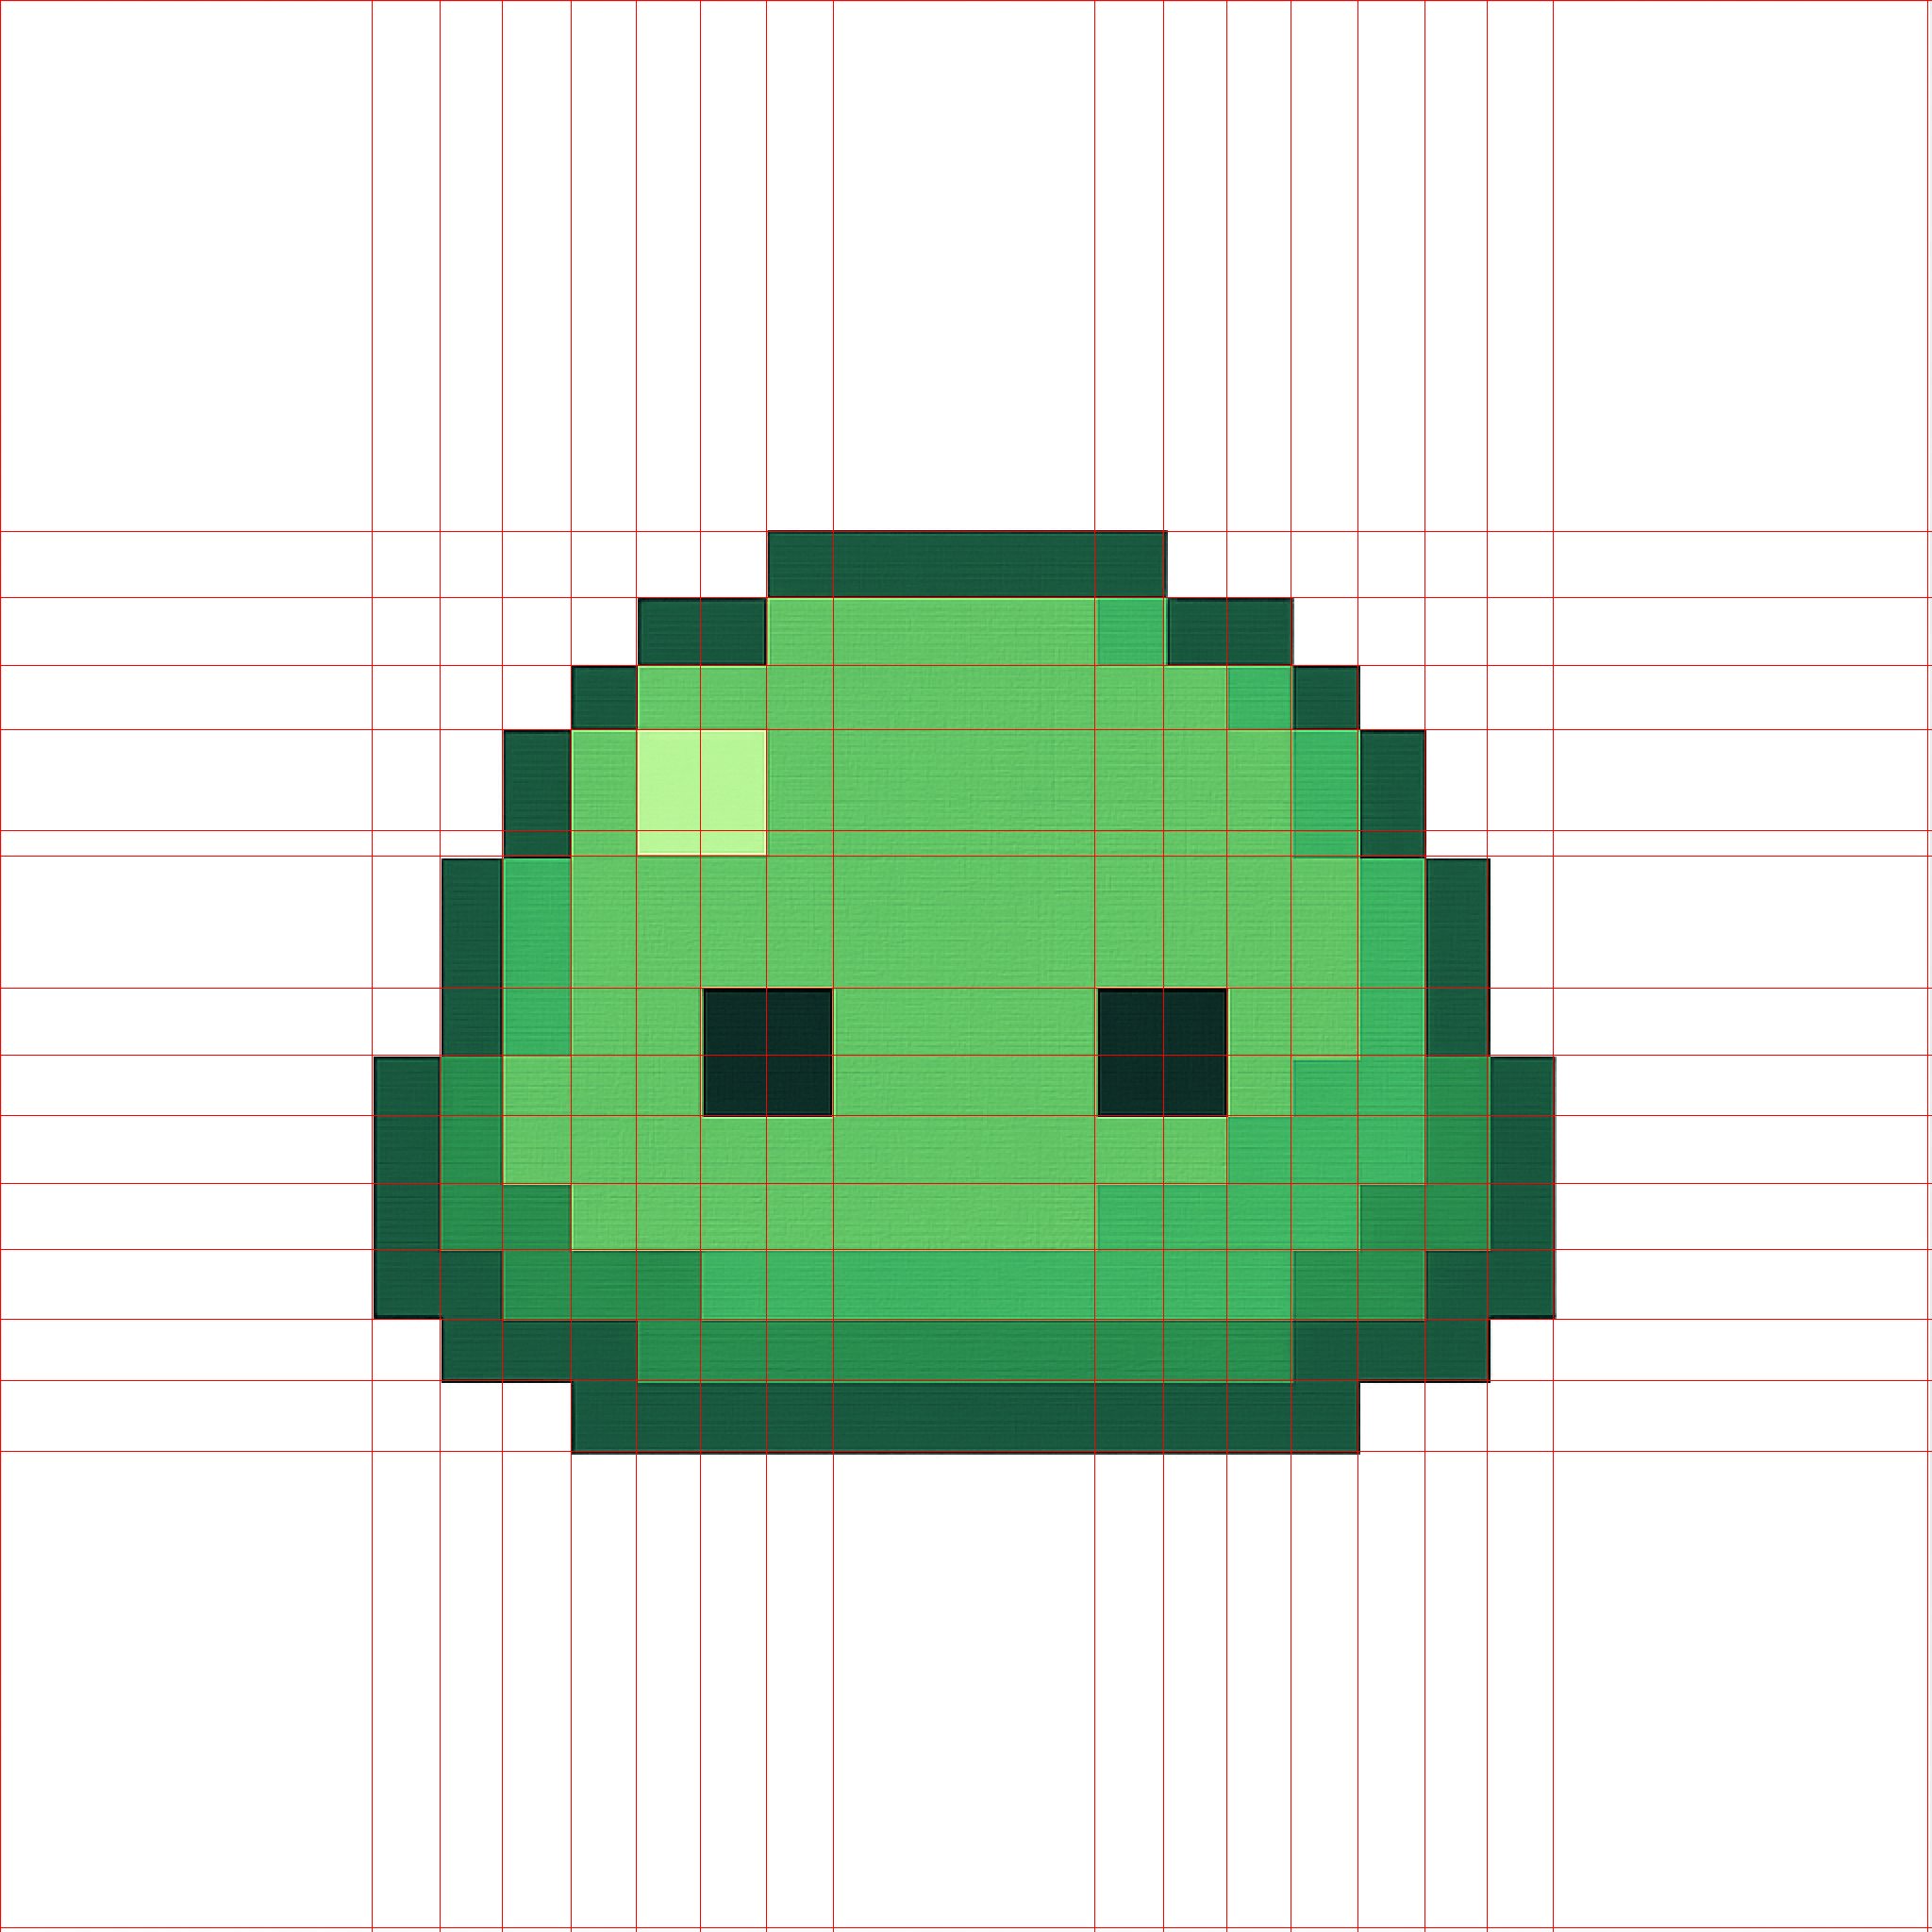
- Find the grid spacing by filtering outliers and taking the median of the spacings, then complete the mesh.
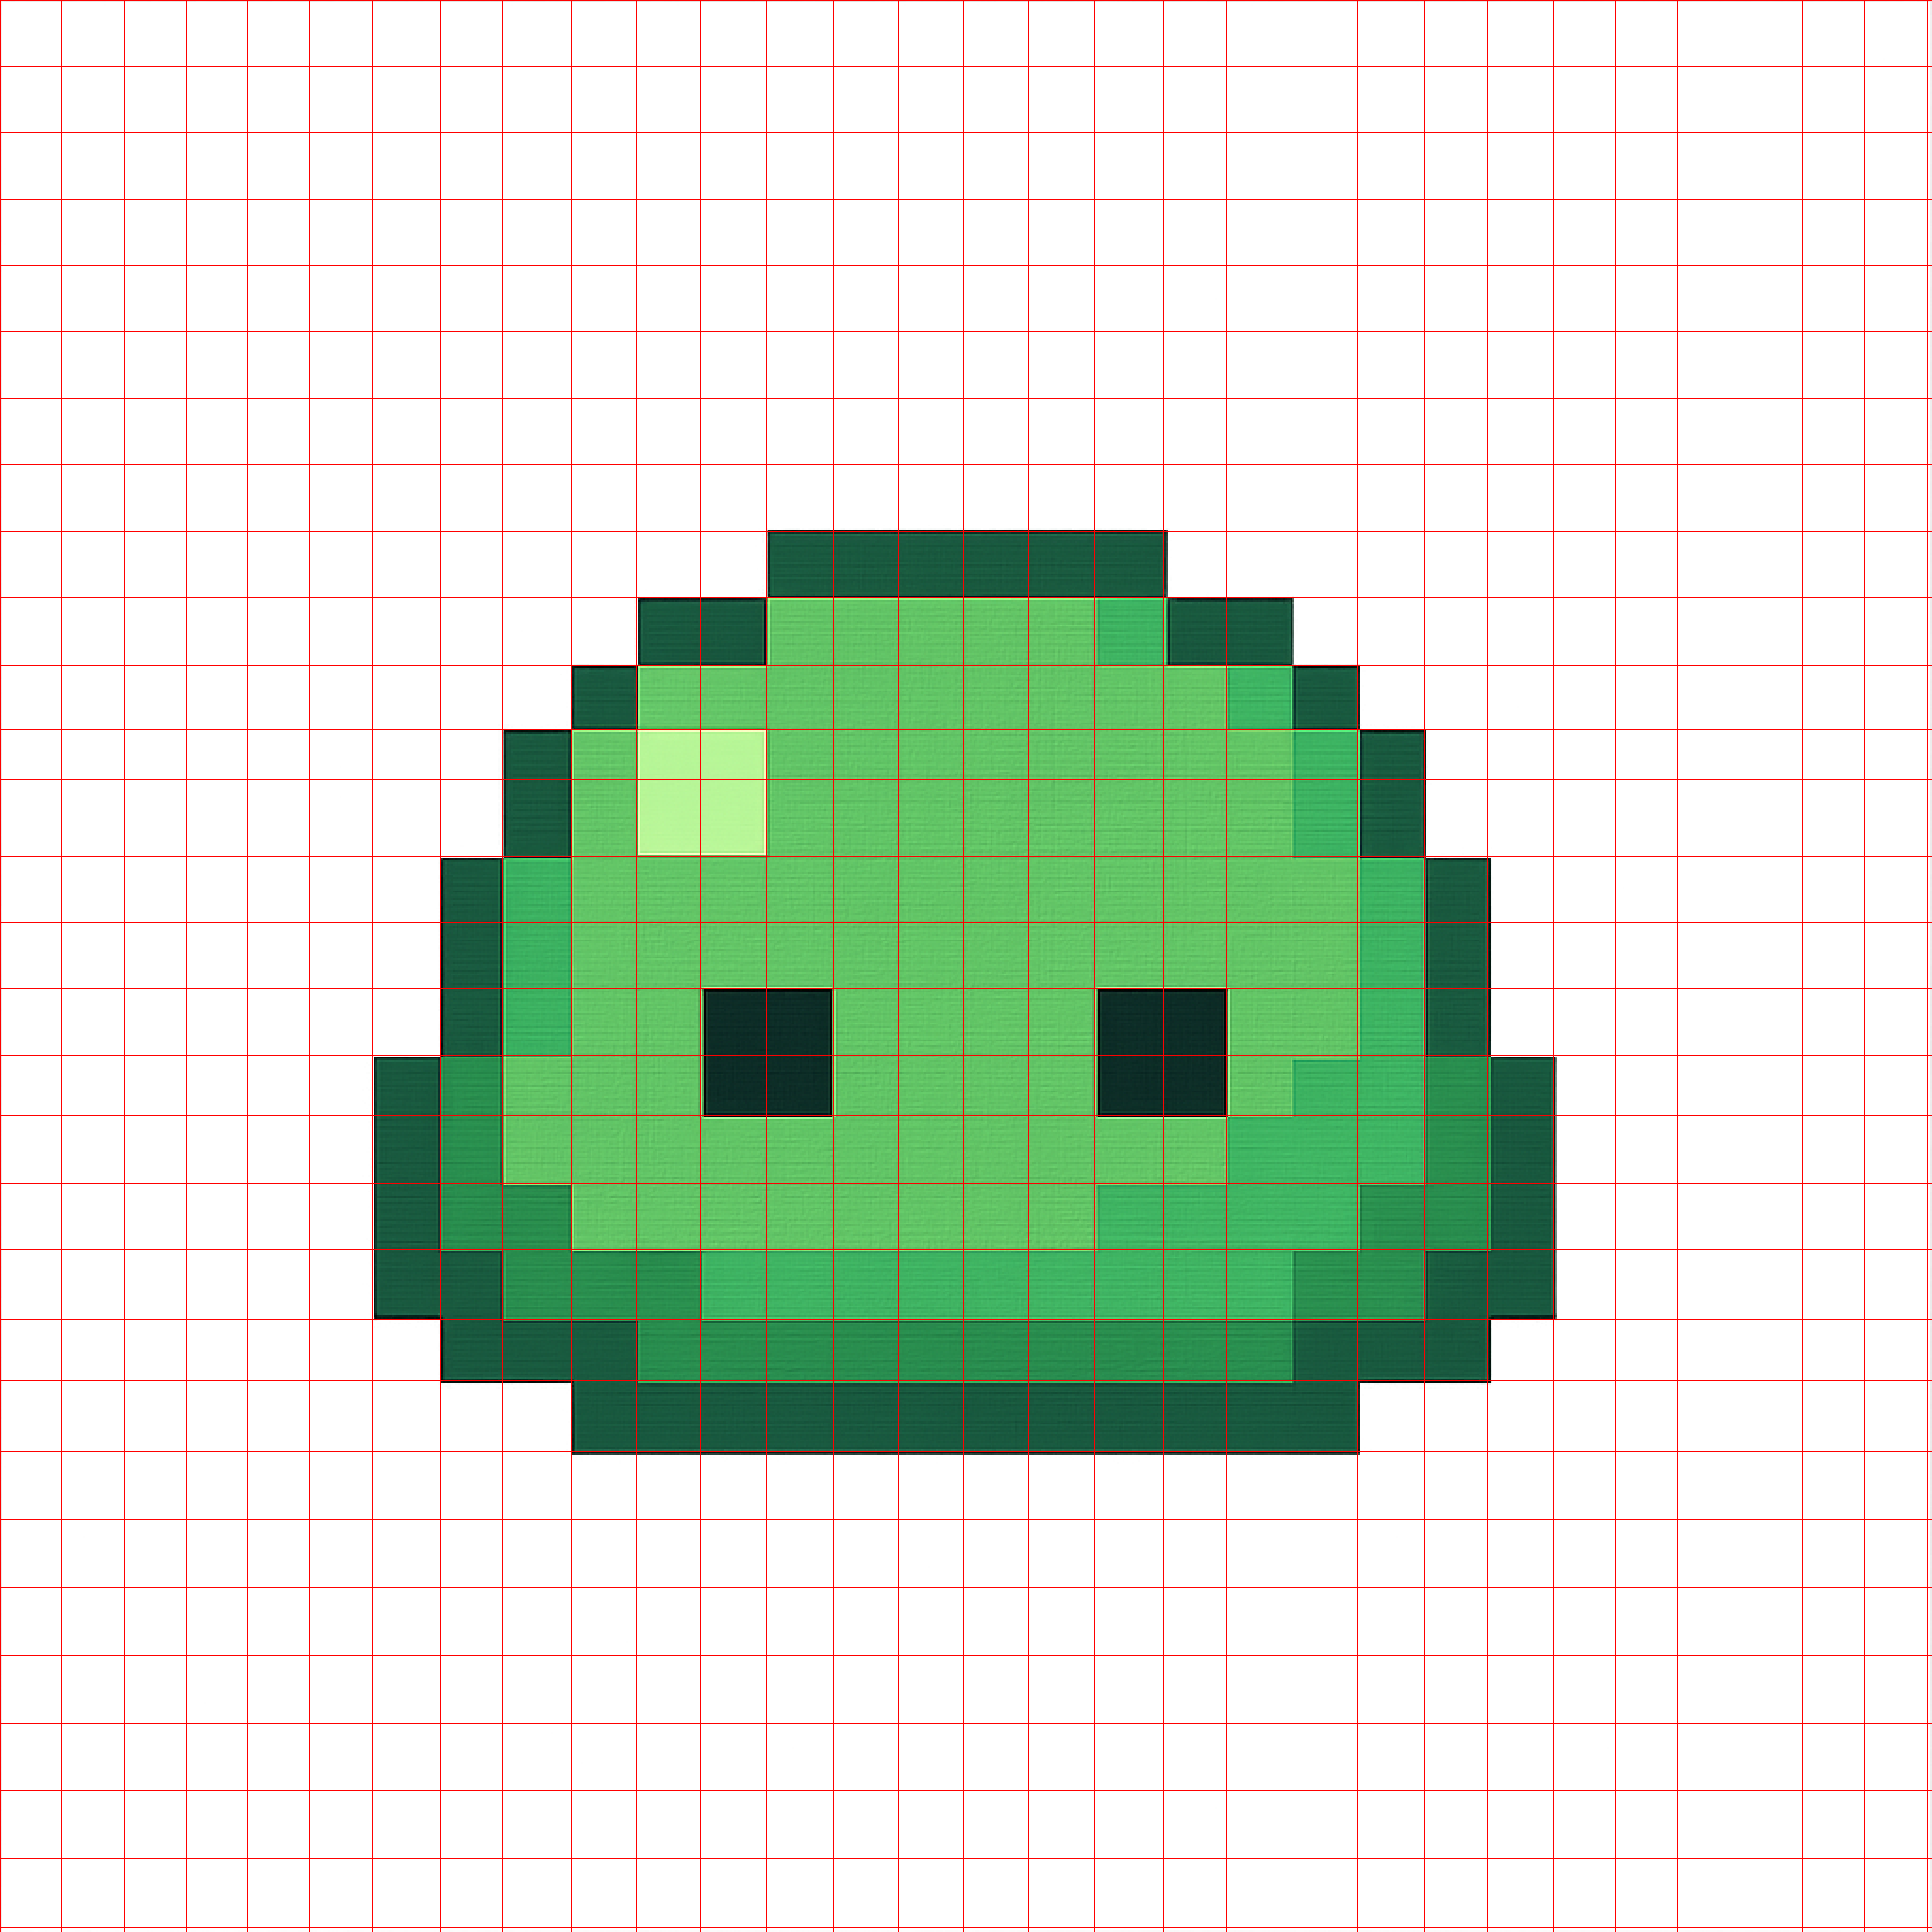
-
Quantize the original image to a small number of colors (see the
num_colorstuning note above). -
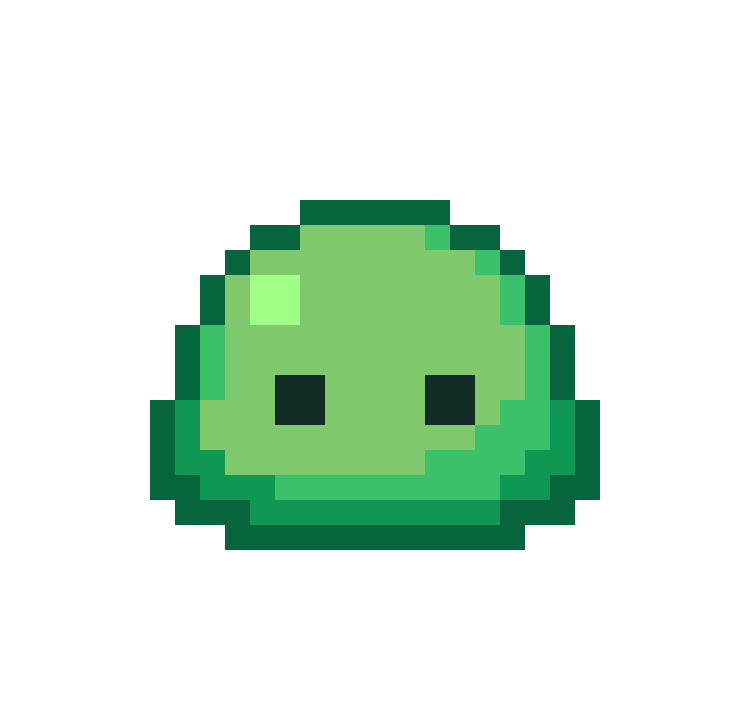
In each cell specified by the mesh, choose the most common color in the cell as the color for the pixel. Recreate the original image with one pixel per cell.
- Result upscaled by a factor of $20 \times$ using nearest neighbor.
Project details
Verified details
These details have been verified by PyPIProject links
GitHub Statistics
Maintainers
Release history Release notifications | RSS feed


Download files
Download the file for your platform. If you're not sure which to choose, learn more about installing packages.
Source Distribution
Built Distribution
Filter files by name, interpreter, ABI, and platform.
If you're not sure about the file name format, learn more about wheel file names.
Copy a direct link to the current filters
File details
Details for the file proper_pixel_art-1.5.0.tar.gz.
File metadata
- Download URL: proper_pixel_art-1.5.0.tar.gz
- Upload date:
- Size: 160.5 kB
- Tags: Source
- Uploaded using Trusted Publishing? Yes
- Uploaded via: twine/6.1.0 CPython/3.13.12
File hashes
| Algorithm | Hash digest | |
|---|---|---|
| SHA256 |
3a7290ea48a157004ee1157f0461243cf5318cf0cb348538124549ab6a6993a2
|
|
| MD5 |
552ce53445f80dbdd28ea359941fd950
|
|
| BLAKE2b-256 |
47c398b1b1ae8262e7fc9dc14779de845c4178d40a74435ae37ac9415c8c0ce6
|
Provenance
The following attestation bundles were made for proper_pixel_art-1.5.0.tar.gz:
Publisher:
release.yml on KennethJAllen/proper-pixel-art
-
Statement:
-
Statement type:
https://in-toto.io/Statement/v1 -
Predicate type:
https://docs.pypi.org/attestations/publish/v1 -
Subject name:
proper_pixel_art-1.5.0.tar.gz -
Subject digest:
3a7290ea48a157004ee1157f0461243cf5318cf0cb348538124549ab6a6993a2 - Sigstore transparency entry: 1740816032
- Sigstore integration time:
-
Permalink:
KennethJAllen/proper-pixel-art@51c536c27c1b05b2d4e1eba1fc64cae216e505f7 -
Branch / Tag:
refs/heads/main - Owner: https://github.com/KennethJAllen
-
Access:
public
-
Token Issuer:
https://token.actions.githubusercontent.com -
Runner Environment:
github-hosted -
Publication workflow:
release.yml@51c536c27c1b05b2d4e1eba1fc64cae216e505f7 -
Trigger Event:
push
-
Statement type:
File details
Details for the file proper_pixel_art-1.5.0-py3-none-any.whl.
File metadata
- Download URL: proper_pixel_art-1.5.0-py3-none-any.whl
- Upload date:
- Size: 23.2 kB
- Tags: Python 3
- Uploaded using Trusted Publishing? Yes
- Uploaded via: twine/6.1.0 CPython/3.13.12
File hashes
| Algorithm | Hash digest | |
|---|---|---|
| SHA256 |
88cc52506879dc6b6f5db8f0c1f06950436e3df9e19ede68026e4b819caa4698
|
|
| MD5 |
45a4cd5b98b9b05e68a62692206e47a7
|
|
| BLAKE2b-256 |
959b63d4d12a4e764e4f5453df738b3c3e84952d6806113c3e6732d4a21aeb83
|
Provenance
The following attestation bundles were made for proper_pixel_art-1.5.0-py3-none-any.whl:
Publisher:
release.yml on KennethJAllen/proper-pixel-art
-
Statement:
-
Statement type:
https://in-toto.io/Statement/v1 -
Predicate type:
https://docs.pypi.org/attestations/publish/v1 -
Subject name:
proper_pixel_art-1.5.0-py3-none-any.whl -
Subject digest:
88cc52506879dc6b6f5db8f0c1f06950436e3df9e19ede68026e4b819caa4698 - Sigstore transparency entry: 1740816040
- Sigstore integration time:
-
Permalink:
KennethJAllen/proper-pixel-art@51c536c27c1b05b2d4e1eba1fc64cae216e505f7 -
Branch / Tag:
refs/heads/main - Owner: https://github.com/KennethJAllen
-
Access:
public
-
Token Issuer:
https://token.actions.githubusercontent.com -
Runner Environment:
github-hosted -
Publication workflow:
release.yml@51c536c27c1b05b2d4e1eba1fc64cae216e505f7 -
Trigger Event:
push
-
Statement type:






