
PyGAD: Genetic Algorithm in Python
PyGAD is an open-source, easy-to-use Python 3 library for building the genetic algorithm and optimizing machine learning algorithms. It supports Keras and PyTorch, and it can optimize both single-objective and multi-objective problems.
Try Vilvik, a free cloud-based tool powered by PyGAD. It makes optimization easier by reducing or removing the need for coding, and it shows helpful visualizations.
Run PyGAD in the cloud with Vilvik: push your PyGAD problem to Vilvik, let it run in the cloud, and get the results back.
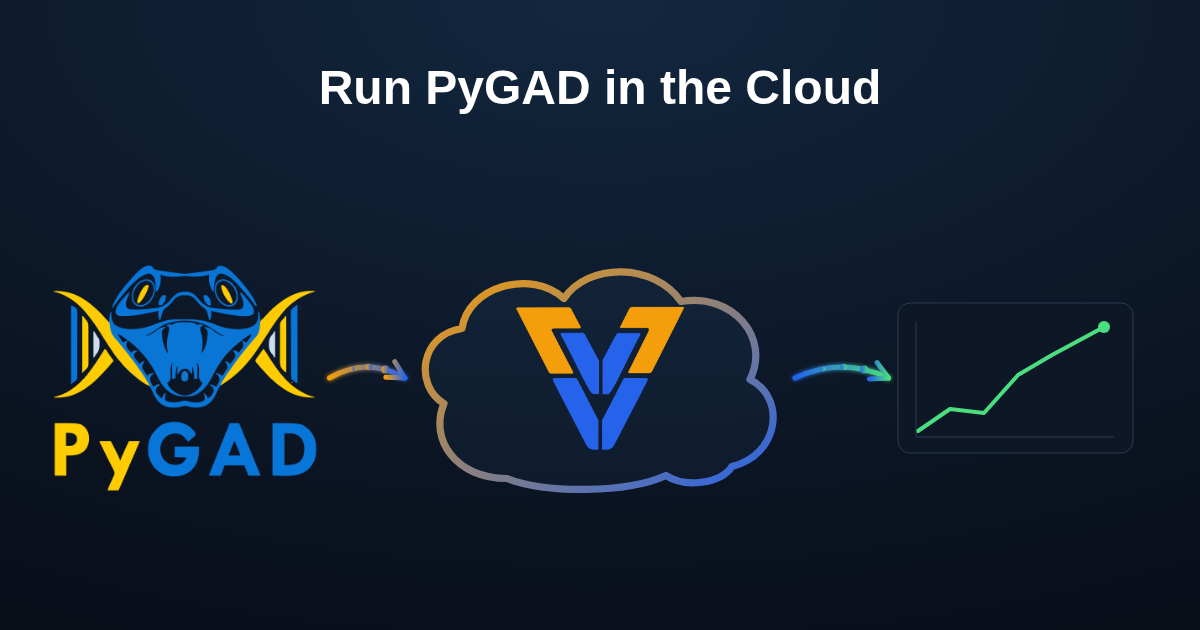
Push your PyGAD problem to Vilvik and run it in the cloud. To get started, follow this tutorial: Push your PyGAD problem to Vilvik in 10 minutes.
Read the PyGAD documentation.












PyGAD supports different types of crossover, mutation, and parent selection. It lets you optimize many types of problems with the genetic algorithm by writing your own fitness function.
The library is under active development and more features are added regularly. If you want a feature to be supported, please check the Contact Us section to send a request.
Donation
- Open Collective: opencollective.com/pygad
- PayPal: Use either this link: paypal.me/ahmedfgad or the e-mail address ahmed.f.gad@gmail.com
- Interac e-Transfer: Use e-mail address ahmed.f.gad@gmail.com
Installation
The current release is PyGAD 3.8.1, dated October 11, 2026. Read the release notes for its fixes and compatibility changes. PyGAD requires Python 3.8 or newer.
Watch the PyGAD 3.8.0 release video on YouTube.
To install PyGAD, use pip to download and install the library from PyPI (Python Package Index). The library is available on PyPI at this page: https://pypi.org/project/pygad.
Install PyGAD with the following command:
pip install pygad
PyGAD's core install is intentionally lightweight (only numpy and cloudpickle). Some features need extra libraries, which are available as optional extras:
# Plotting features (e.g. plot_fitness(), plot_genes()) need matplotlib:
pip install pygad[visualize]

# Training Keras/PyTorch models (pygad.kerasga, pygad.torchga):
pip install pygad[deep_learning]

# PDF reports need ReportLab and matplotlib:
pip install pygad[report]
To get started with PyGAD, read the documentation at Read the Docs.
PyGAD Documentation
The PyGAD documentation is available at Read the Docs at this link: https://pygad.readthedocs.io. It explains the modules supported by PyGAD and all its classes, methods, attributes, and functions. For each module, several examples are given.
If you have an issue using PyGAD, feel free to post an issue in this GitHub repository or send an e-mail to ahmed.f.gad@gmail.com.
If you built a project that uses PyGAD, then please drop an e-mail to ahmed.f.gad@gmail.com with the following information so that your project is included in the documentation.
- Project title
- Brief description
- Preferably, a link that directs the readers to your project
Please check the Contact Us section for more contact details.
Life Cycle of PyGAD
The following figure shows the main stages in the life cycle of a pygad.GA instance. PyGAD stops when all generations are completed or when the function passed to the on_generation parameter returns the string stop.
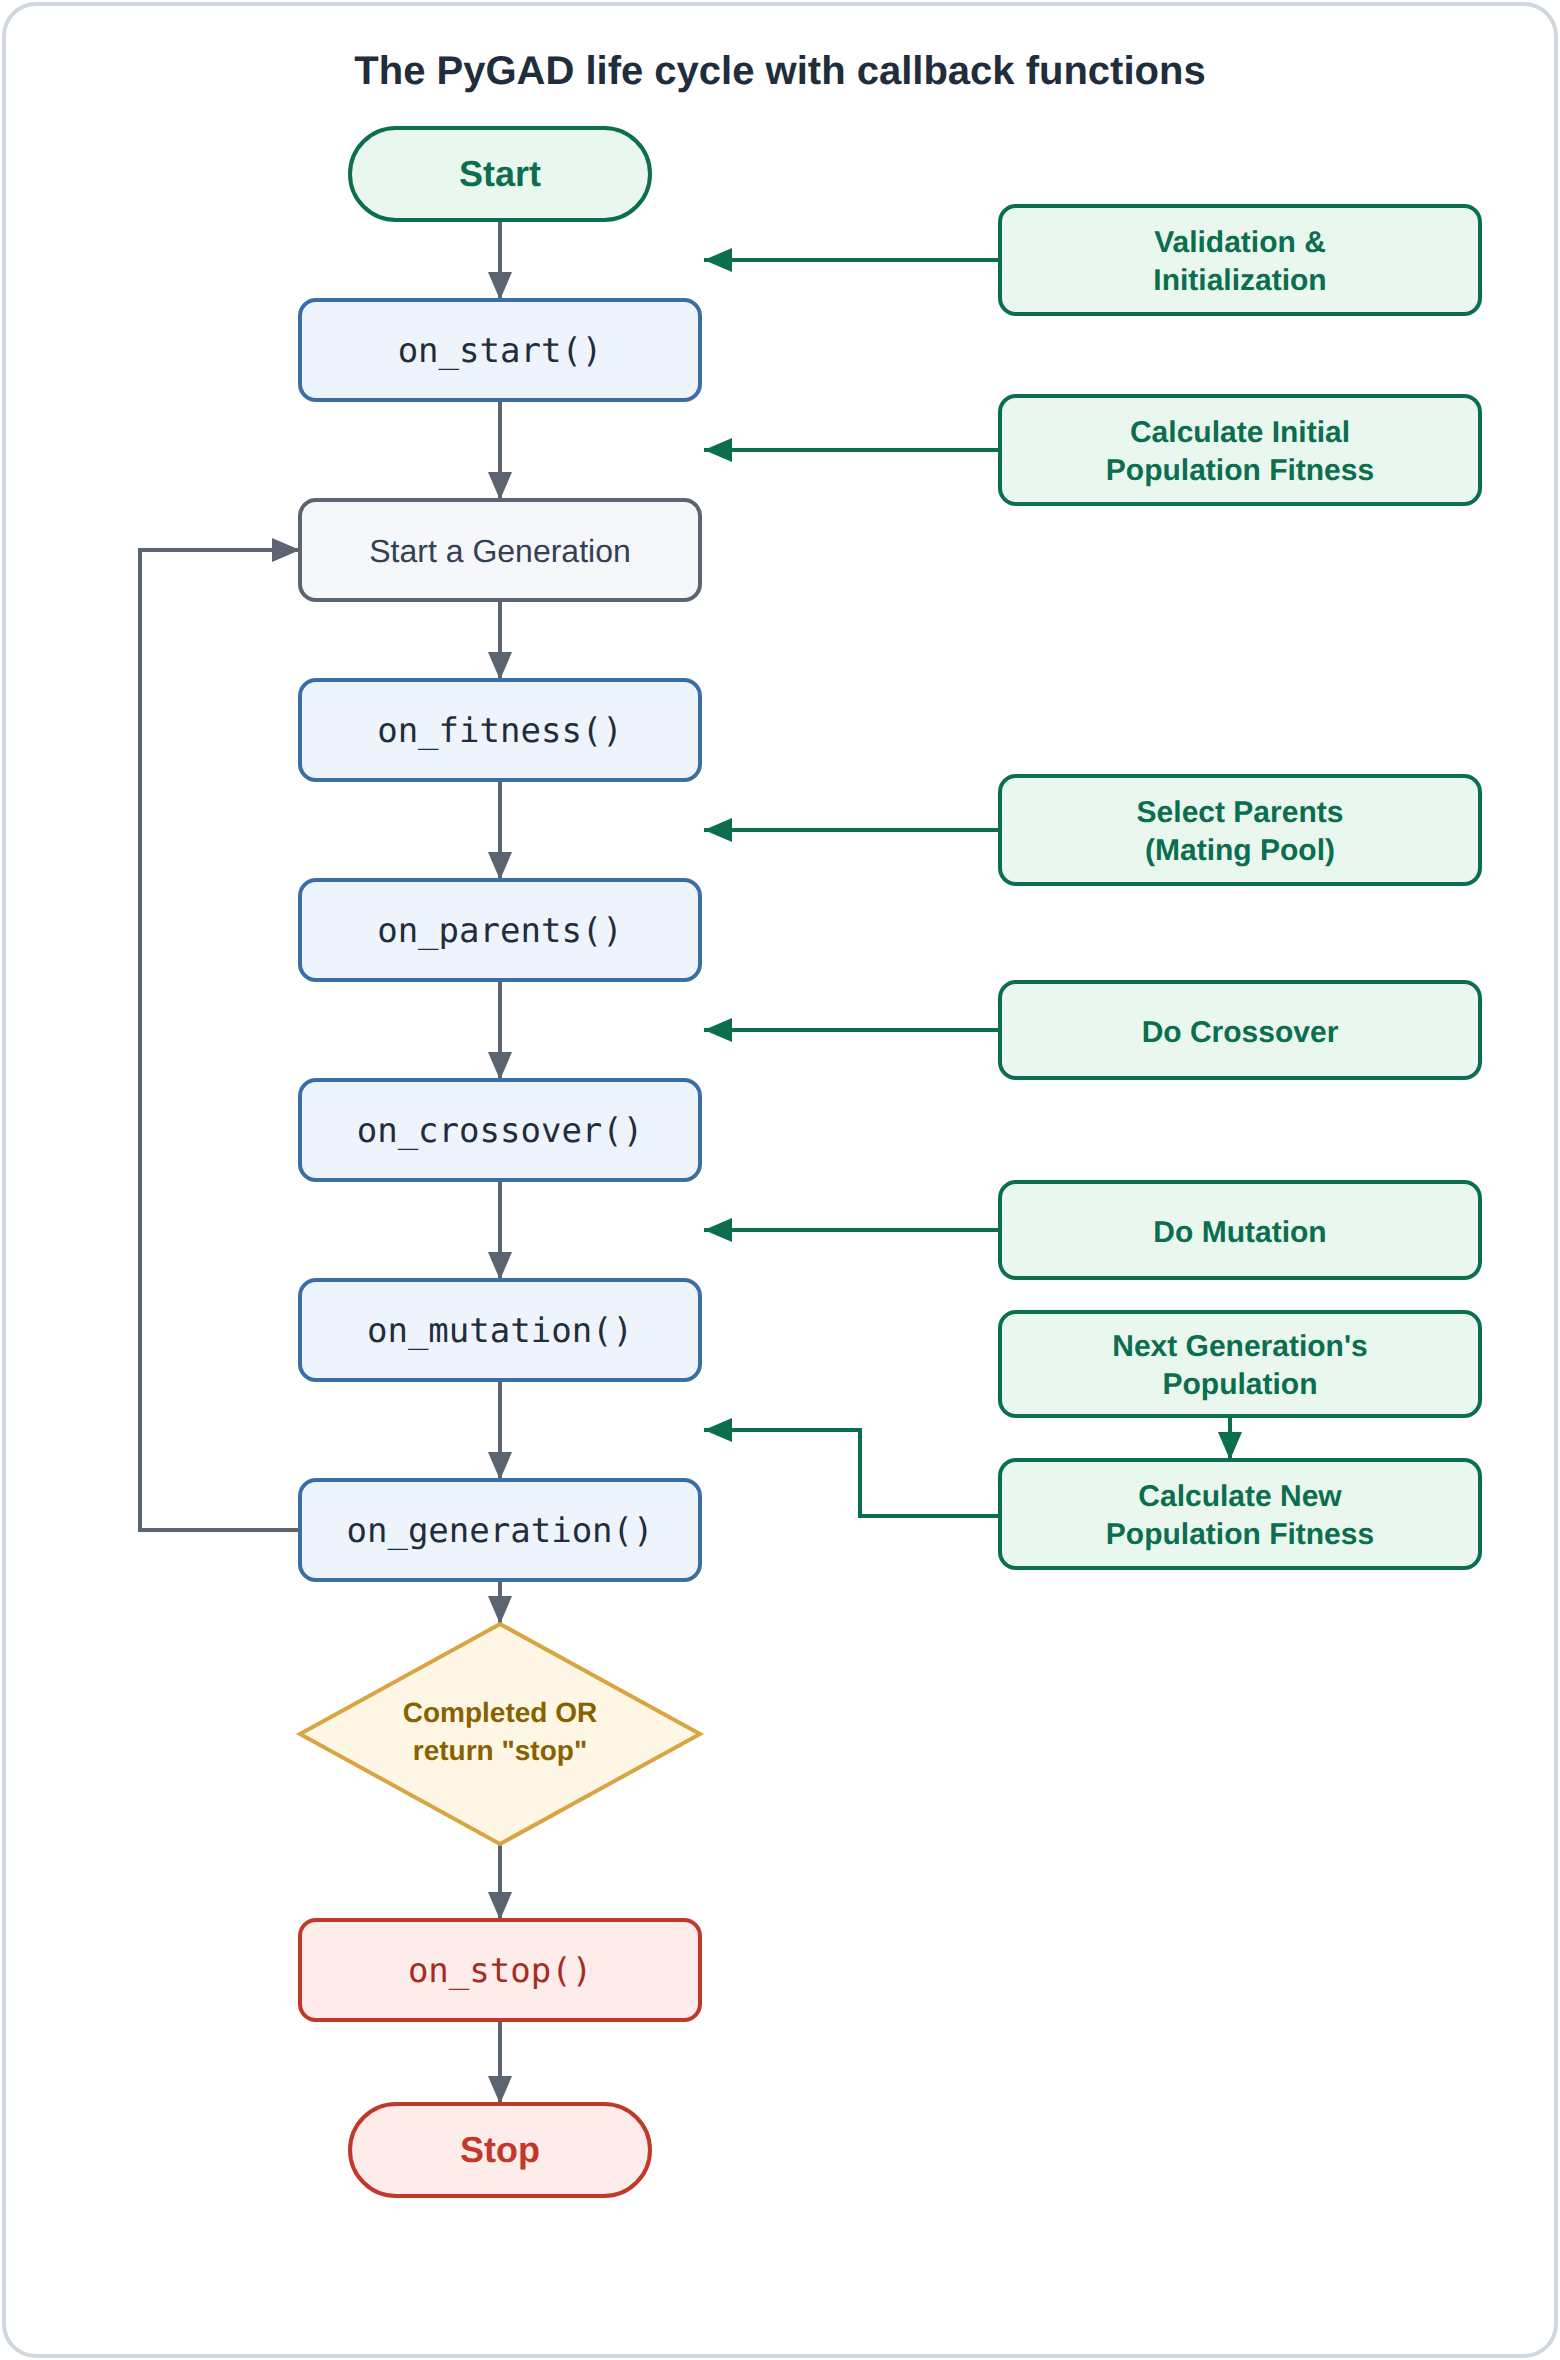
The following code implements all the callback functions to trace the execution of the genetic algorithm. Each callback function prints its name.
import pygad
import numpy

function_inputs = [4,-2,3.5,5,-11,-4.7]
desired_output = 44

def fitness_func(ga_instance, solution, solution_idx):
    output = numpy.sum(solution*function_inputs)
    fitness = 1.0 / (numpy.abs(output - desired_output) + 0.000001)
    return fitness

fitness_function = fitness_func

def on_start(ga_instance):
    print("on_start()")

def on_fitness(ga_instance, population_fitness):
    print("on_fitness()")

def on_parents(ga_instance, selected_parents):
    print("on_parents()")

def on_crossover(ga_instance, offspring_crossover):
    print("on_crossover()")

def on_mutation(ga_instance, offspring_mutation):
    print("on_mutation()")

def on_generation(ga_instance):
    print("on_generation()")

def on_stop(ga_instance, last_population_fitness):
    print("on_stop()")

ga_instance = pygad.GA(num_generations=3,
                       num_parents_mating=5,
                       fitness_func=fitness_function,
                       sol_per_pop=10,
                       num_genes=len(function_inputs),
                       on_start=on_start,
                       on_fitness=on_fitness,
                       on_parents=on_parents,
                       on_crossover=on_crossover,
                       on_mutation=on_mutation,
                       on_generation=on_generation,
                       on_stop=on_stop)

ga_instance.run()
Because num_generations is set to 3, here is the output.
on_start()

on_fitness()
on_parents()
on_crossover()
on_mutation()
on_generation()

on_fitness()
on_parents()
on_crossover()
on_mutation()
on_generation()

on_fitness()
on_parents()
on_crossover()
on_mutation()
on_generation()

on_stop()
Example
Check the PyGAD's documentation for information about the implementation of this example. It solves a single-objective problem.
import pygad
import numpy

"""
Given the following function:
    y = f(w1:w6) = w1x1 + w2x2 + w3x3 + w4x4 + w5x5 + w6x6
    where (x1,x2,x3,x4,x5,x6)=(4,-2,3.5,5,-11,-4.7) and y=44
What are the best values for the 6 weights (w1 to w6)? We are going to use the genetic algorithm to optimize this function.
"""

function_inputs = [4,-2,3.5,5,-11,-4.7] # Function inputs.
desired_output = 44 # Function output.

def fitness_func(ga_instance, solution, solution_idx):
    # Calculating the fitness value of each solution in the current population.
    # The fitness function calculates the sum of products between each input and its corresponding weight.
    output = numpy.sum(solution*function_inputs)
    fitness = 1.0 / numpy.abs(output - desired_output)
    return fitness

fitness_function = fitness_func

num_generations = 100 # Number of generations.
num_parents_mating = 7 # Number of solutions to be selected as parents in the mating pool.

# To prepare the initial population, there are 2 ways:
# 1) Prepare it yourself and pass it to the initial_population parameter. This way is useful when the user wants to start the genetic algorithm with a custom initial population.
# 2) Assign valid integer values to the sol_per_pop and num_genes parameters. If the initial_population parameter is used, then the sol_per_pop and num_genes parameters are ignored.
sol_per_pop = 50 # Number of solutions in the population.
num_genes = len(function_inputs)

last_fitness = 0
def callback_generation(ga_instance):
    global last_fitness
    print(f"Generation = {ga_instance.generations_completed}")
    print(f"Fitness    = {ga_instance.best_solution()[1]}")
    print(f"Change     = {ga_instance.best_solution()[1] - last_fitness}")
    last_fitness = ga_instance.best_solution()[1]

# Creating an instance of the GA class inside the ga module. Some parameters are initialized within the constructor.
ga_instance = pygad.GA(num_generations=num_generations,
                       num_parents_mating=num_parents_mating,
                       fitness_func=fitness_function,
                       sol_per_pop=sol_per_pop,
                       num_genes=num_genes,
                       on_generation=callback_generation)

# Running the GA to optimize the parameters of the function.
ga_instance.run()

# After the generations complete, a plot is shown that summarizes how the fitness values evolve over the generations.
ga_instance.plot_fitness()

# Returning the details of the best solution.
solution, solution_fitness, solution_idx = ga_instance.best_solution()
print(f"Parameters of the best solution : {solution}")
print(f"Fitness value of the best solution = {solution_fitness}")
print(f"Index of the best solution : {solution_idx}")

prediction = numpy.sum(numpy.array(function_inputs)*solution)
print(f"Predicted output based on the best solution : {prediction}")

if ga_instance.best_solution_generation != -1:
    print(f"Best fitness value reached after {ga_instance.best_solution_generation} generations.")

# Saving the GA instance.
filename = 'genetic' # The filename to which the instance is saved. The name is without extension.
ga_instance.save(filename=filename)

# Loading the saved GA instance.
loaded_ga_instance = pygad.load(filename=filename)
loaded_ga_instance.plot_fitness()
For More Information
Here are some resources to help you get started with the genetic algorithm and build it in Python.
Tutorial: Implementing Genetic Algorithm in Python
To start with coding the genetic algorithm, you can check the tutorial titled Genetic Algorithm Implementation in Python available at these links:
This tutorial is based on an earlier version of the project, but it is still a good resource to start coding the genetic algorithm.

Tutorial: Introduction to Genetic Algorithm
Get started with the genetic algorithm by reading the tutorial titled Introduction to Optimization with Genetic Algorithm which is available at these links:
Tutorial: Optimize Neural Networks with Genetic Algorithm
Read about training neural networks using the genetic algorithm through the tutorial titled Artificial Neural Networks Optimization using Genetic Algorithm with Python available at these links:
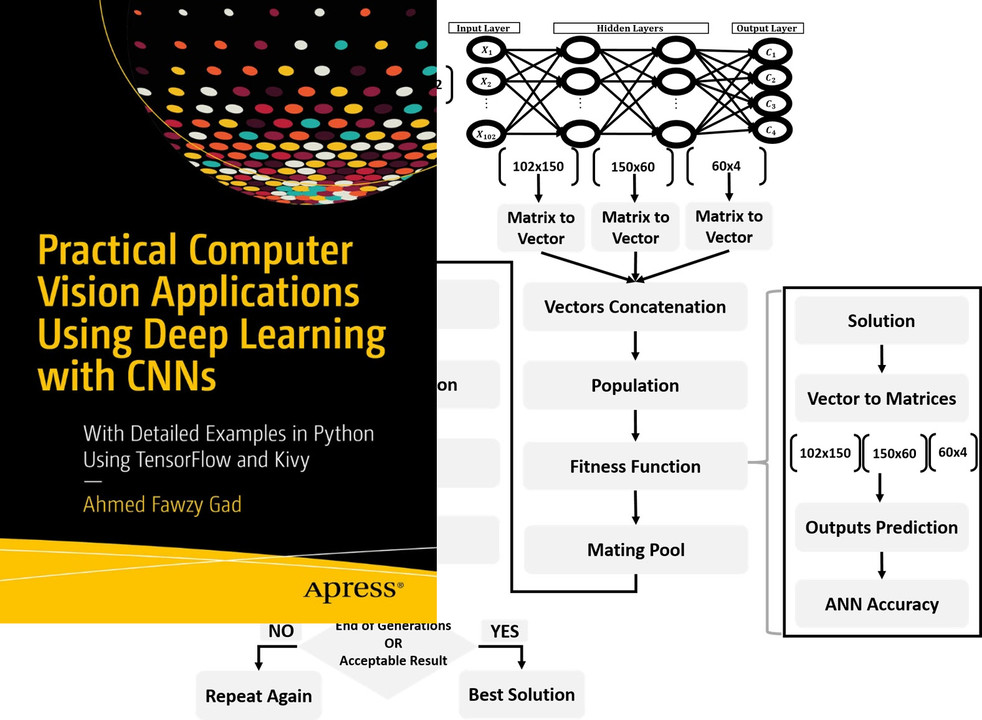
Book: Practical Computer Vision Applications Using Deep Learning with CNNs
You can also check my book cited as Ahmed Fawzy Gad 'Practical Computer Vision Applications Using Deep Learning with CNNs'. Dec. 2018, Apress, 978-1-4842-4167-7 which discusses neural networks, convolutional neural networks, deep learning, genetic algorithms, and more.
Find the book at these links:

Citing PyGAD - Bibtex Formatted Citation
If you used PyGAD, please consider adding a citation to the following paper about PyGAD:
@article{gad2023pygad,
  title={Pygad: An intuitive genetic algorithm python library},
  author={Gad, Ahmed Fawzy},
  journal={Multimedia Tools and Applications},
  pages={1--14},
  year={2023},
  publisher={Springer}
}
Contact Us
- E-mail: ahmed.f.gad@gmail.com
- GitHub
1 maintainer

Metadata
1 maintainer
Release files for pygad 3.9.2
For a detailed explanation of source distributions (sdists) and built distributions (wheels), please see the package formats documentation.
Source distribution (sdist)
| File | Size | Uploaded | |
|---|---|---|---|
| pygad-3.9.2.tar.gz | 351.5 kB | Details |
Built distribution (wheel)
| File | Interpreter | ABI | Platform | Reset |
|---|---|---|---|---|
| pygad-3.9.2-py3-none-any.whl | Python 3 | none | any | Details |
Total release size: 578.0 kB
Release files / pygad-3.9.2.tar.gz
| Download URL | pygad-3.9.2.tar.gz |
|---|---|
| Size | 351.5 kB |
| Tags | Source |
|
SHA-256 checksum How to use checksums |
3f064e79a5a1ca98f673993485f721e0217ed7b4de5a4fd3b6ed7936ade654da
|
|
BLAKE2b-256 checksum How to use checksums |
79b08ce1ef4f00c891d6c7c5322f751305995712e40f0df843e38d33d9ea4457
|
| Upload date | |
|
Uploaded using Trusted Publishing? What is trusted publishing? |
Yes |
| Uploaded via |
twine/7.0.0 CPython/3.13.14
|
Provenance
Provenance describes where a file came from. On PyPI, provenance is shared via attestations, which provide a verifiable record of the build or publishing details. View details, limitations and caveats.


PyPI Publish Attestation
PyPI verified that this artifact, at this checksum, originated from the publisher listed below.
Signed by GitHub Actions, verified by PyPI on Oct 16, 2026.
Transparency logRelease files / pygad-3.9.2-py3-none-any.whl
| Download URL | pygad-3.9.2-py3-none-any.whl |
|---|---|
| Size | 226.5 kB |
| Tags | Python 3 |
|
SHA-256 checksum How to use checksums |
f9666d850b465c34ed7ff7faed1737e72ccc97ac9055fe3106b436aae2d4390c
|
|
BLAKE2b-256 checksum How to use checksums |
8d6349876cbd83f92faa9f8edaebc9e6955fffae0c9e59899237115e228e24a0
|
| Upload date | |
|
Uploaded using Trusted Publishing? What is trusted publishing? |
Yes |
| Uploaded via |
twine/7.0.0 CPython/3.13.14
|
Provenance
Provenance describes where a file came from. On PyPI, provenance is shared via attestations, which provide a verifiable record of the build or publishing details. View details, limitations and caveats.
PyPI Publish Attestation
PyPI verified that this artifact, at this checksum, originated from the publisher listed below.
Signed by GitHub Actions, verified by PyPI on Oct 16, 2026.
Transparency log













